Set up new e-mail account with K-9 mail of Android™.
![[Translate to English:] androidrobot](/fileadmin/_processed_/f/5/csm_Android_Robot_200_01_86209dce40.png)
The Android robot is reproduced from work created and shared by Google and used according to terms described in the Creative Commons 3.0 Attribution License.
Bellow you will find a detailed manual of how to set up a new e-mail account with K-9 mail of Android™.
Note:
The K-9 mail app is not installed at your Android™ by default. You have to download it for free at your Android Market™.
The K-9 mail app is not installed at your Android™ by default. You have to download it for free at your Android Market™.
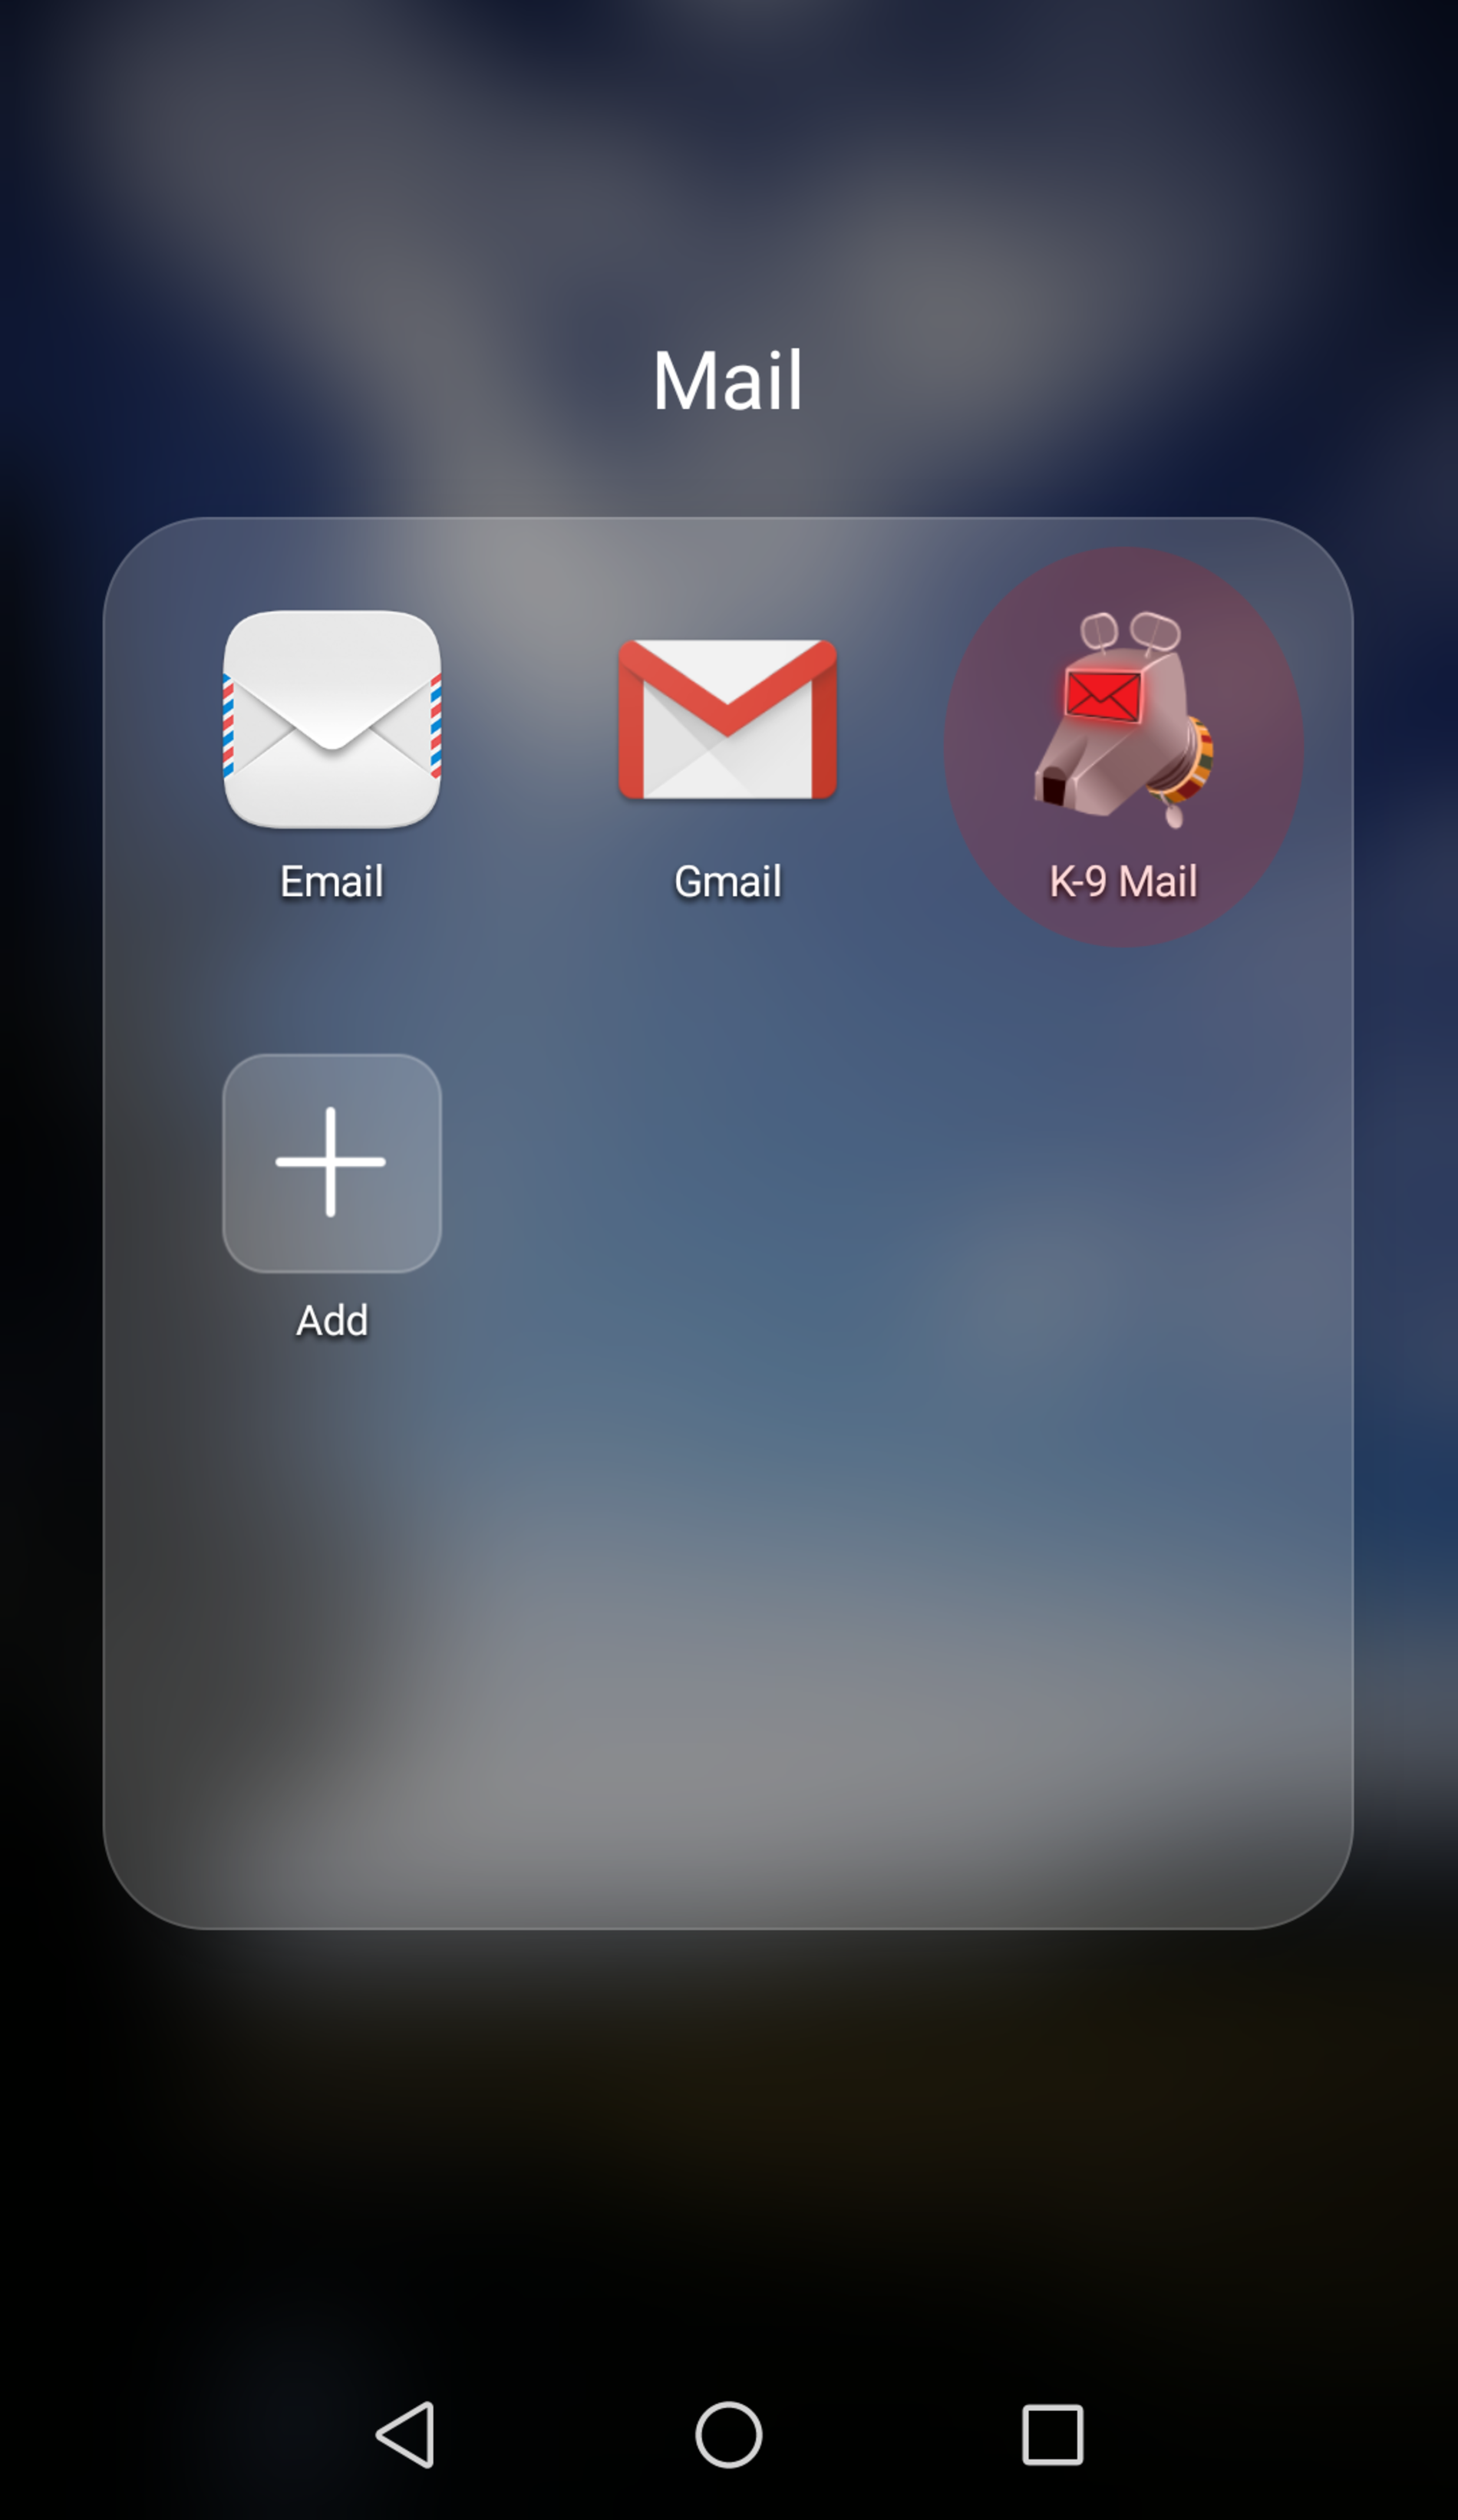
Step 1
First of all start the K-9 mail app of your Android™ device.
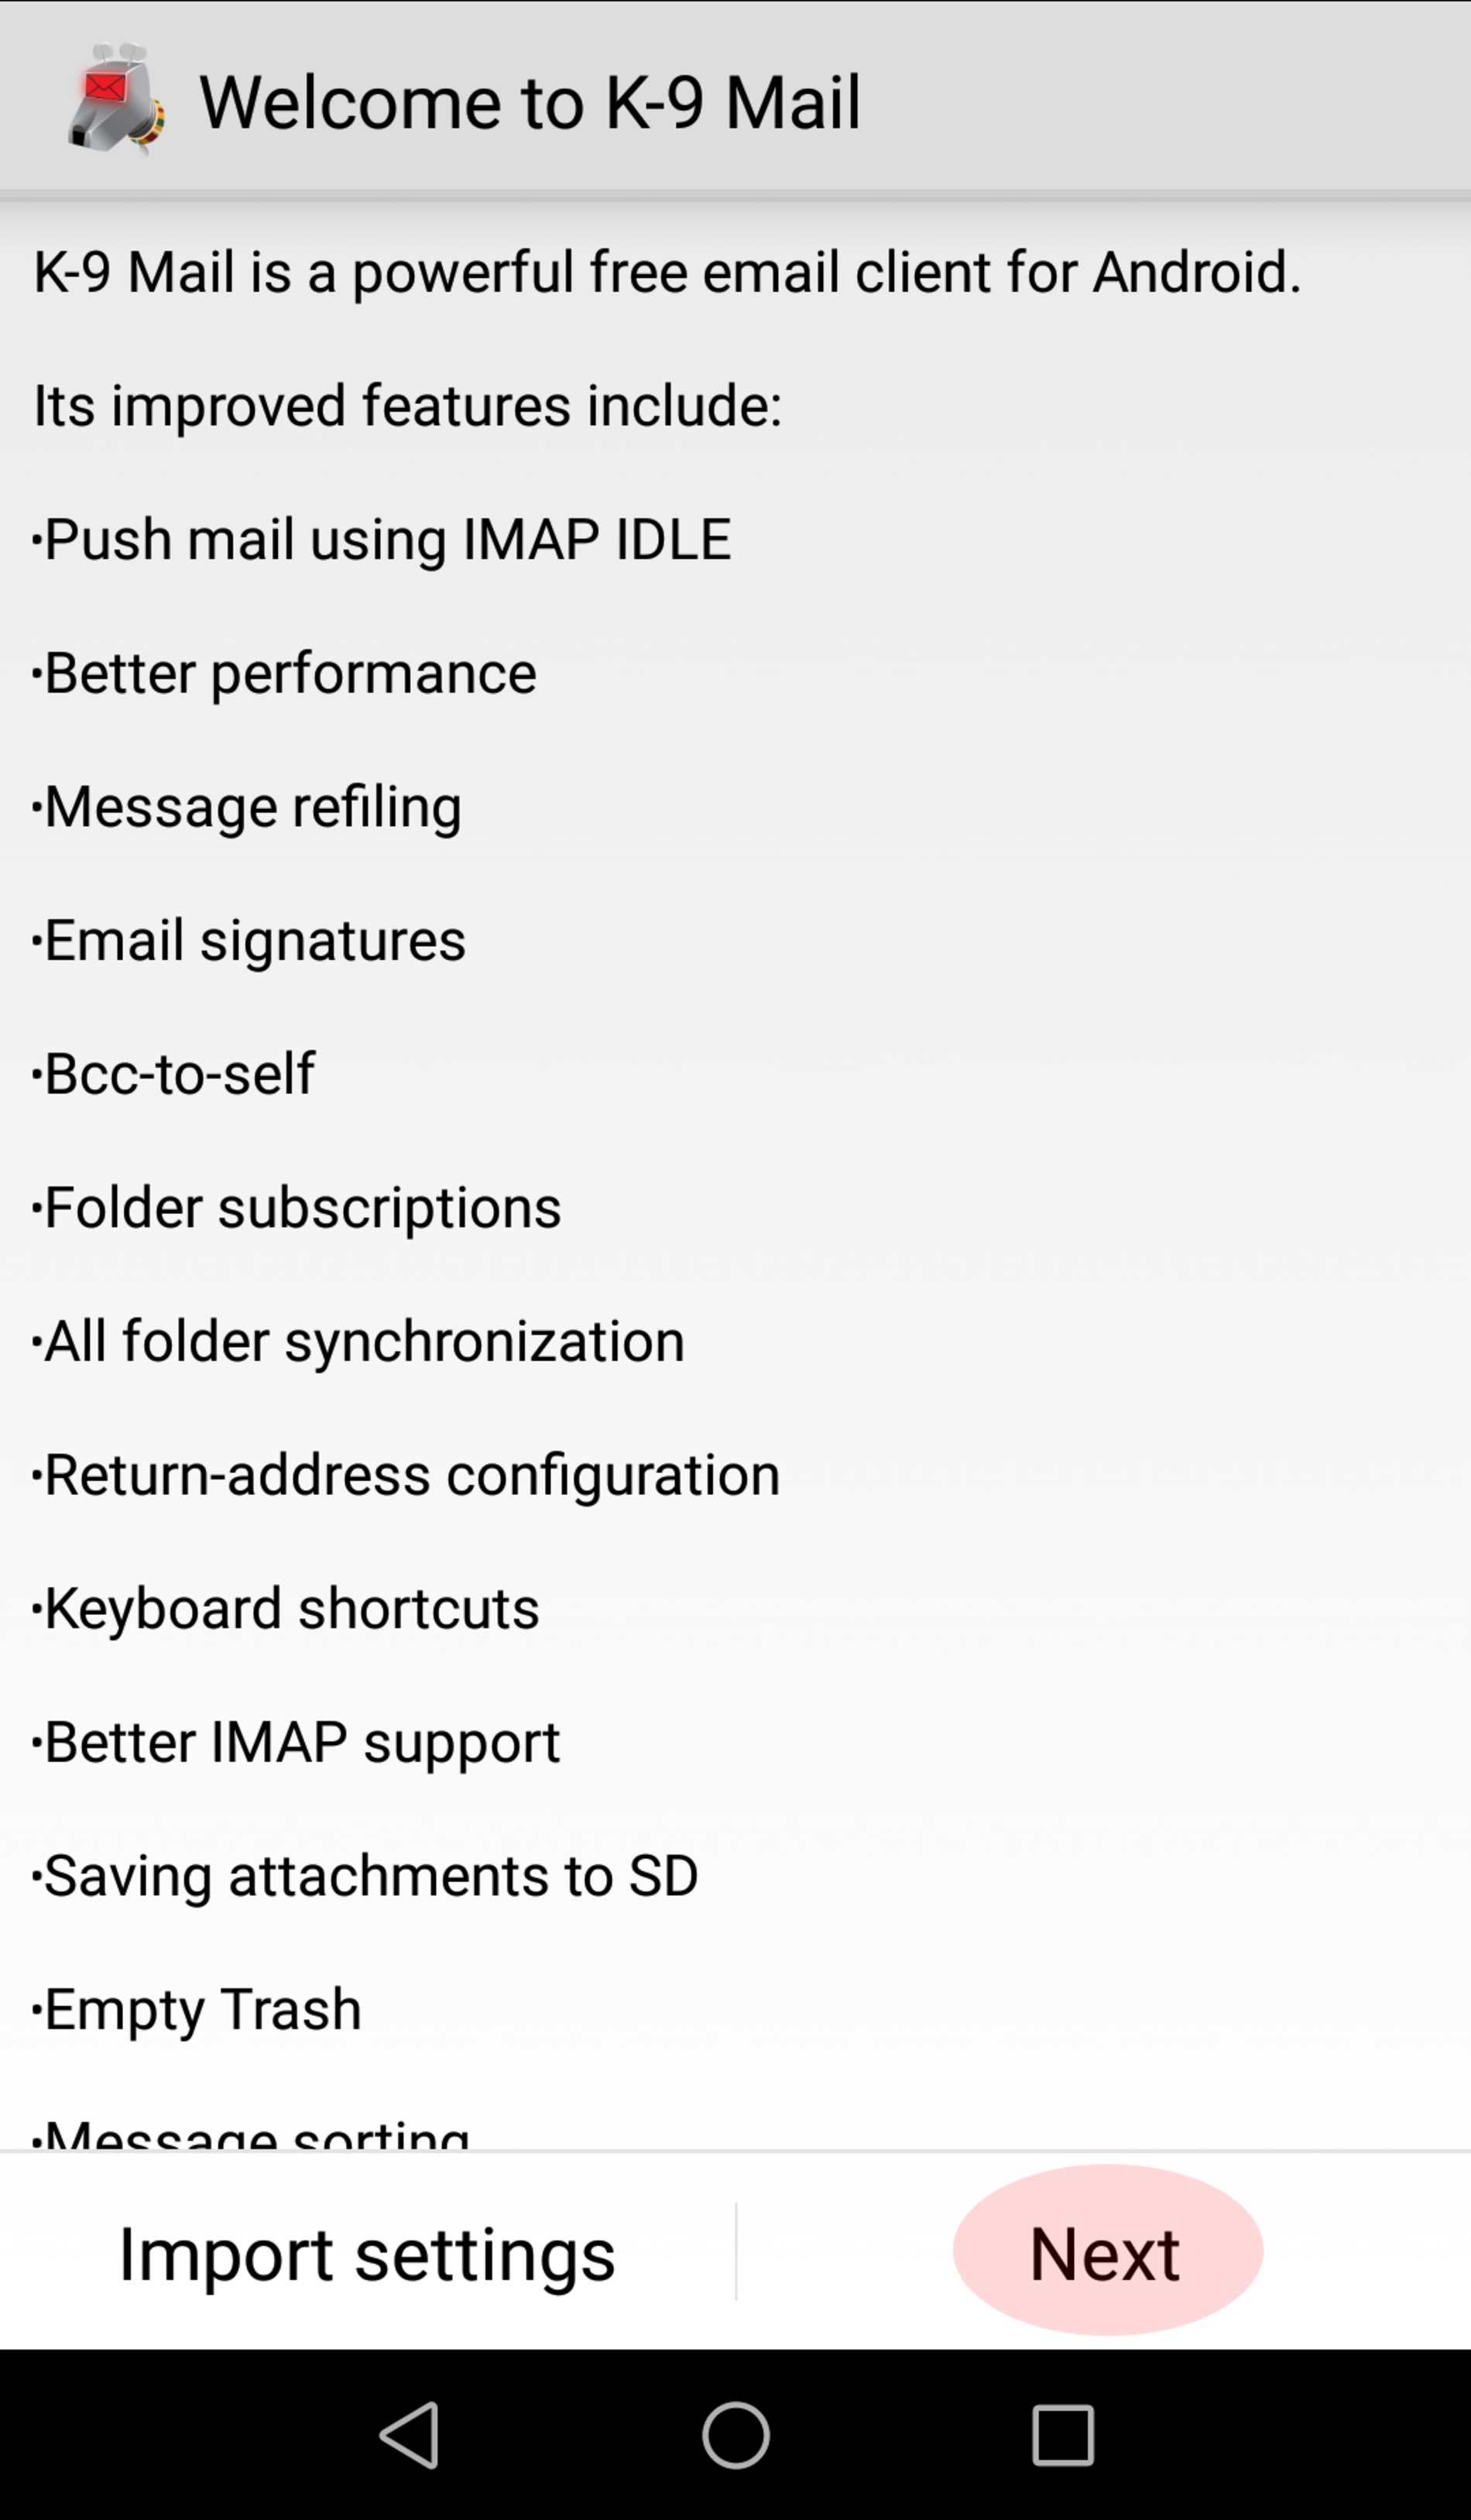
Step 2
Confirm by clicking on "Next".
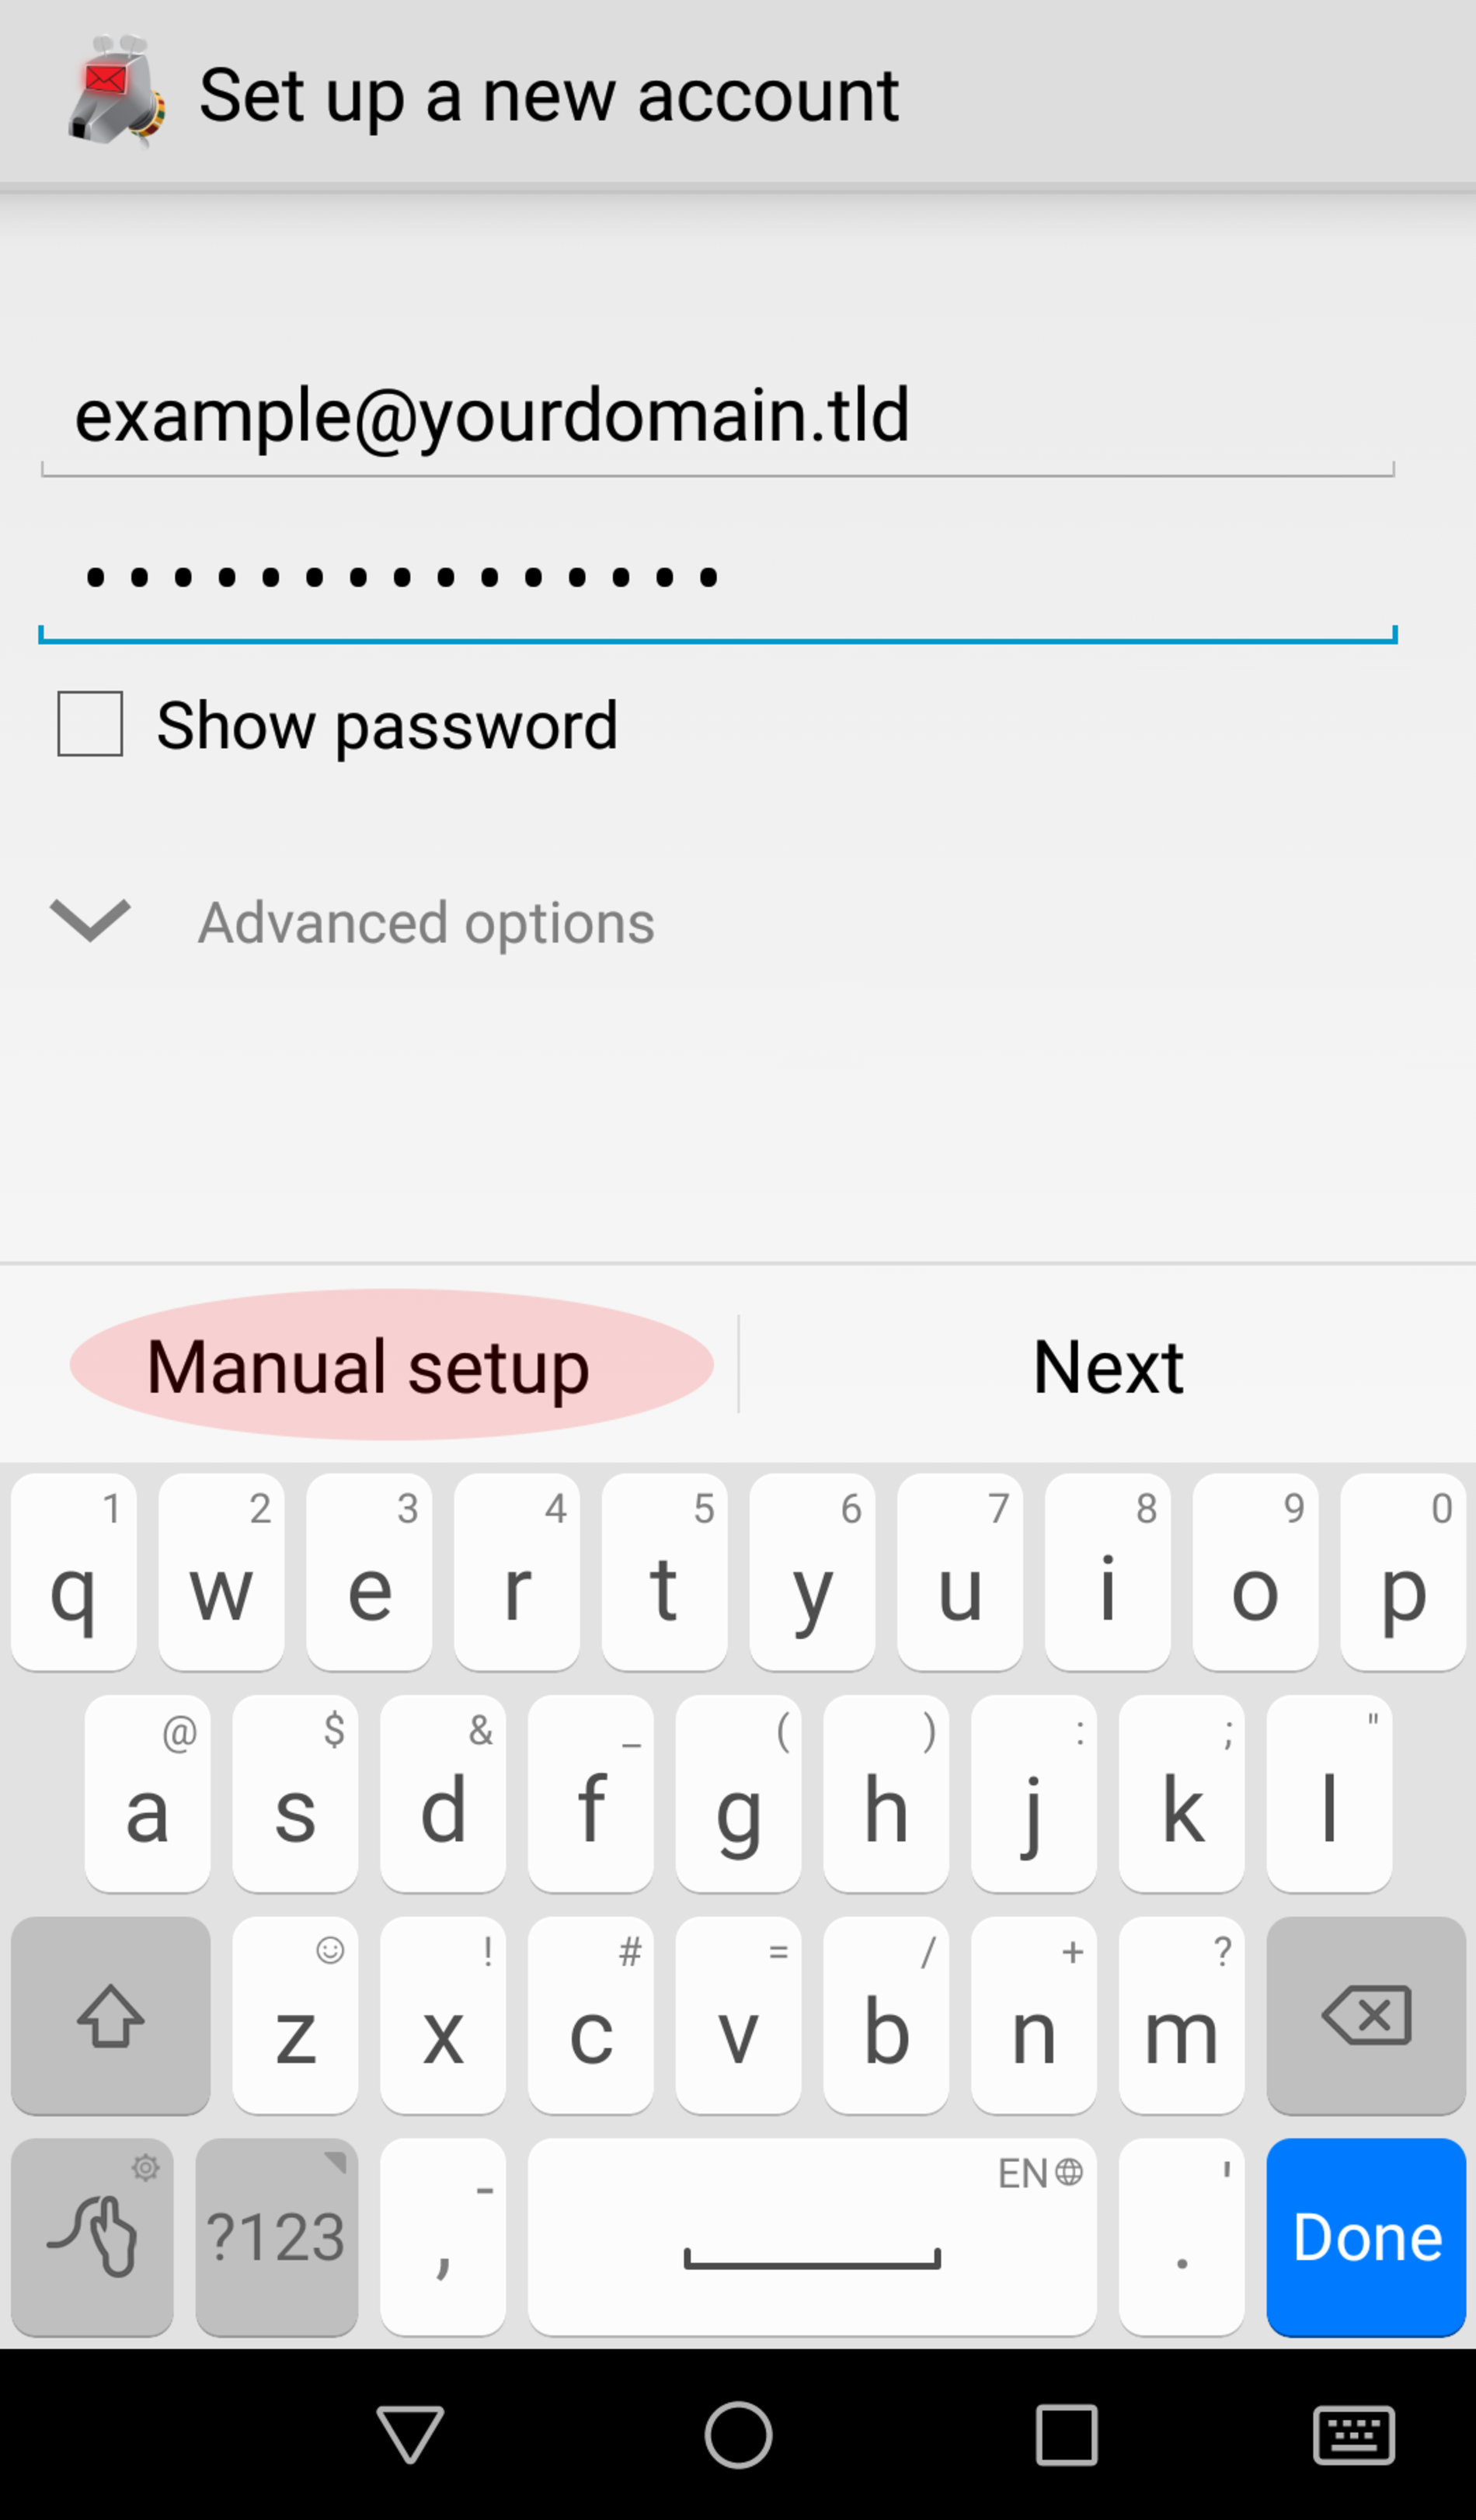
Step 3
Please enter the e-mail address you want to set up and the password which you created for this e-mail address at the Email Manager of the Control Panel.
Afterwards click on "Manual setup" to continue.
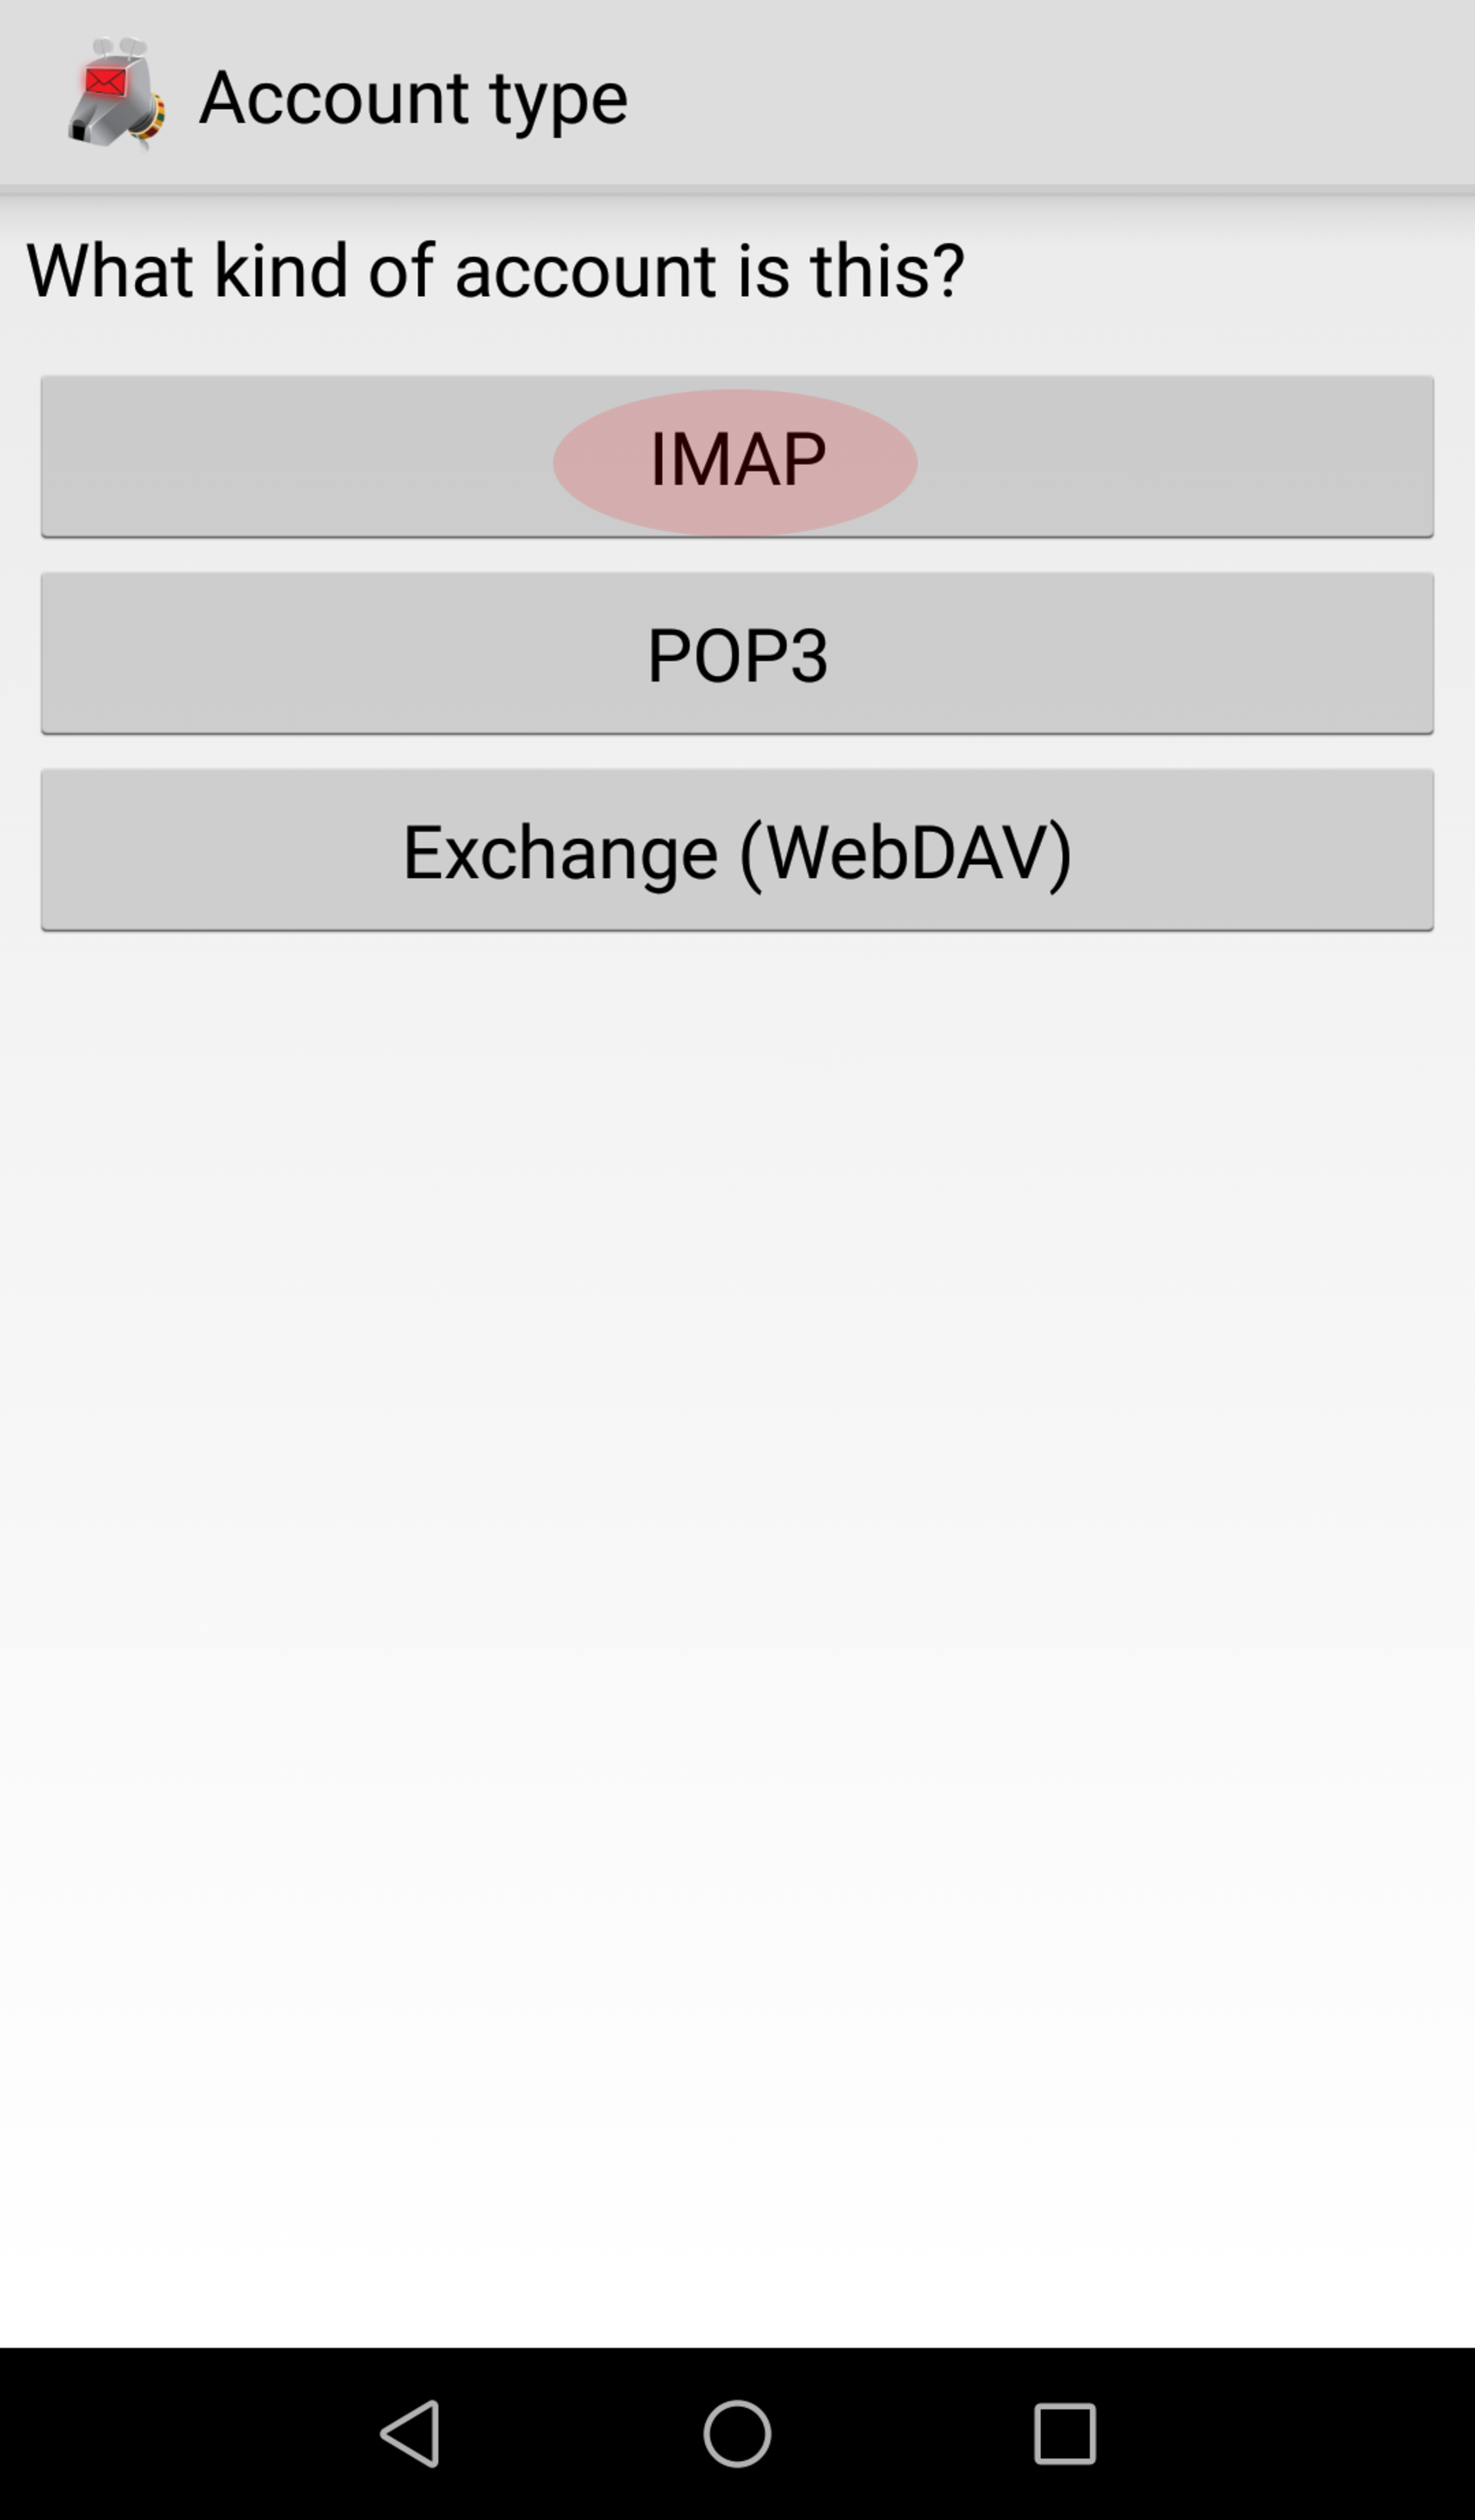
Step 4
Please select for the Account type "IMAP".
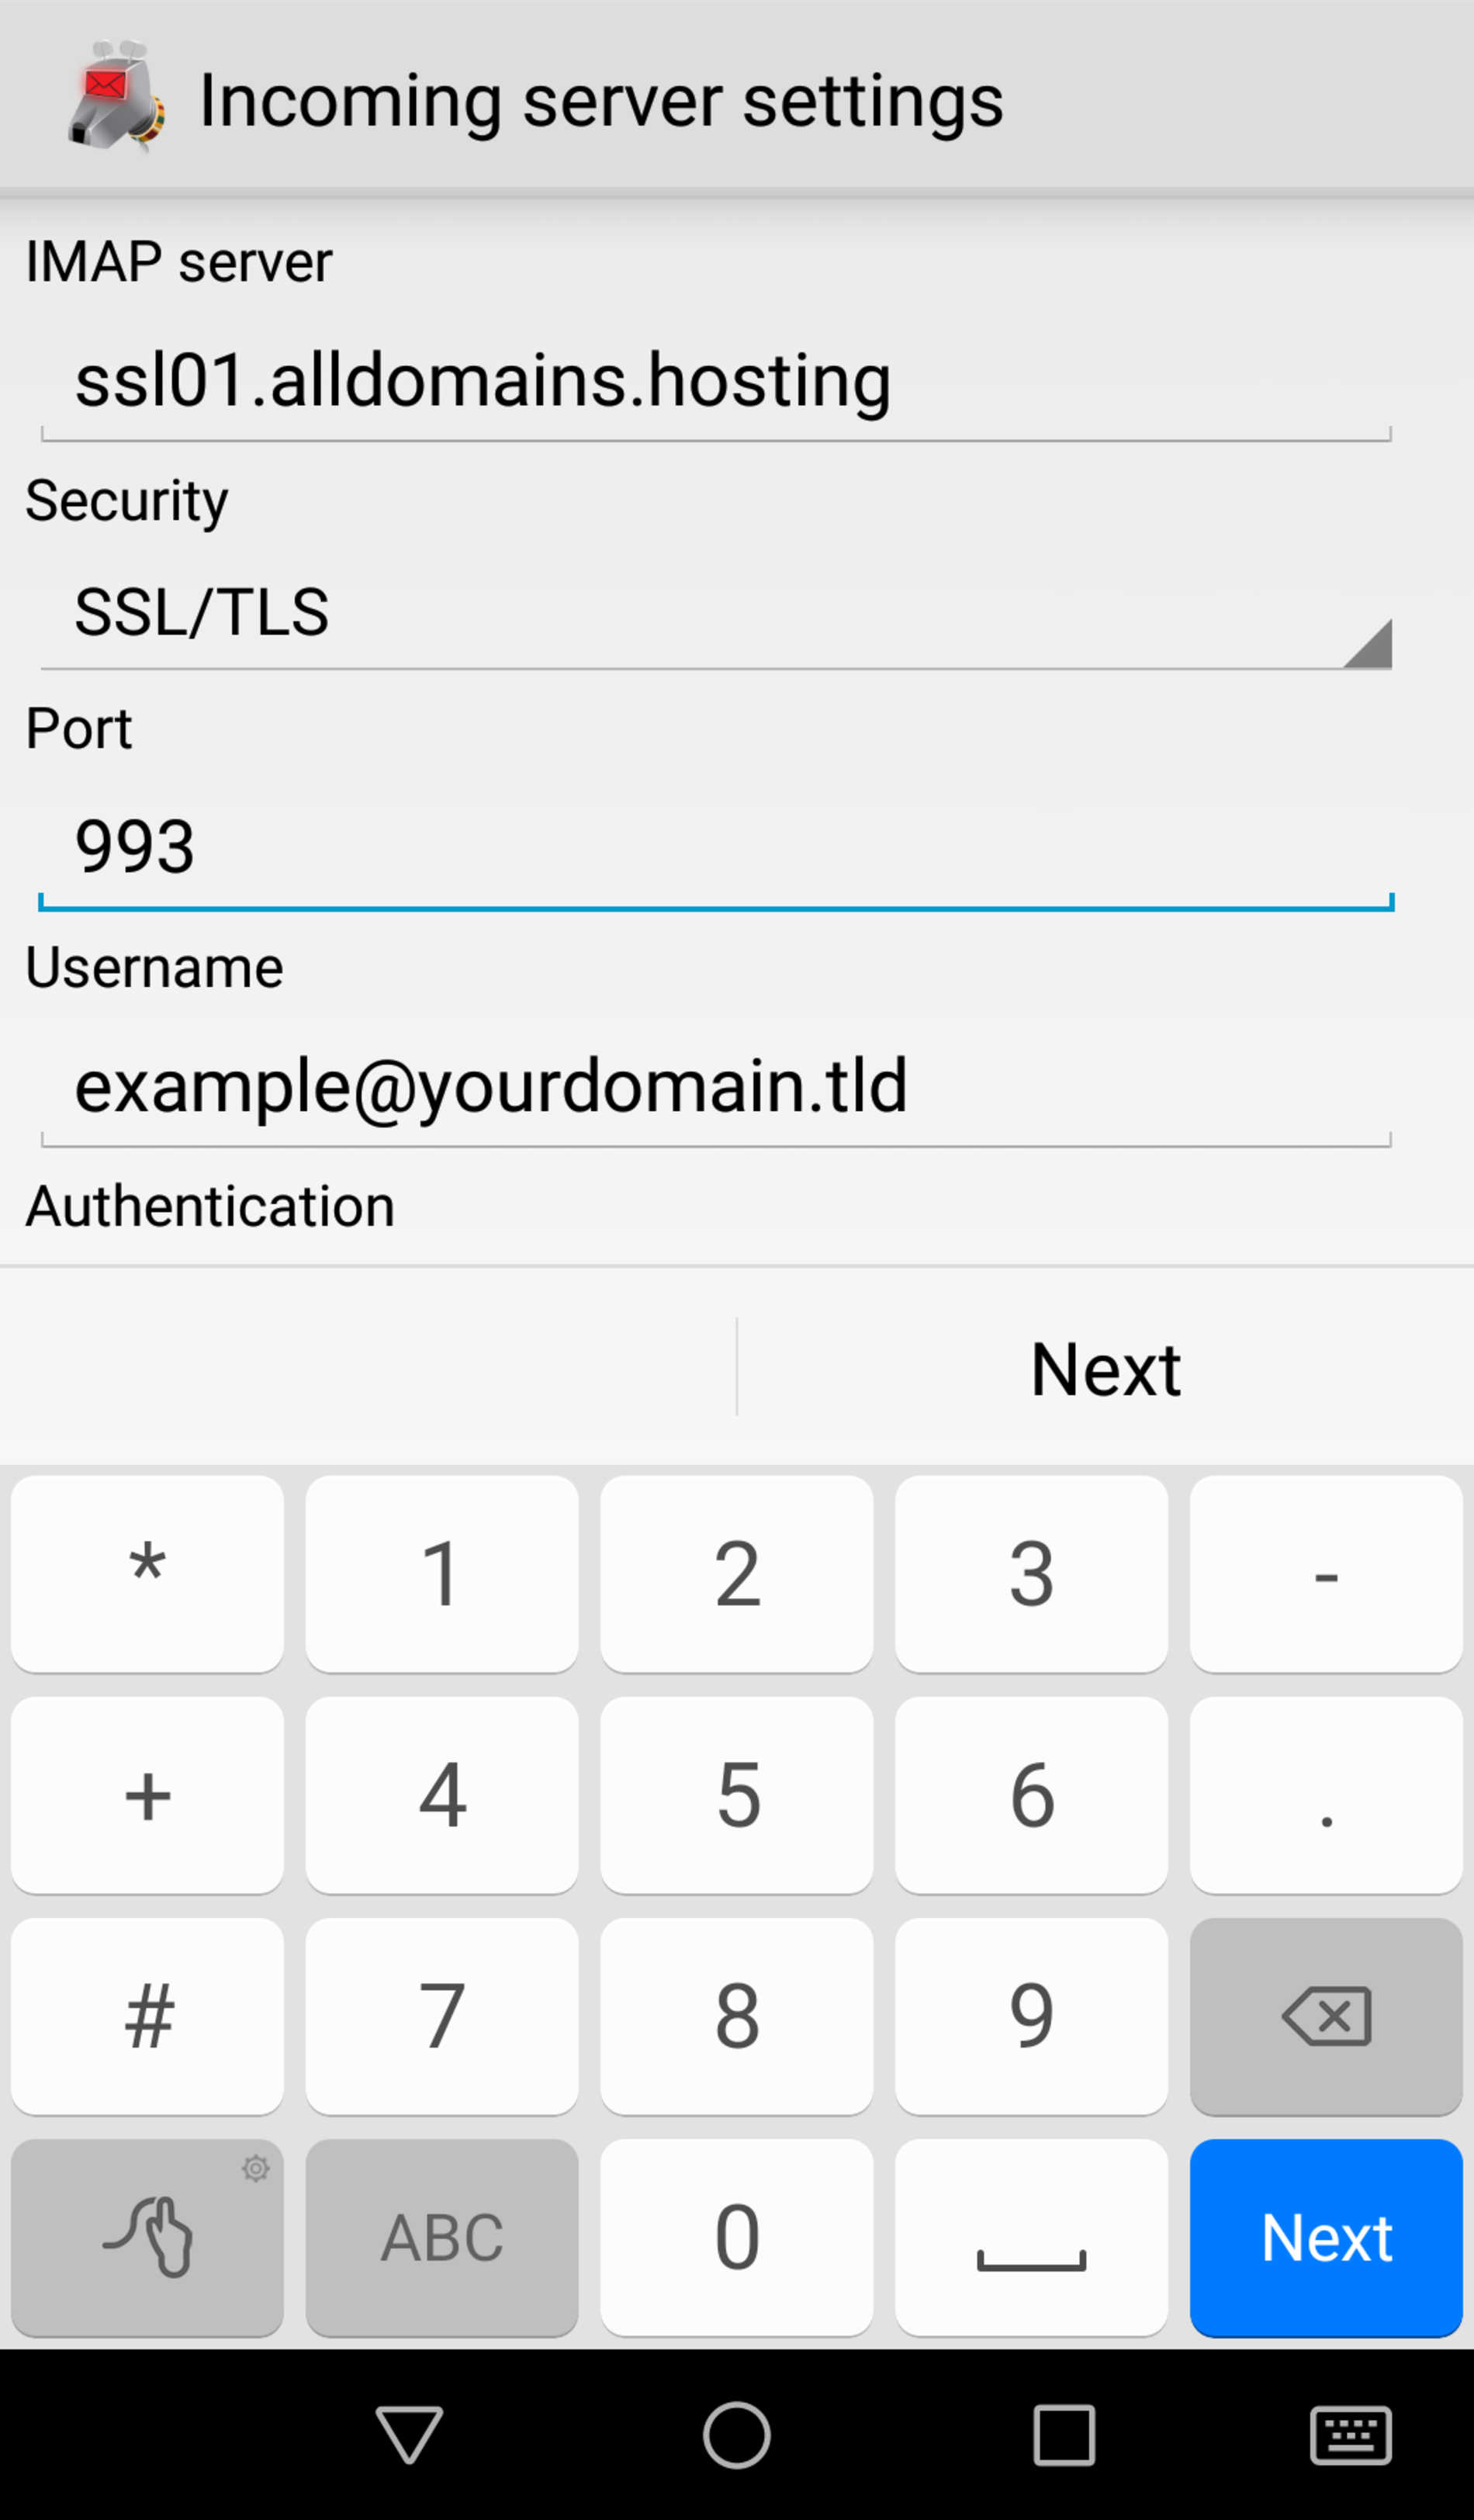
Step 5
Please enter the follow settings like it is shown on the screenshots to ensure you are using a SSL secured connection.
"Incoming server settings":
Type ssl01.alldomains.hosting into the field "IMAP server".
Use the "Security" type SSL/TLS and the "Port" 993.
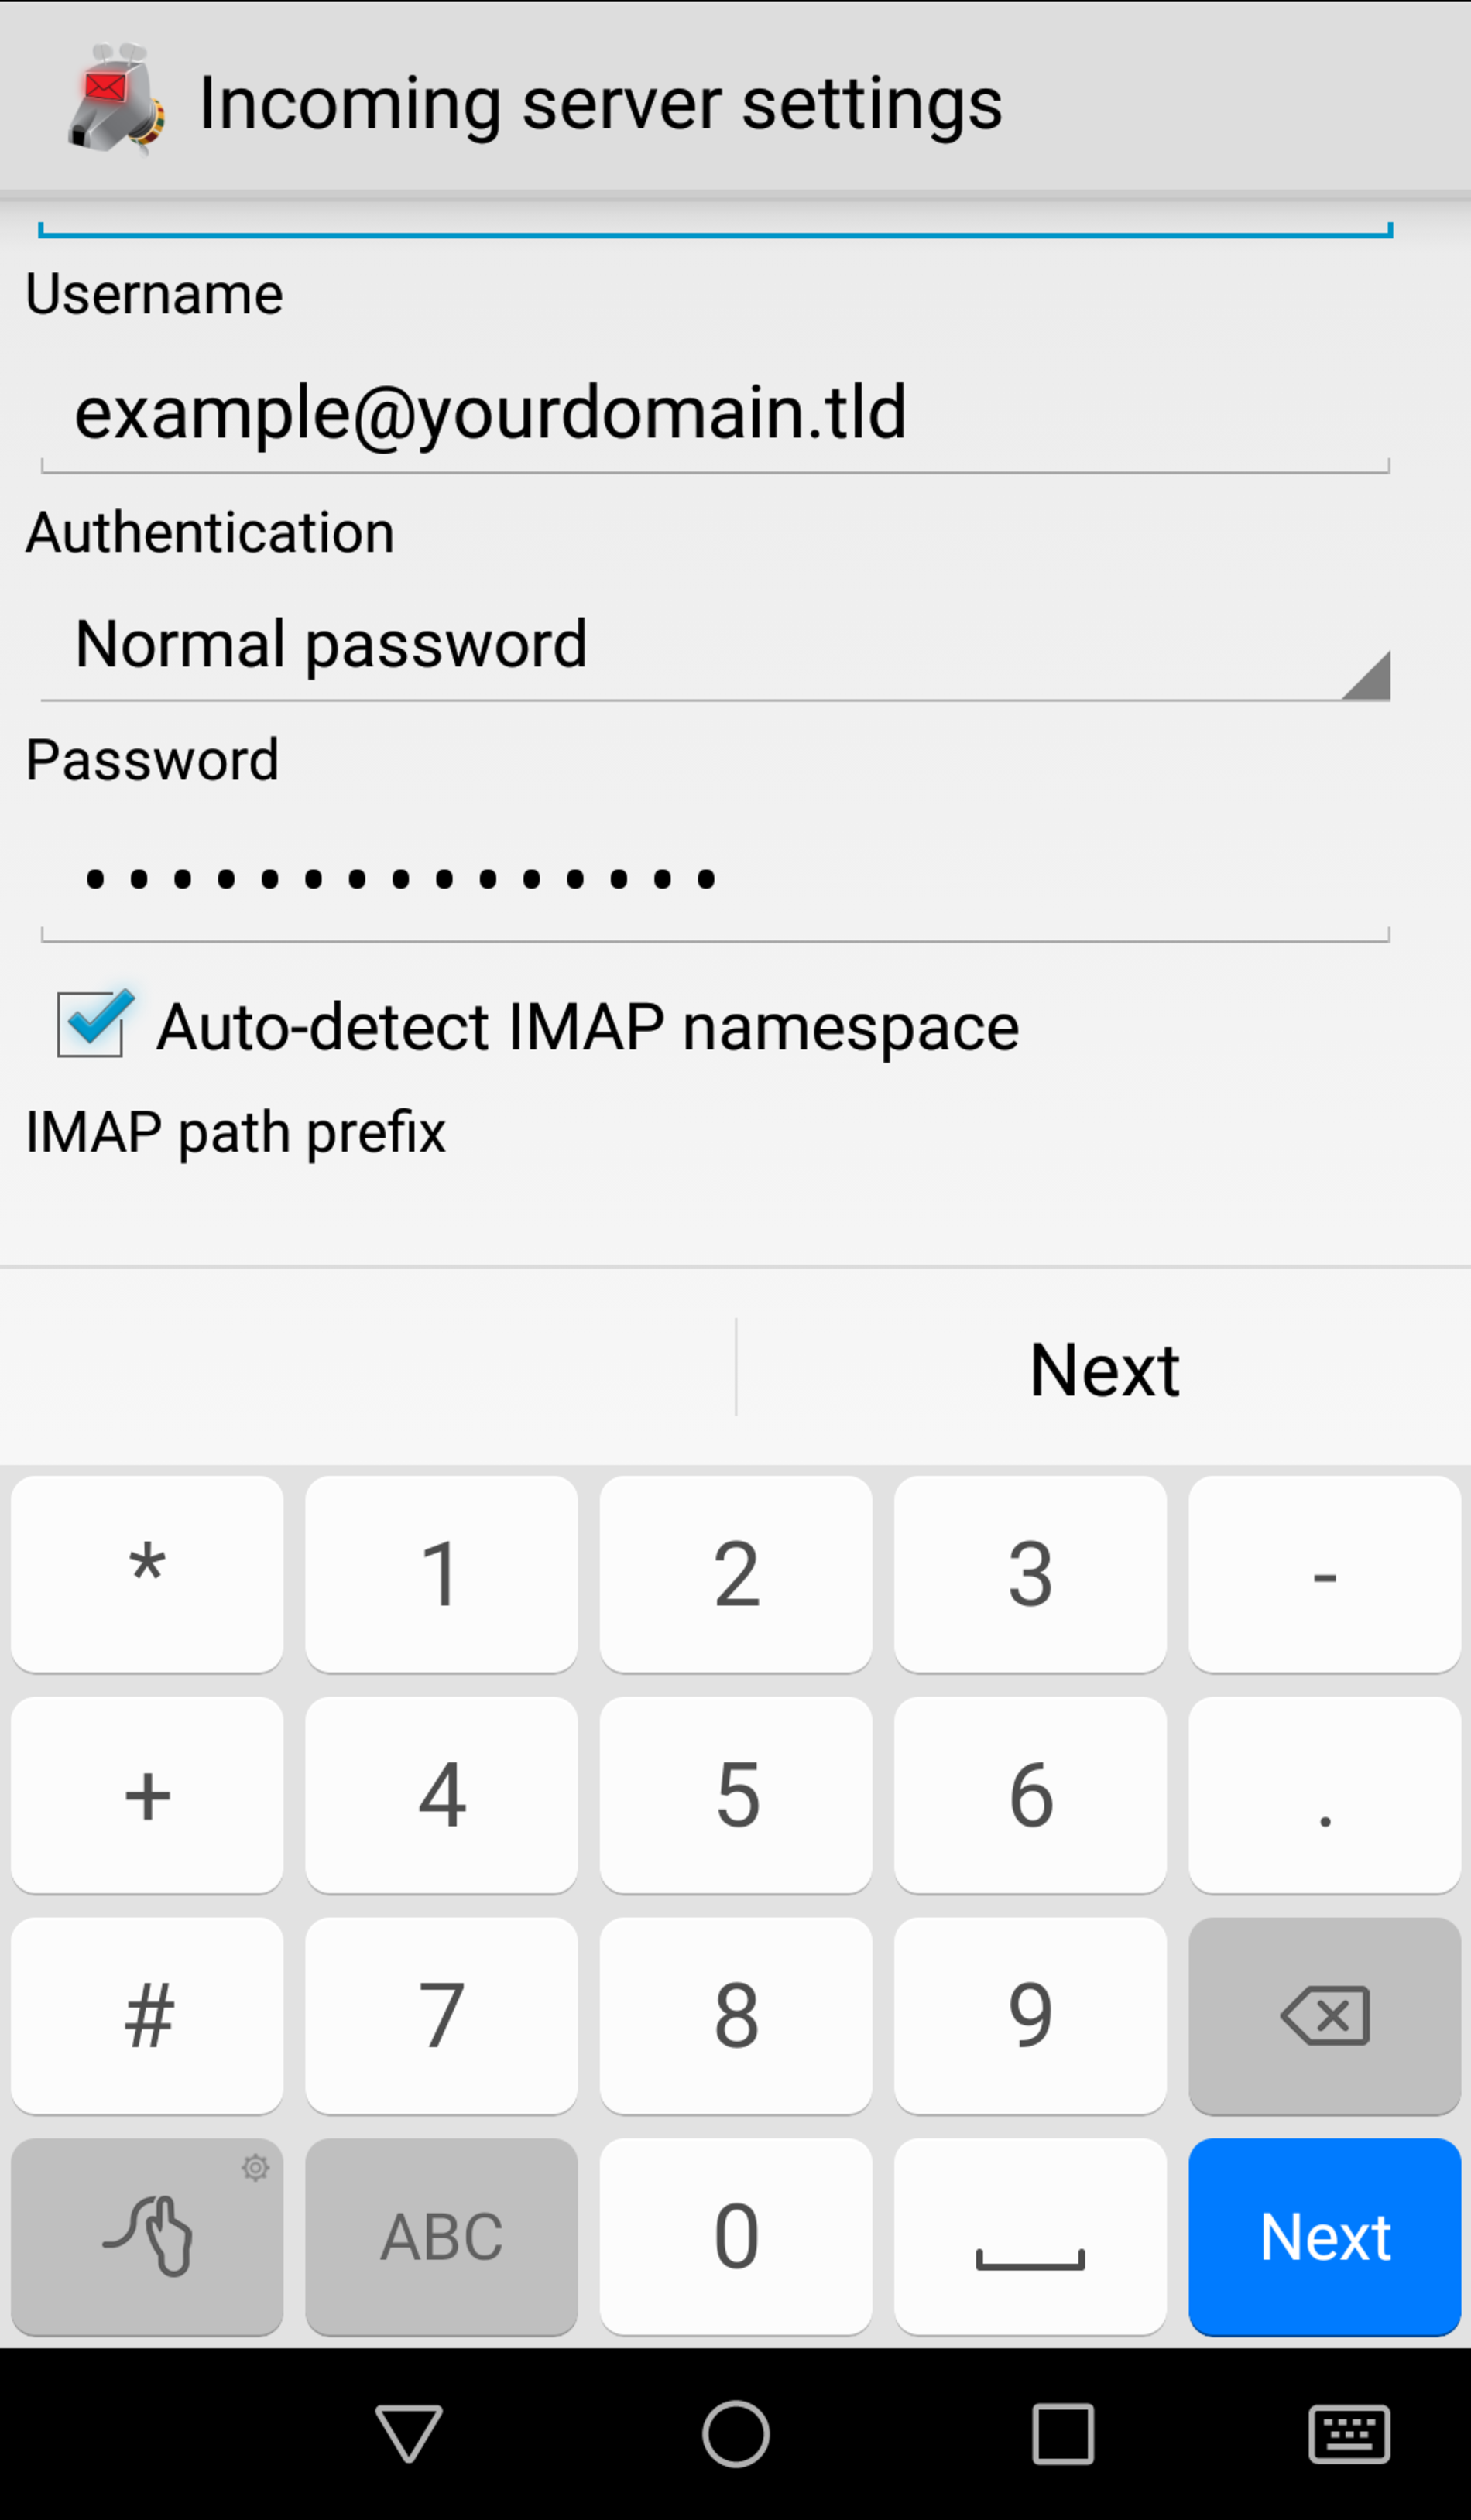
The "Username" is the e-mail address which you want to set up.
The "Authentication" is Normal password.
The "Password" is the one you set for your e-mail address at the Email Manager of your Control Panel.
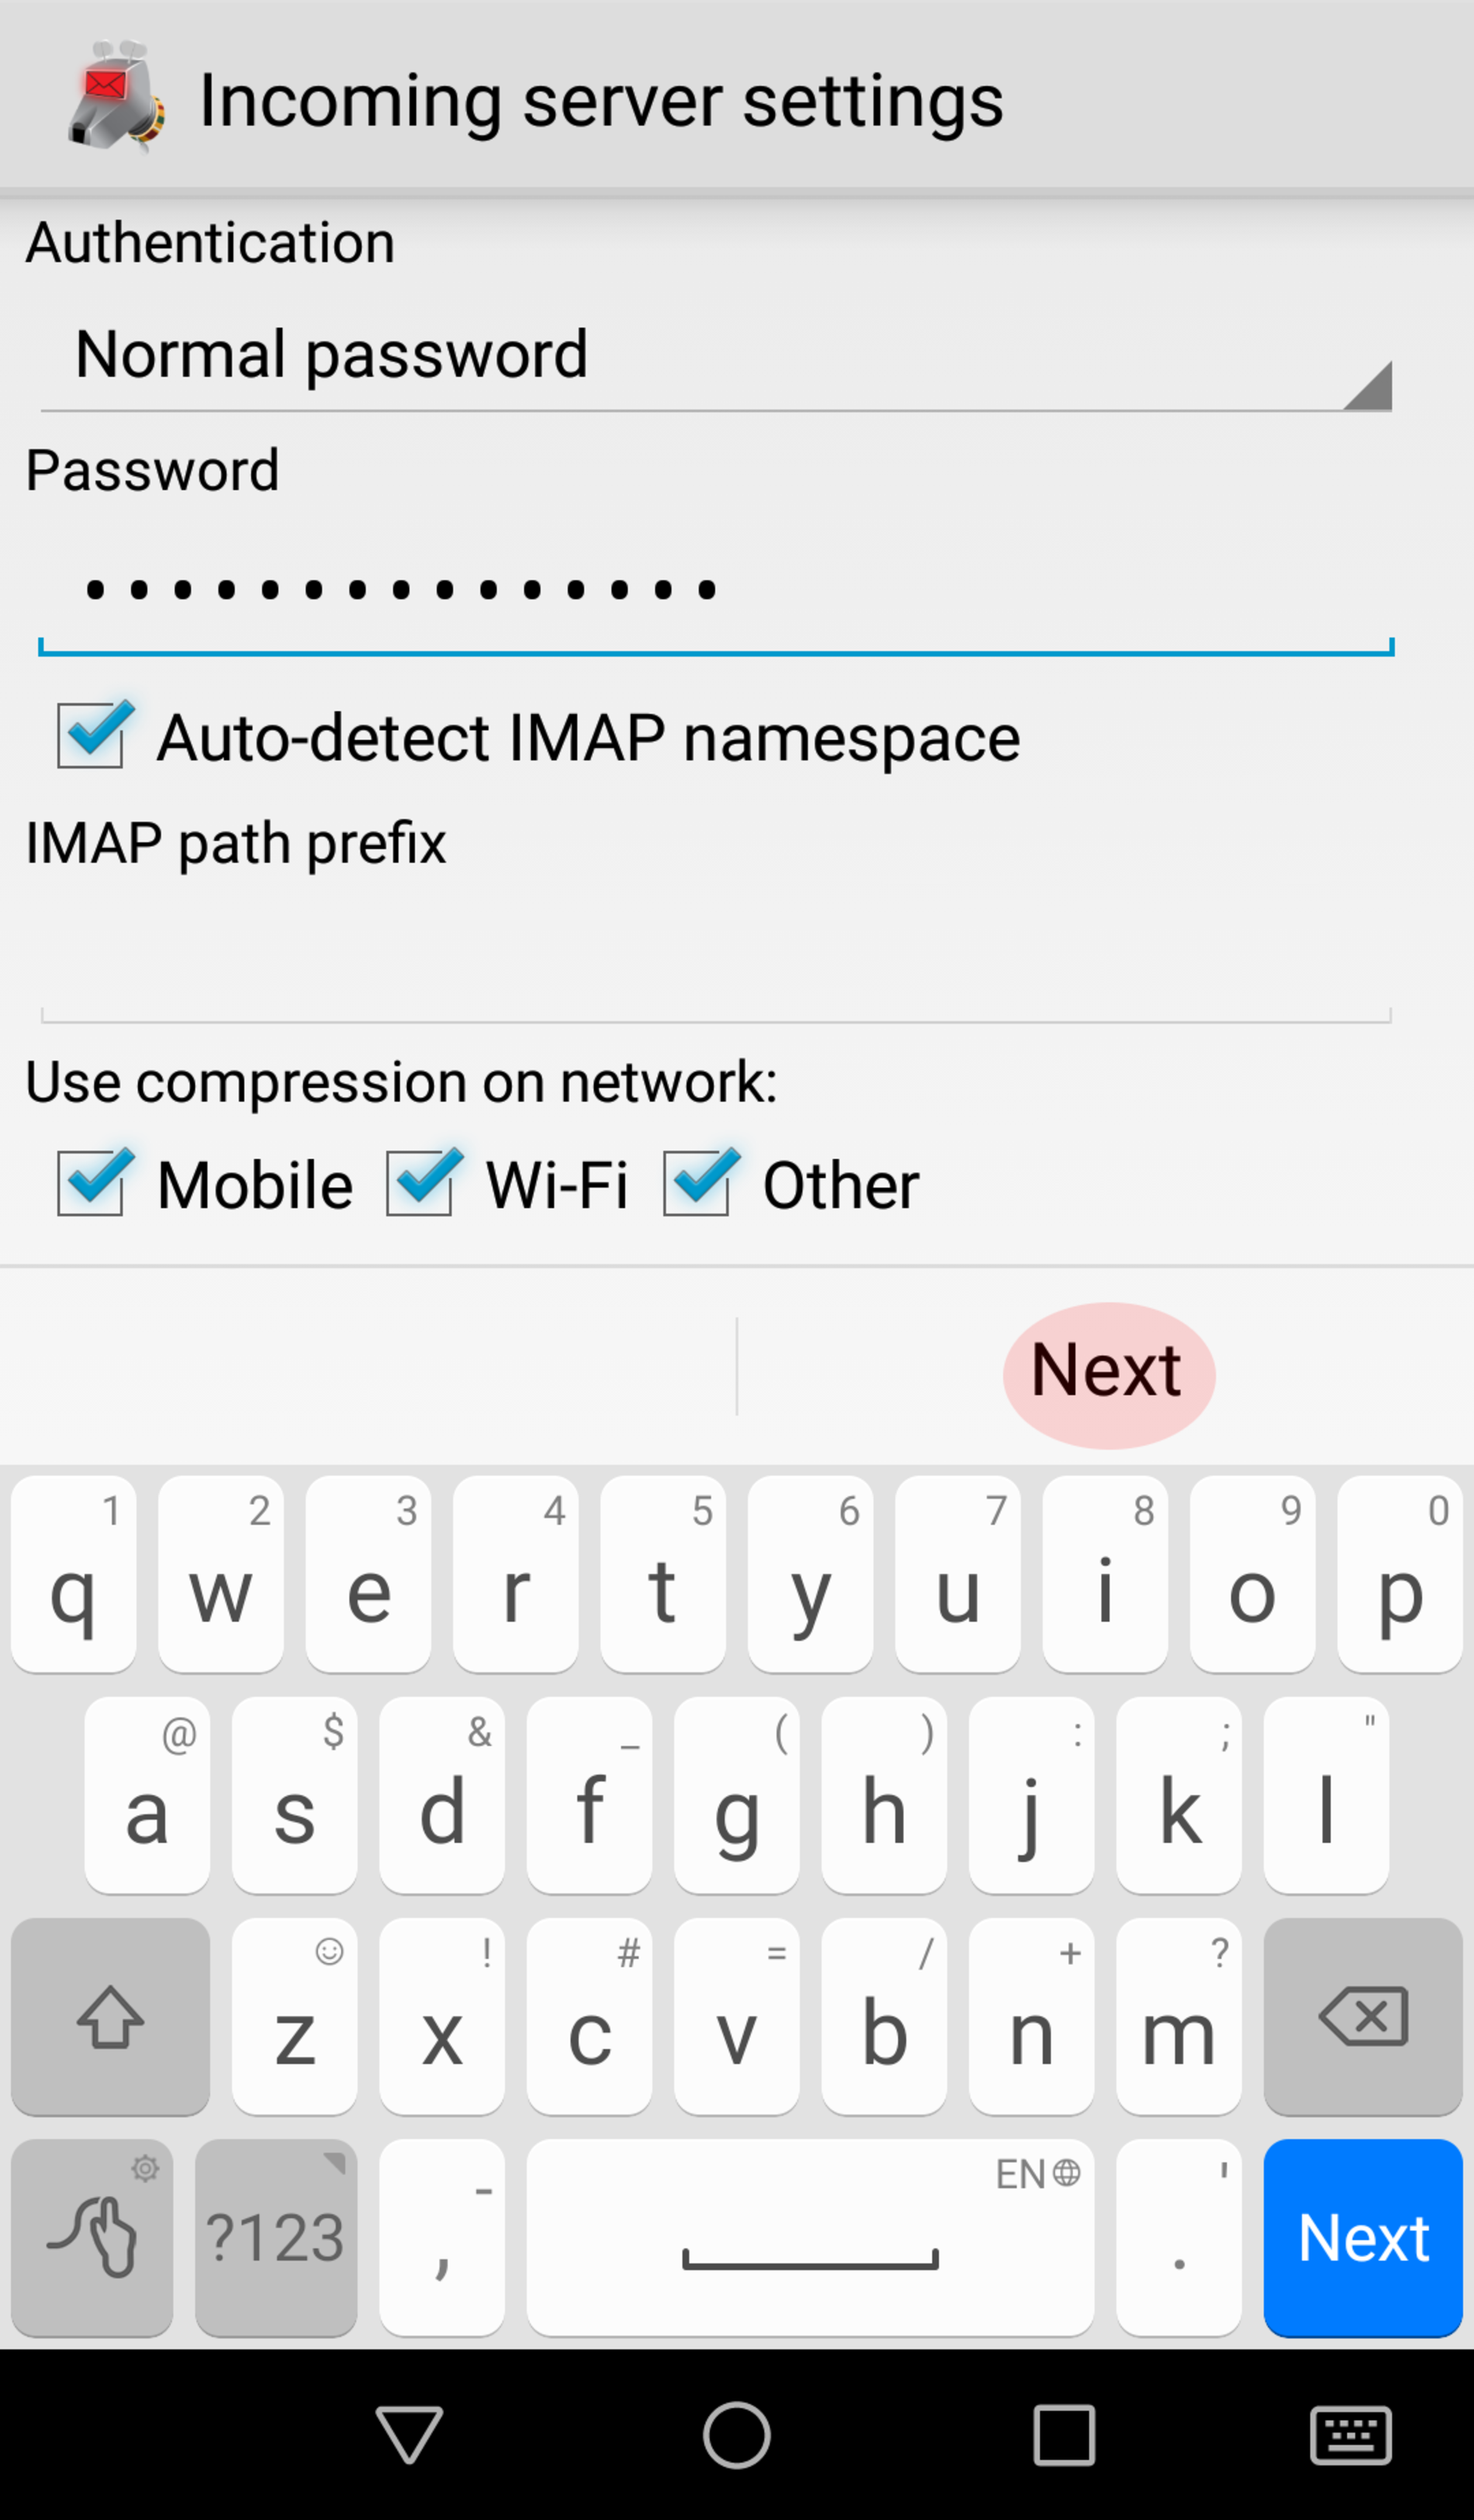
Make sure the box "Auto-detect IMAP namespace" is selected.
The last options at "Use compression on network" can be set as you prefer.
Double check your settings and continue with "Next".
Step 6
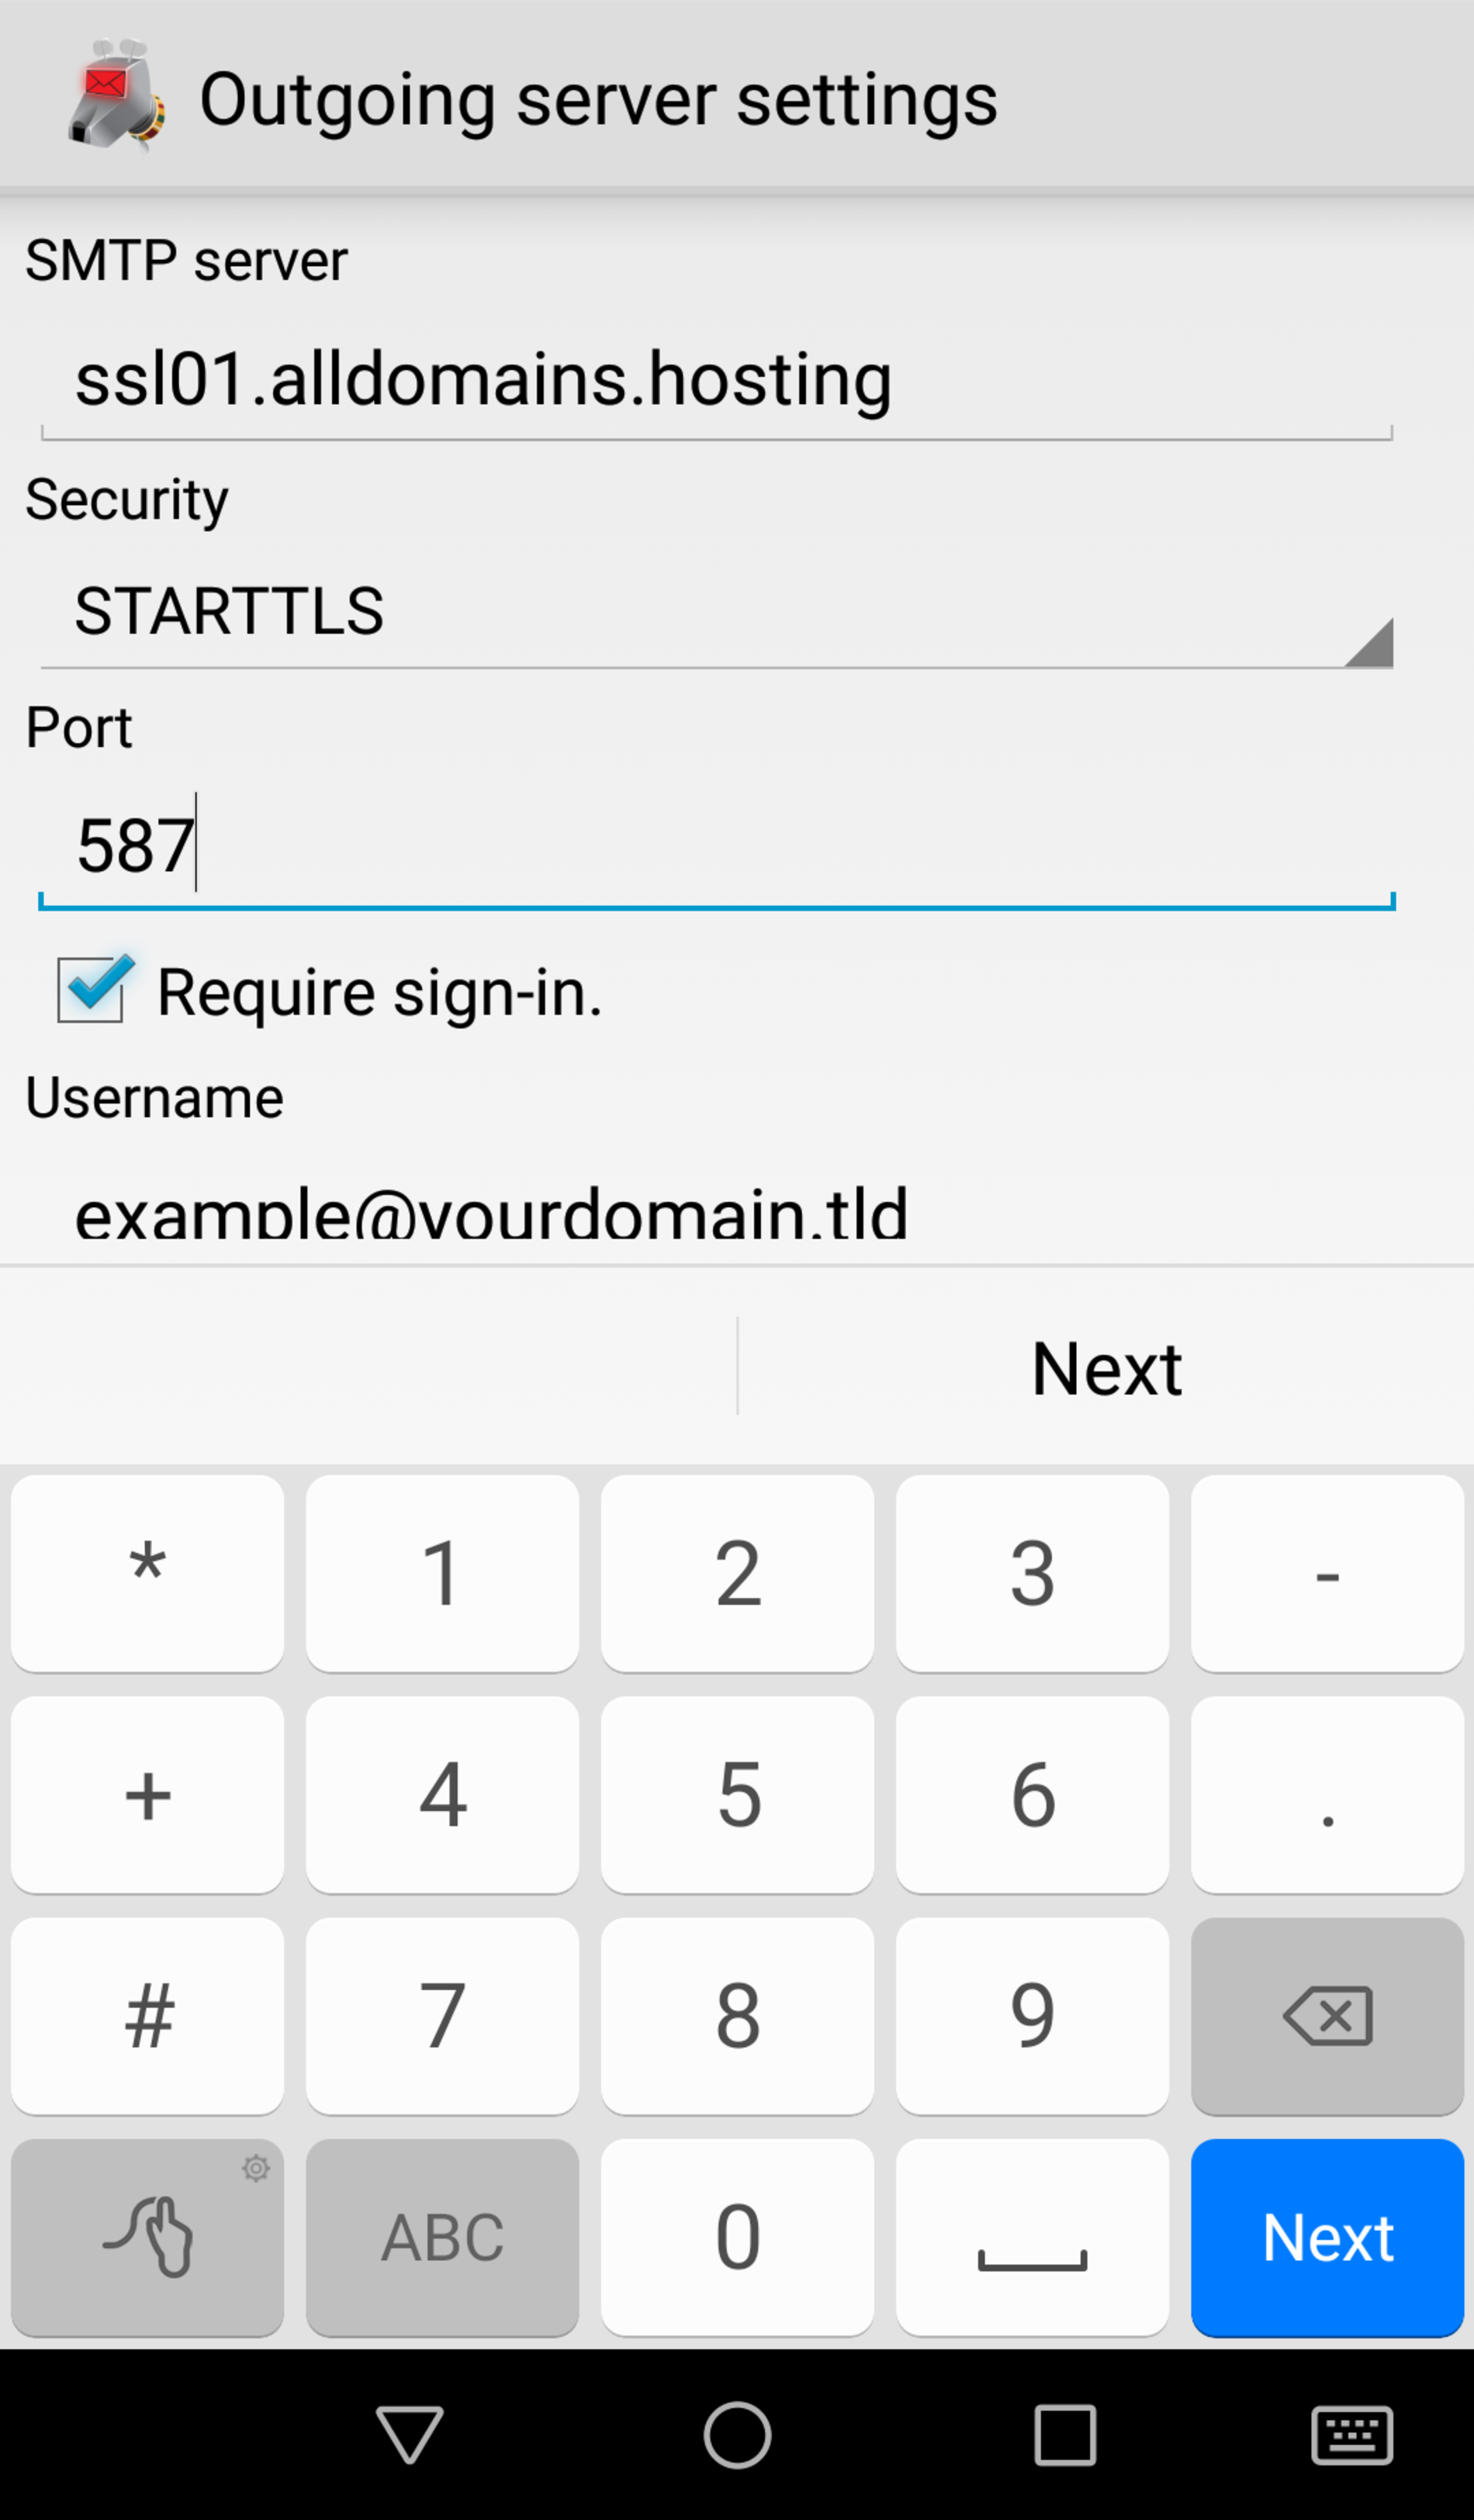
Please enter the settings for "SMTP server" as shown on the screenshots to ensure you are using a SSL secured connection.
The "SMTP server" is ssl01.alldomains.hosting.
The "Security" type is STARTTLS and you use the "Port" 587.
If you are using SSL/TLS as "Security" type please enter the "Port" 465.
Note:
All needed information (ports, server, etc.) for setting up your e-mail address at an e-mail client you can get from the Email Manager Module of your Control Panel. Hit the button "Action >" besides your e-mail address and open "Mail Client Settings". Make sure the box "Require sign-in" is selected. Select Normal password as "Authentication" and type in the password associated to the e-mail address you are setting up. Double check your settings and continue with "Next".

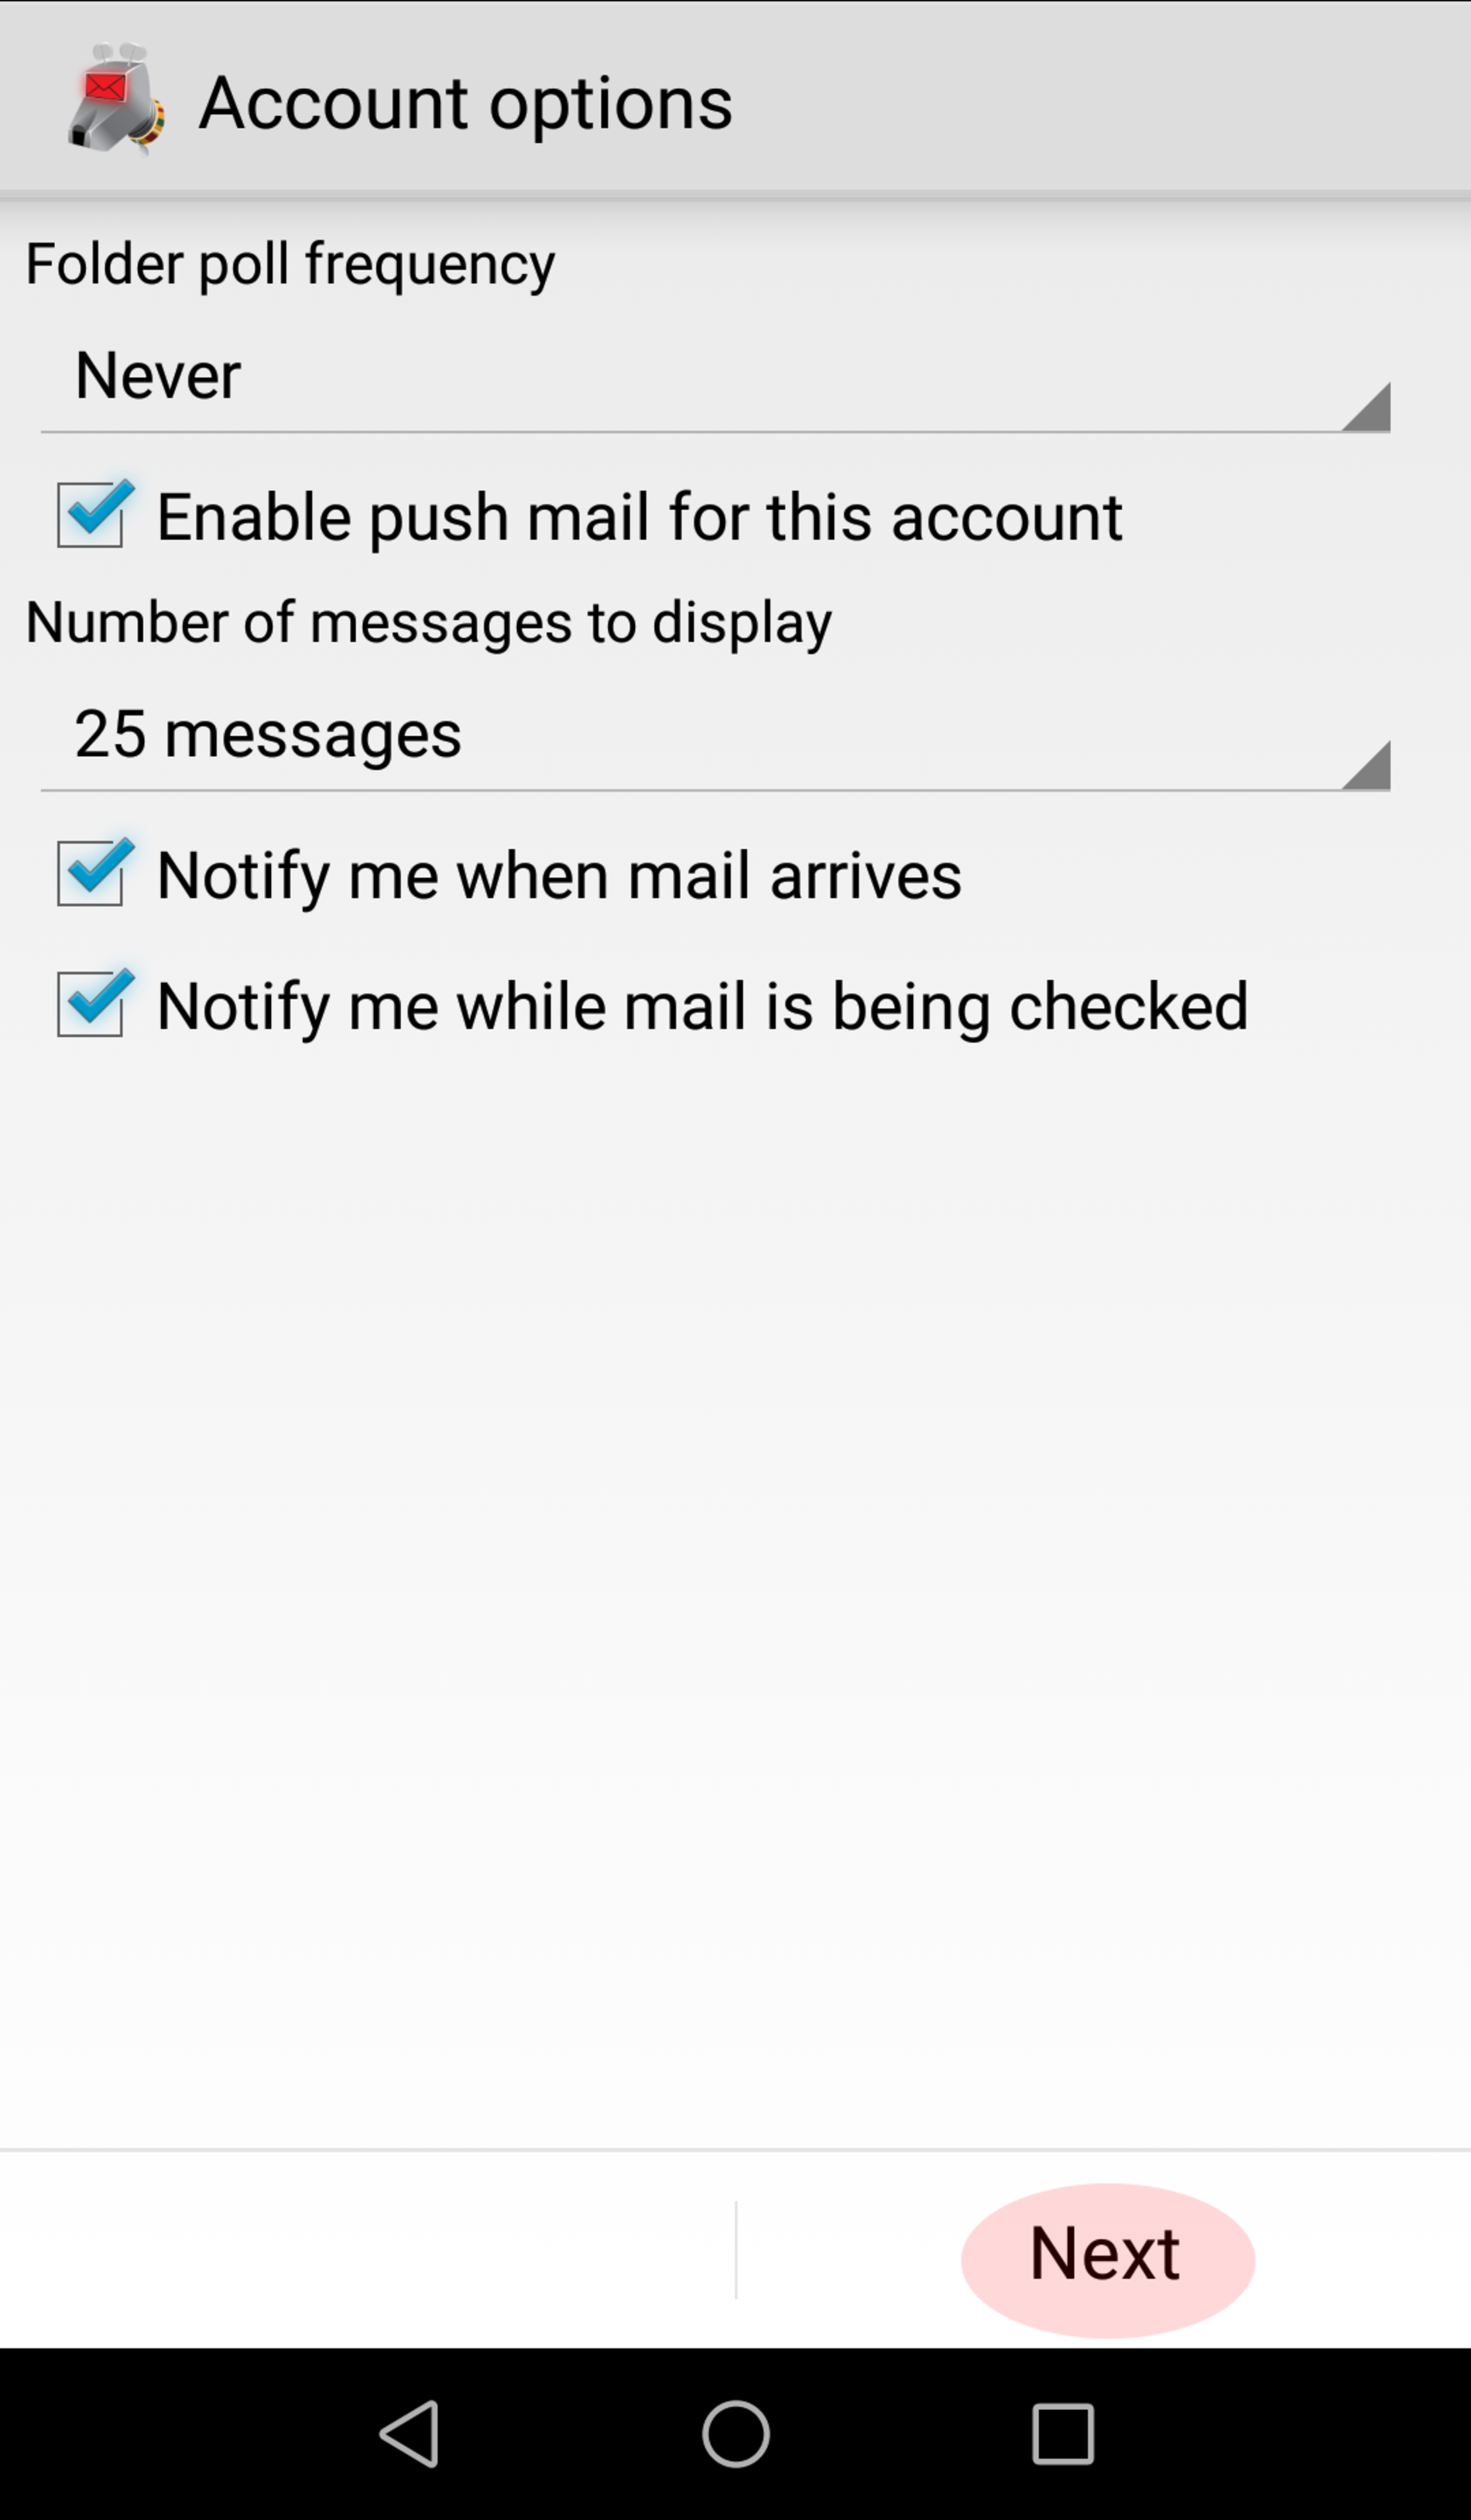
Step 7
The "Account options" can be set as you prefer.
Click on "Next".
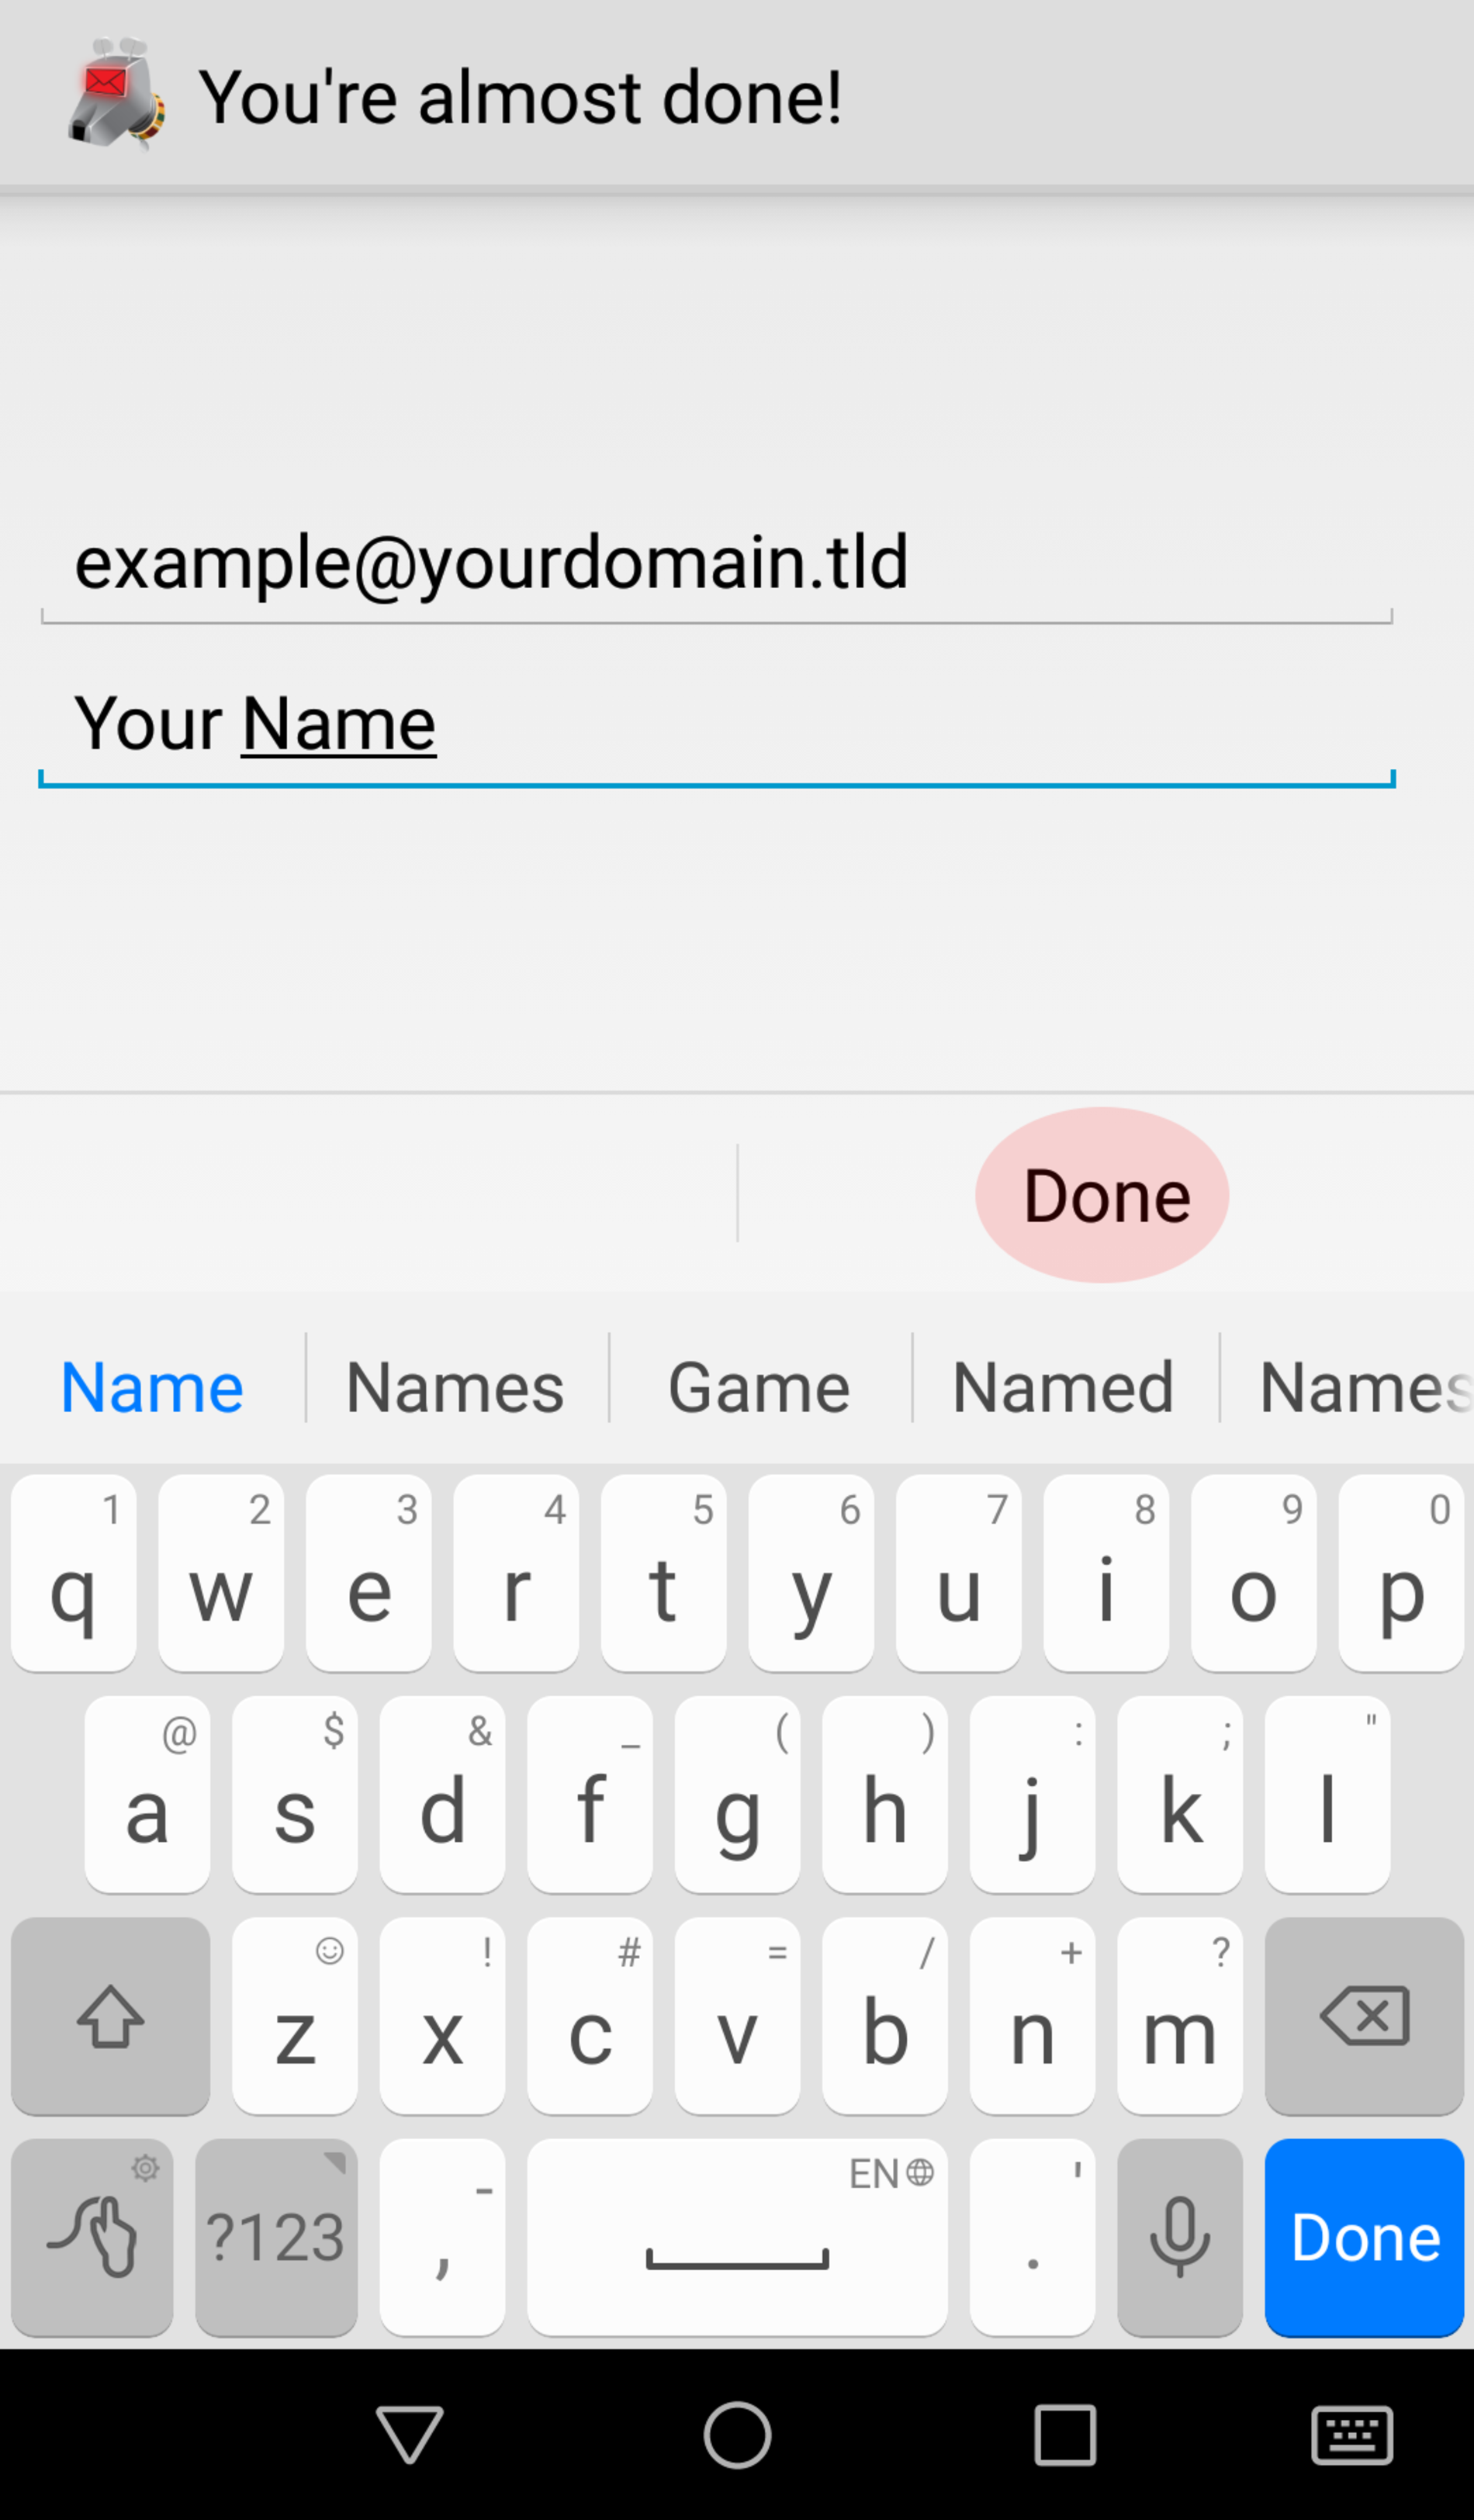
Step 8
Now you can enter a account name for your e-mail account and a name which is displayed at sent messages.
Close the setup assistant by clicking on "Done".
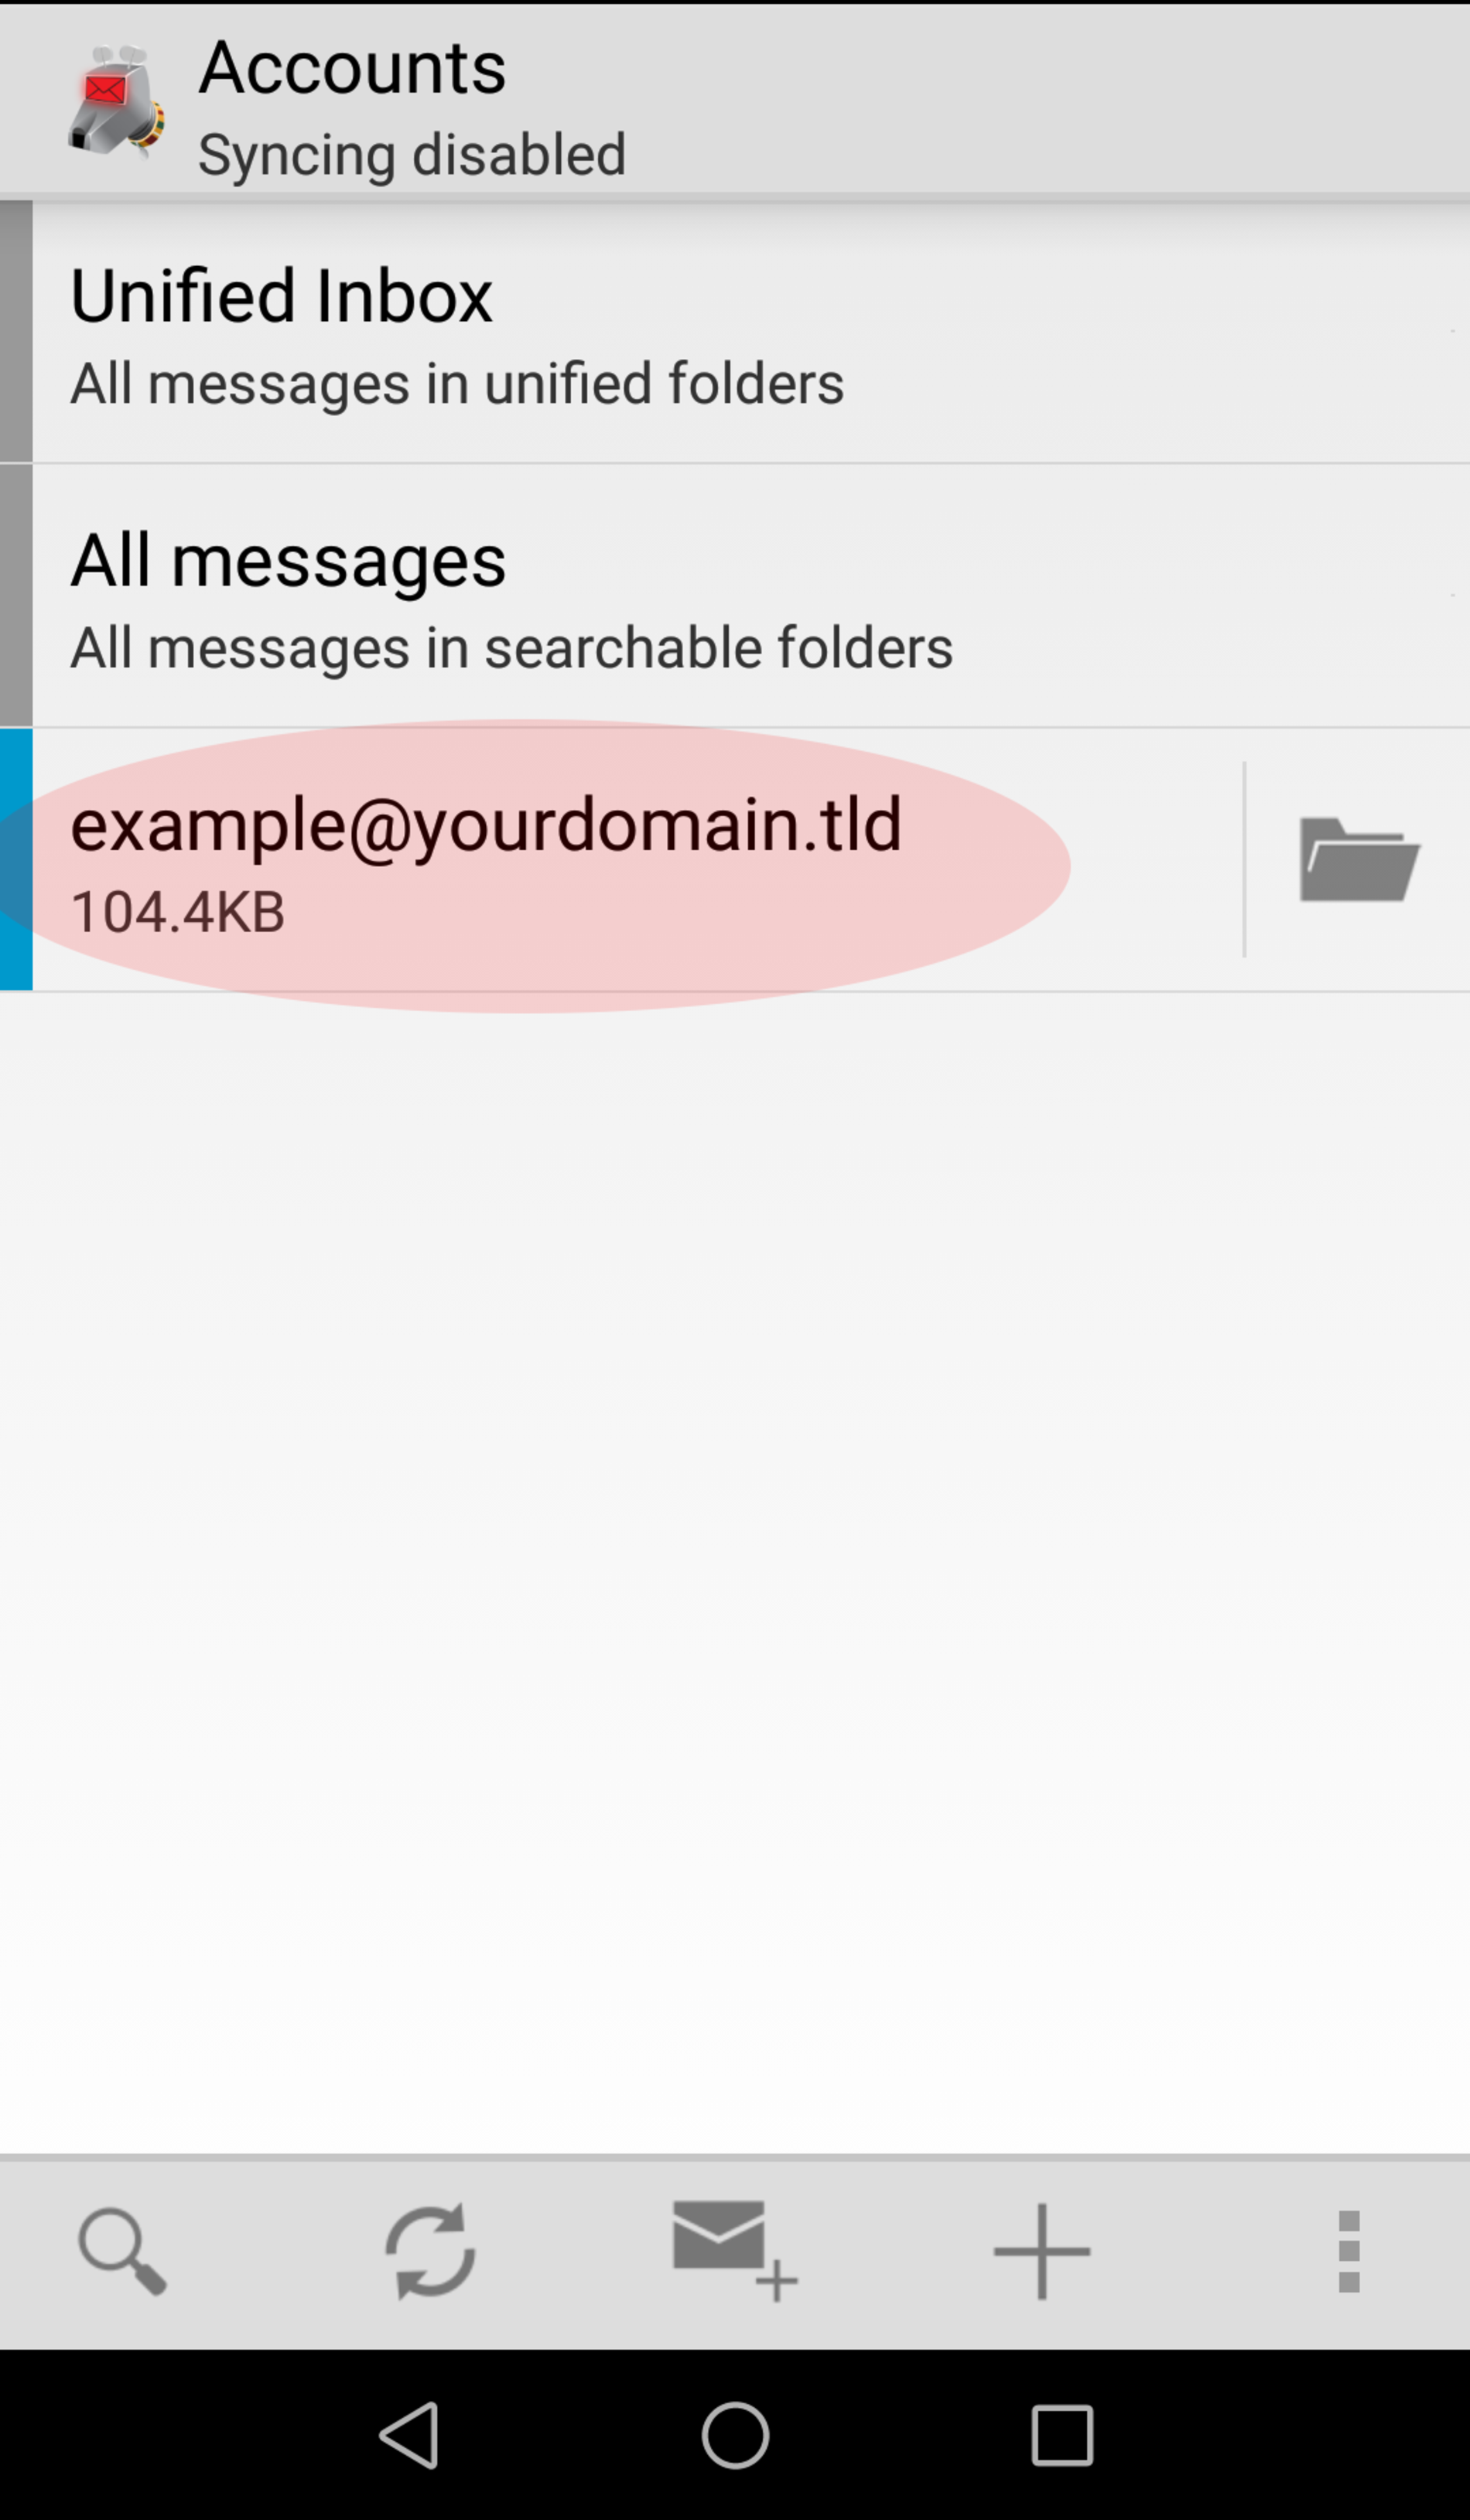
Step 9
You are now finished with the setup of the e-mail account.