Set up new e-mail account at Mac OS X from version 10.11 onwards
Bellow you find a detailed description of how you set up a new e-mail account in Mac OS X from version 10.11 onwards.
Note:
If the e-mail address you want to set up was newly created, we recommend to login into the webmail of your Control Panelbefore you start the setup. This way all the directories for example sent messages, deleted messages or drafts are created.Start your webmail:
To start your preferred webmail which was set at your Control Panel simply attach the alias /up to your domain (yourdomain.tld/up). You also can use the Control Panel module Webmail to start the webmail client. More information about webmail and e-mail.
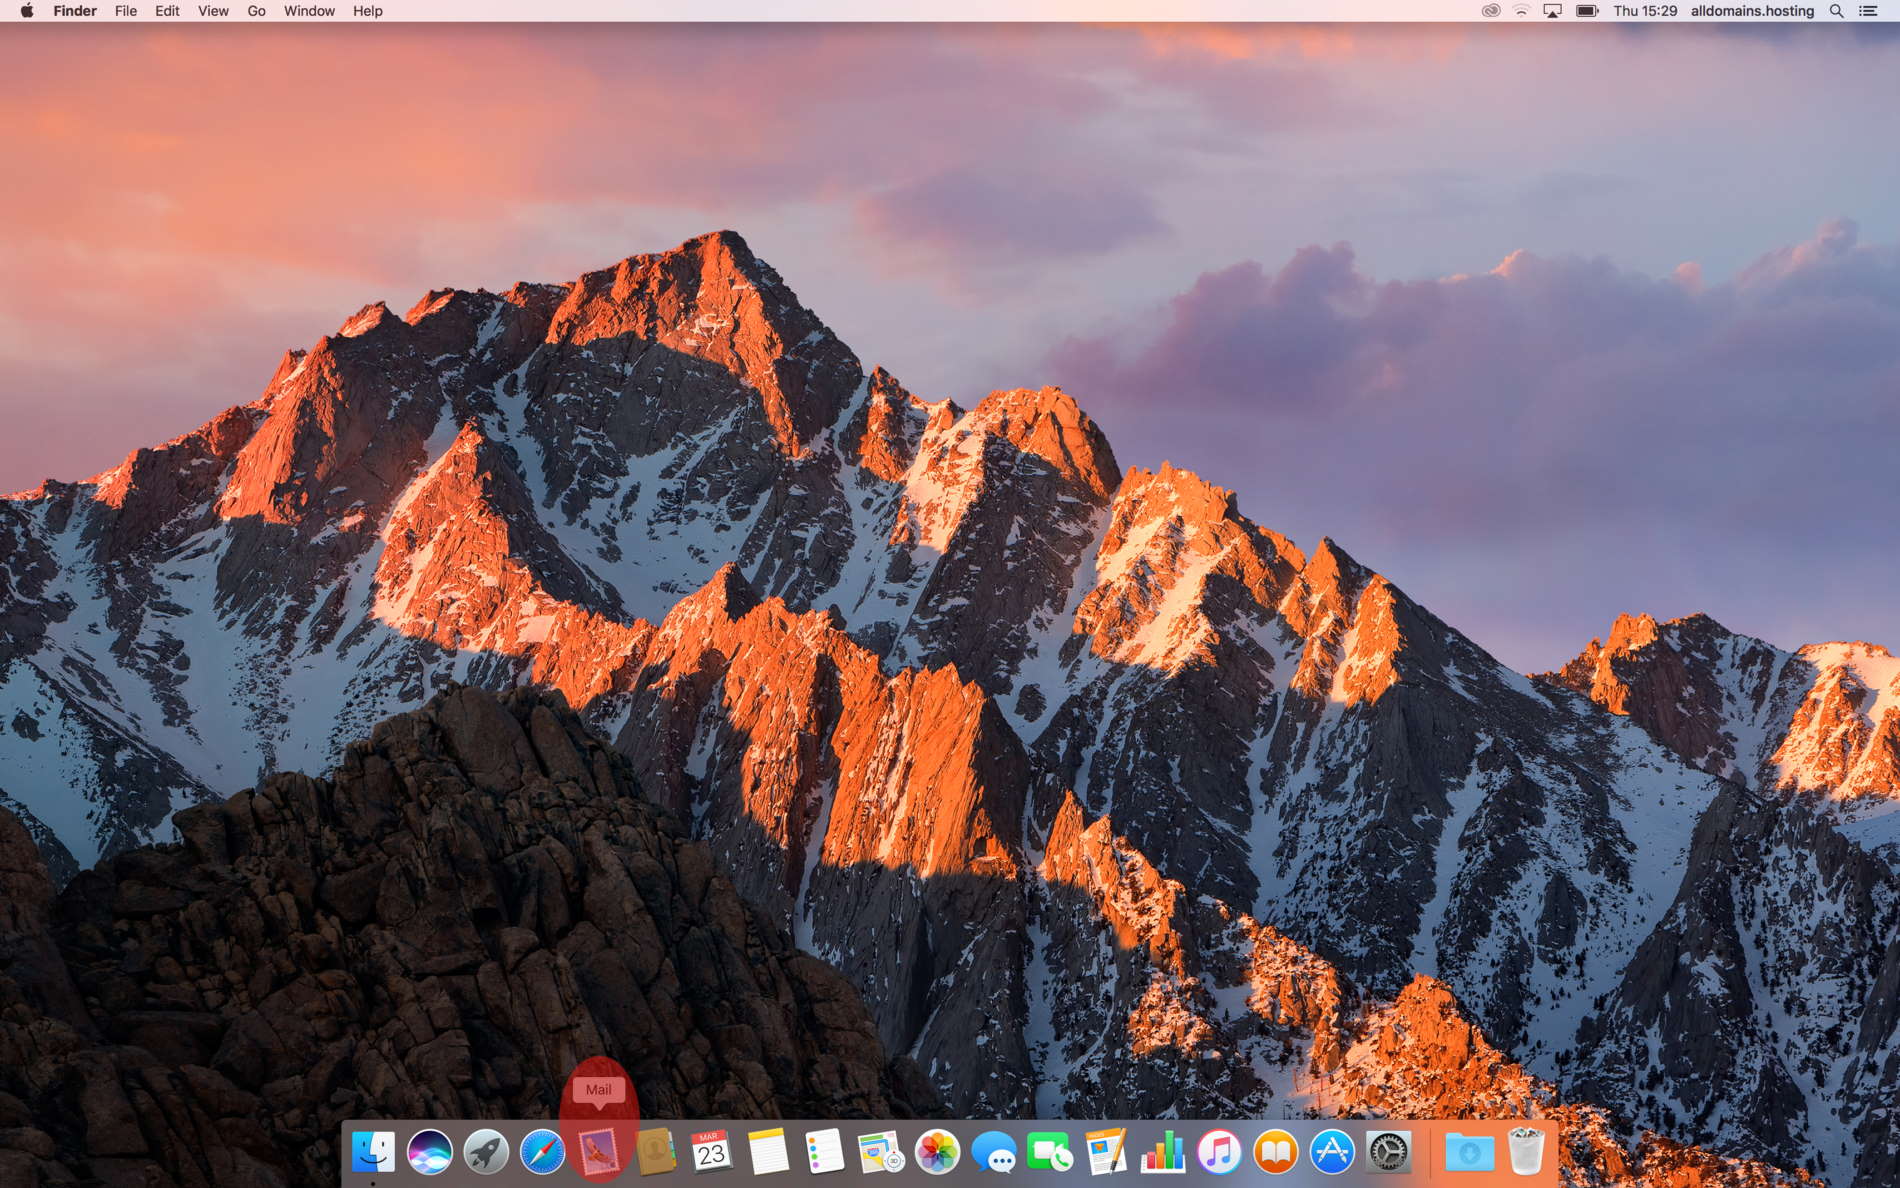
Step 1
First start the default mail client which is already installed at Mac OS X.
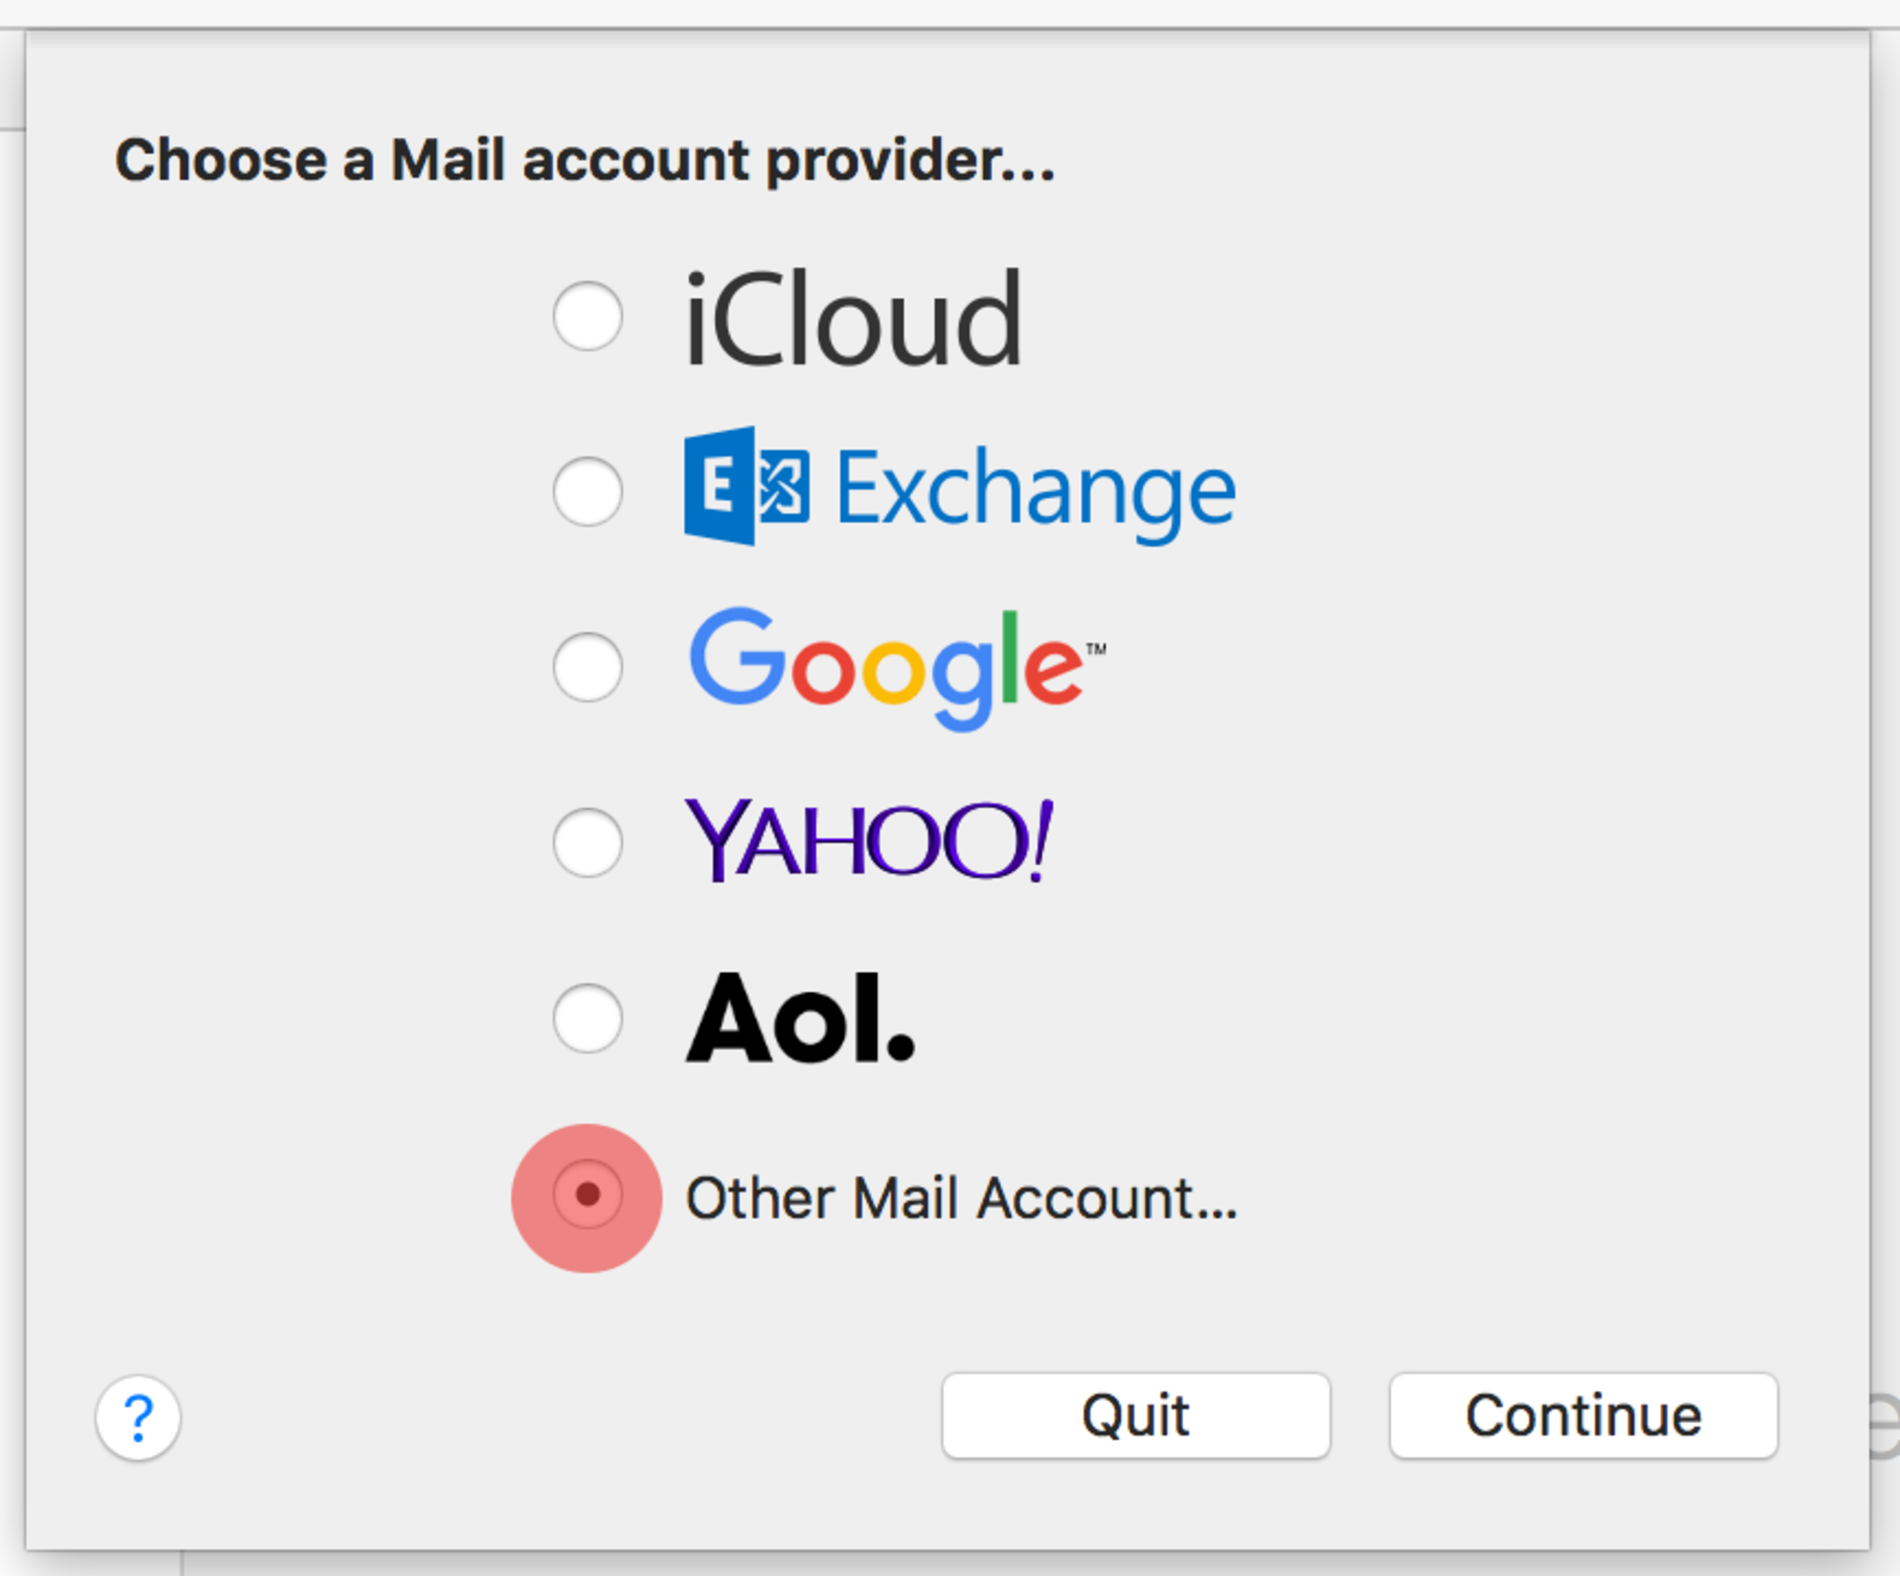
Step 2
Select the last option in this list "Other Mail Account…".
Go on with "Continue".

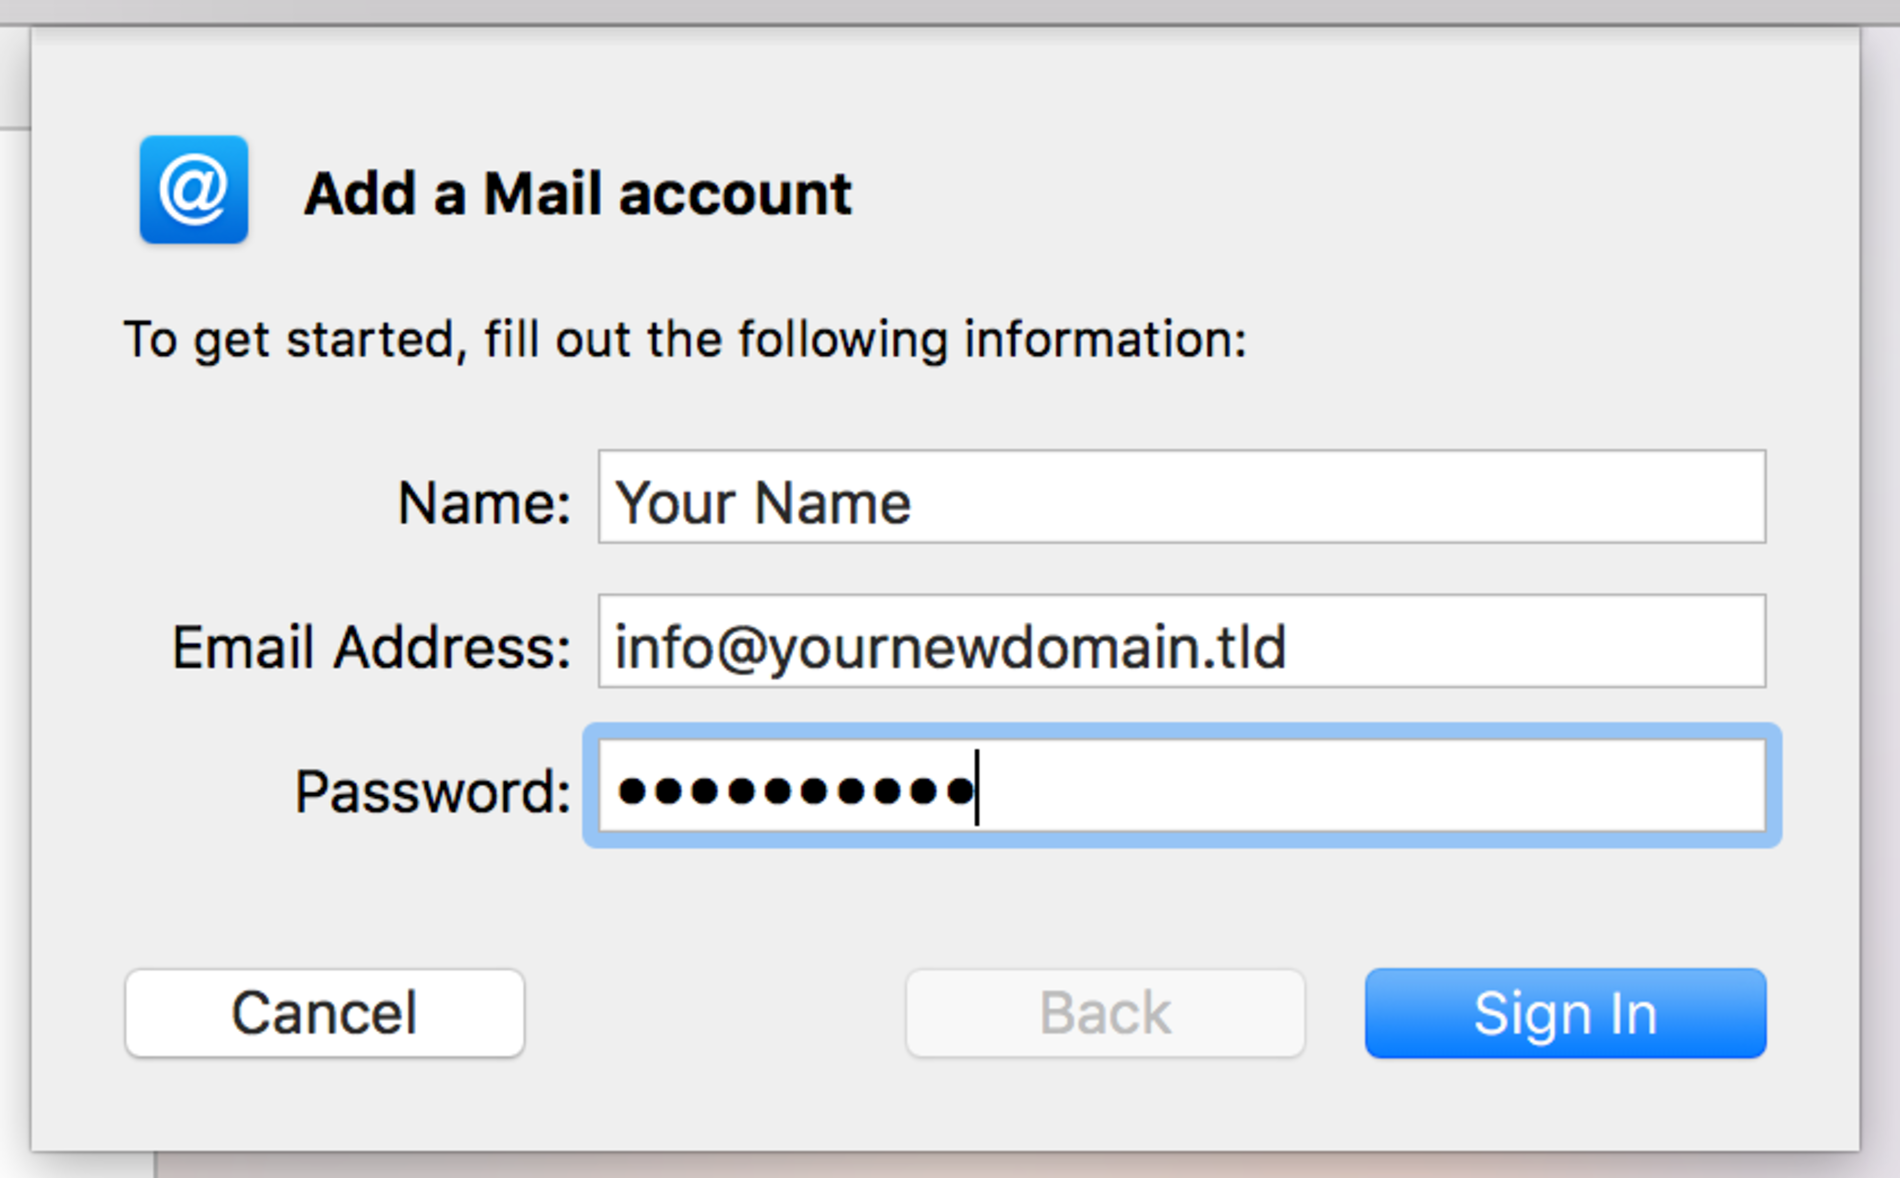
Step 3
Please enter your name at the field "Name".
Type in the e-mail address you want to set up and the associated password which you had set for this e-mail account in your Control Panel.
Continue with the "Sign In" button.

Step 4
Important:
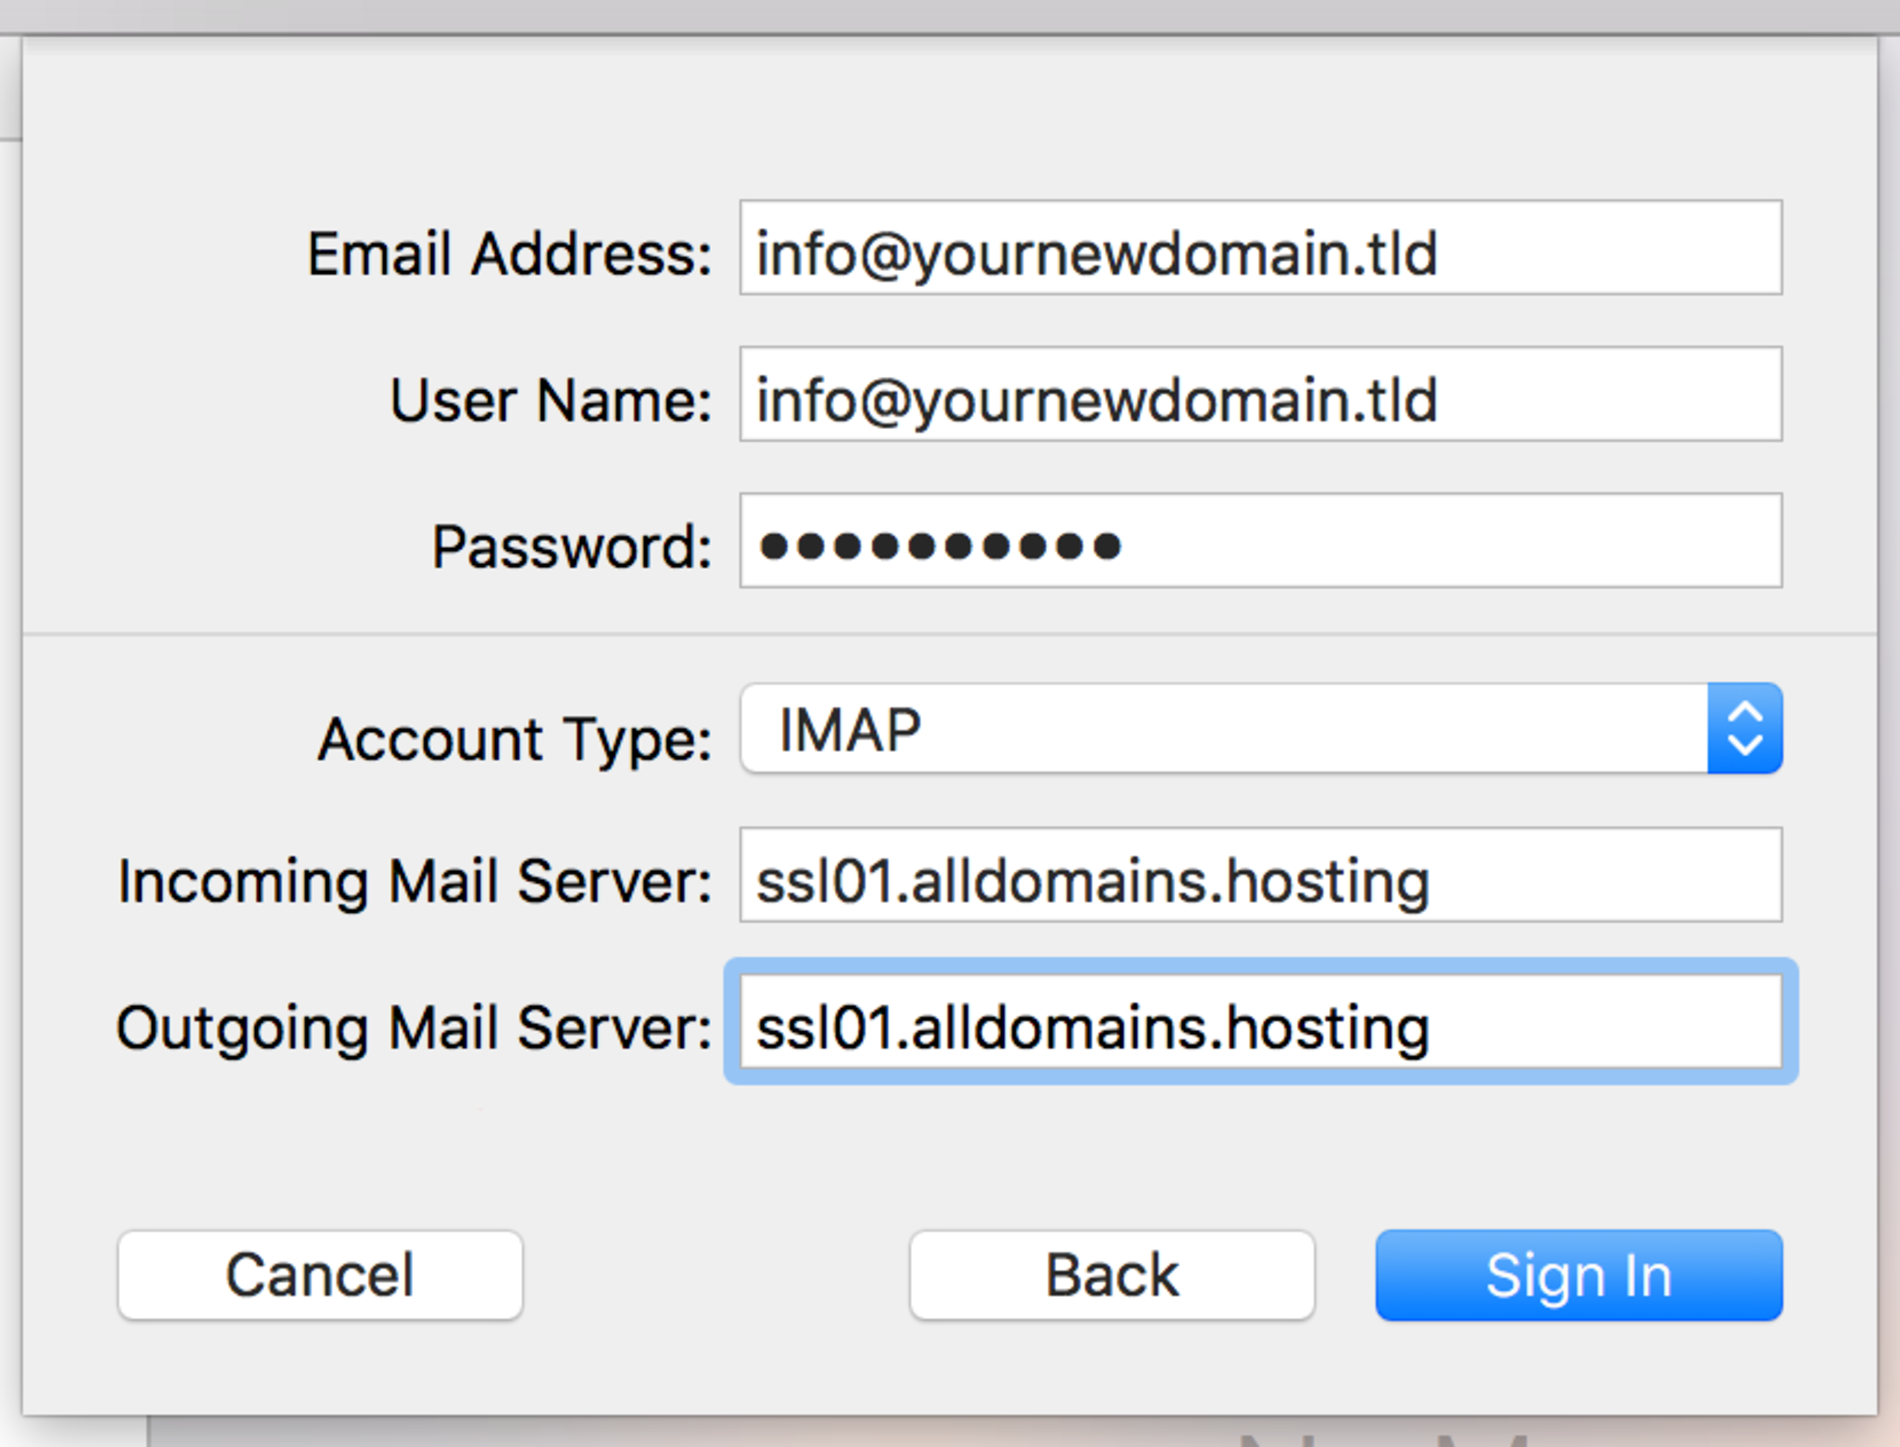
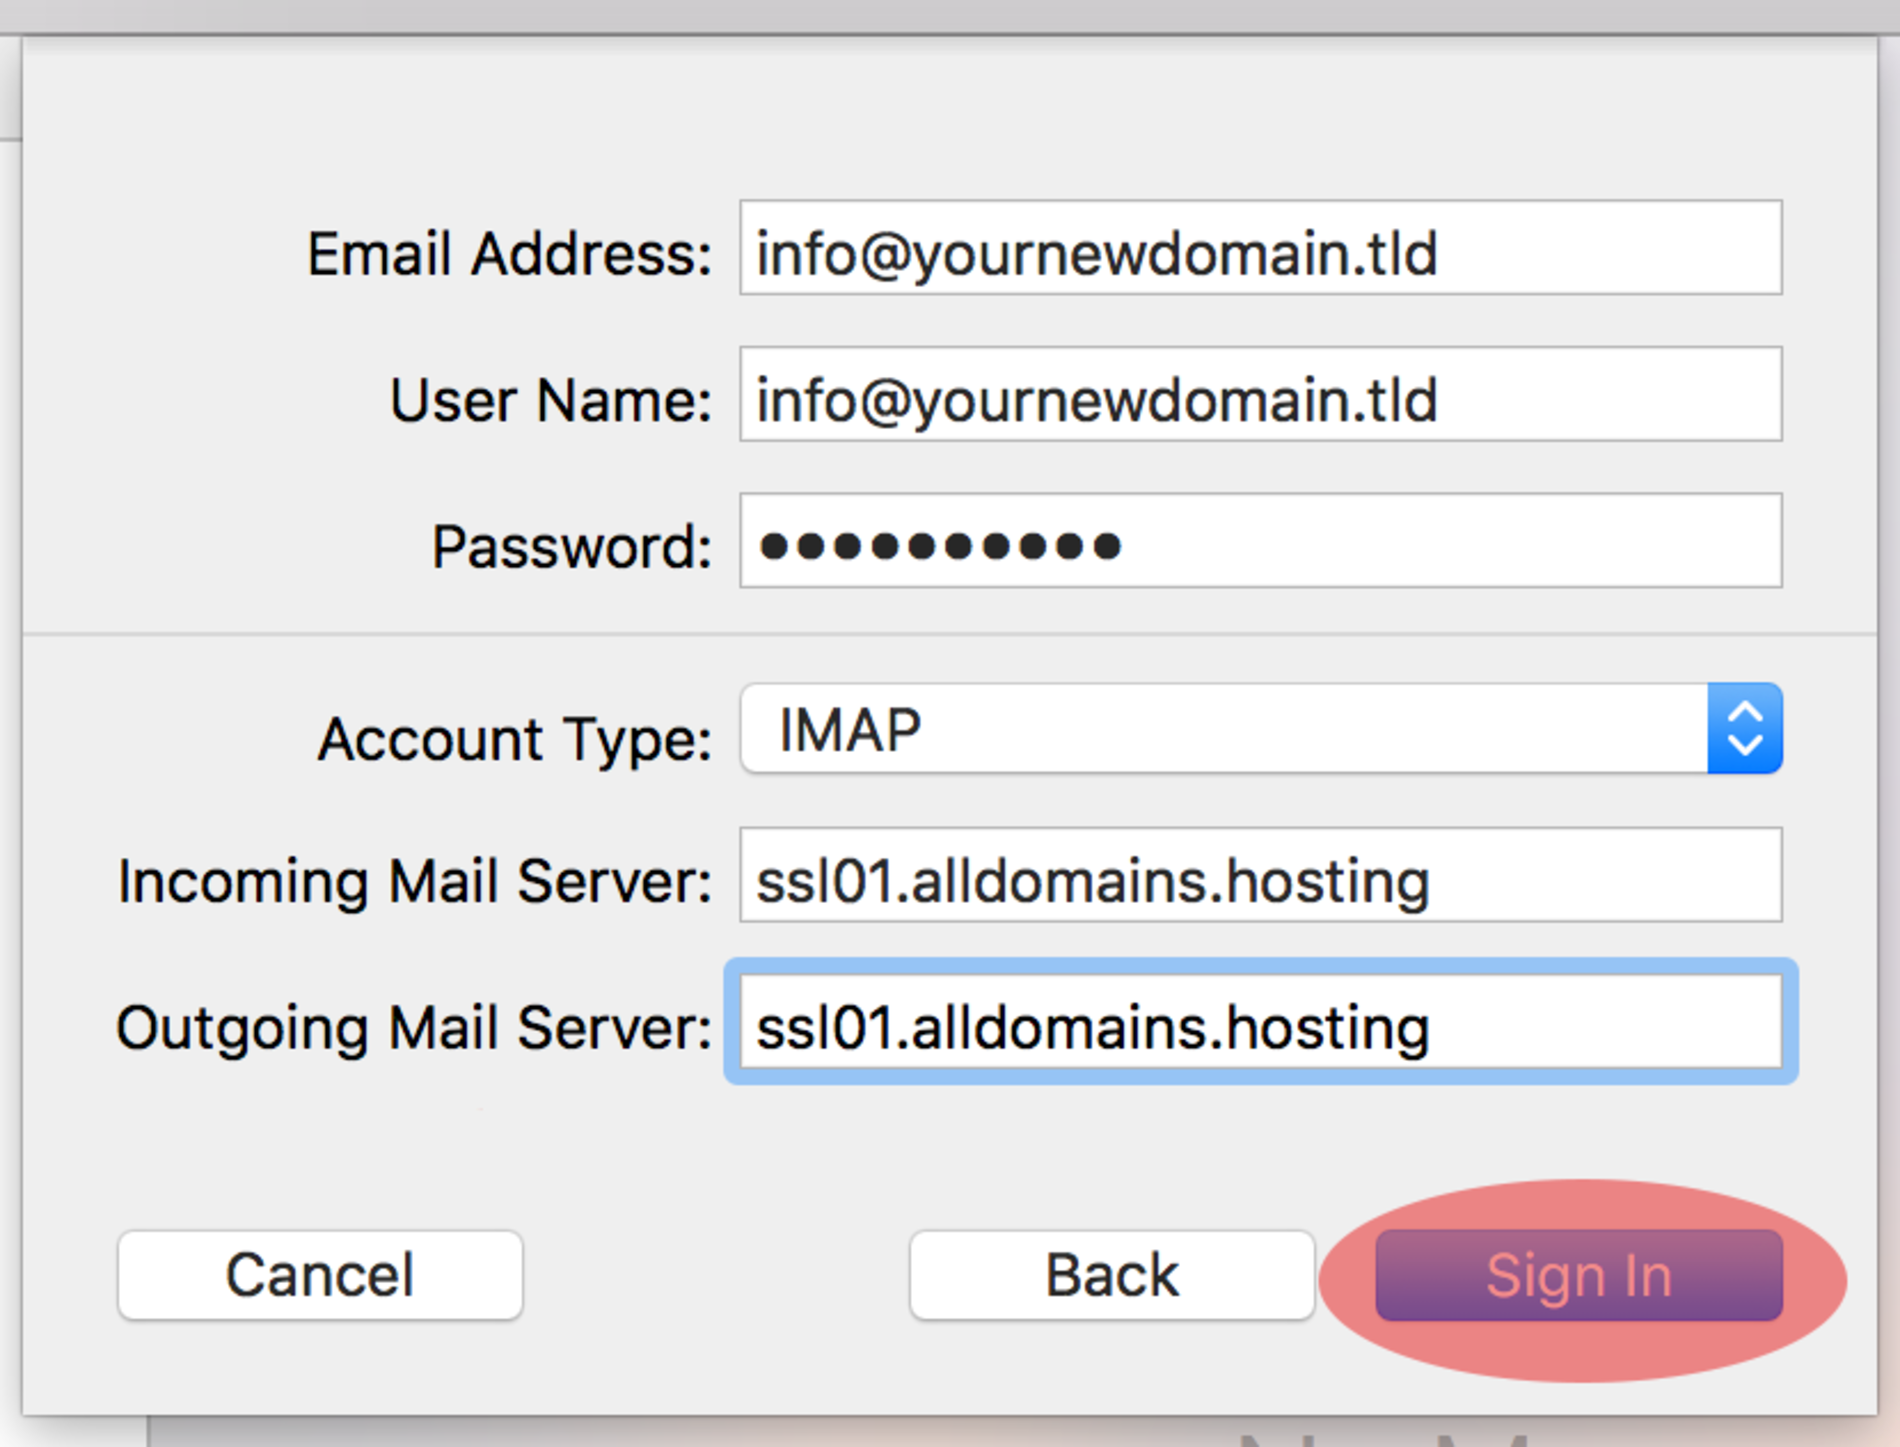
Please set up the server data as shown in the screenshots to ensure you are using a SSL secured connection. The "Email Address" and "Password" should be already prefilled from the previous step. The "User Name" is your e-mail address. The selected "Account Type" should be IMAP. For both fields "Incoming Mail Server" and "Outgoing Mail Server" you type in ssl01.alldomains.hosting. Double check your settings and click at "Sign In".
Please set up the server data as shown in the screenshots to ensure you are using a SSL secured connection. The "Email Address" and "Password" should be already prefilled from the previous step. The "User Name" is your e-mail address. The selected "Account Type" should be IMAP. For both fields "Incoming Mail Server" and "Outgoing Mail Server" you type in ssl01.alldomains.hosting. Double check your settings and click at "Sign In".
Step 5
Your settings are getting checked.

Step 6
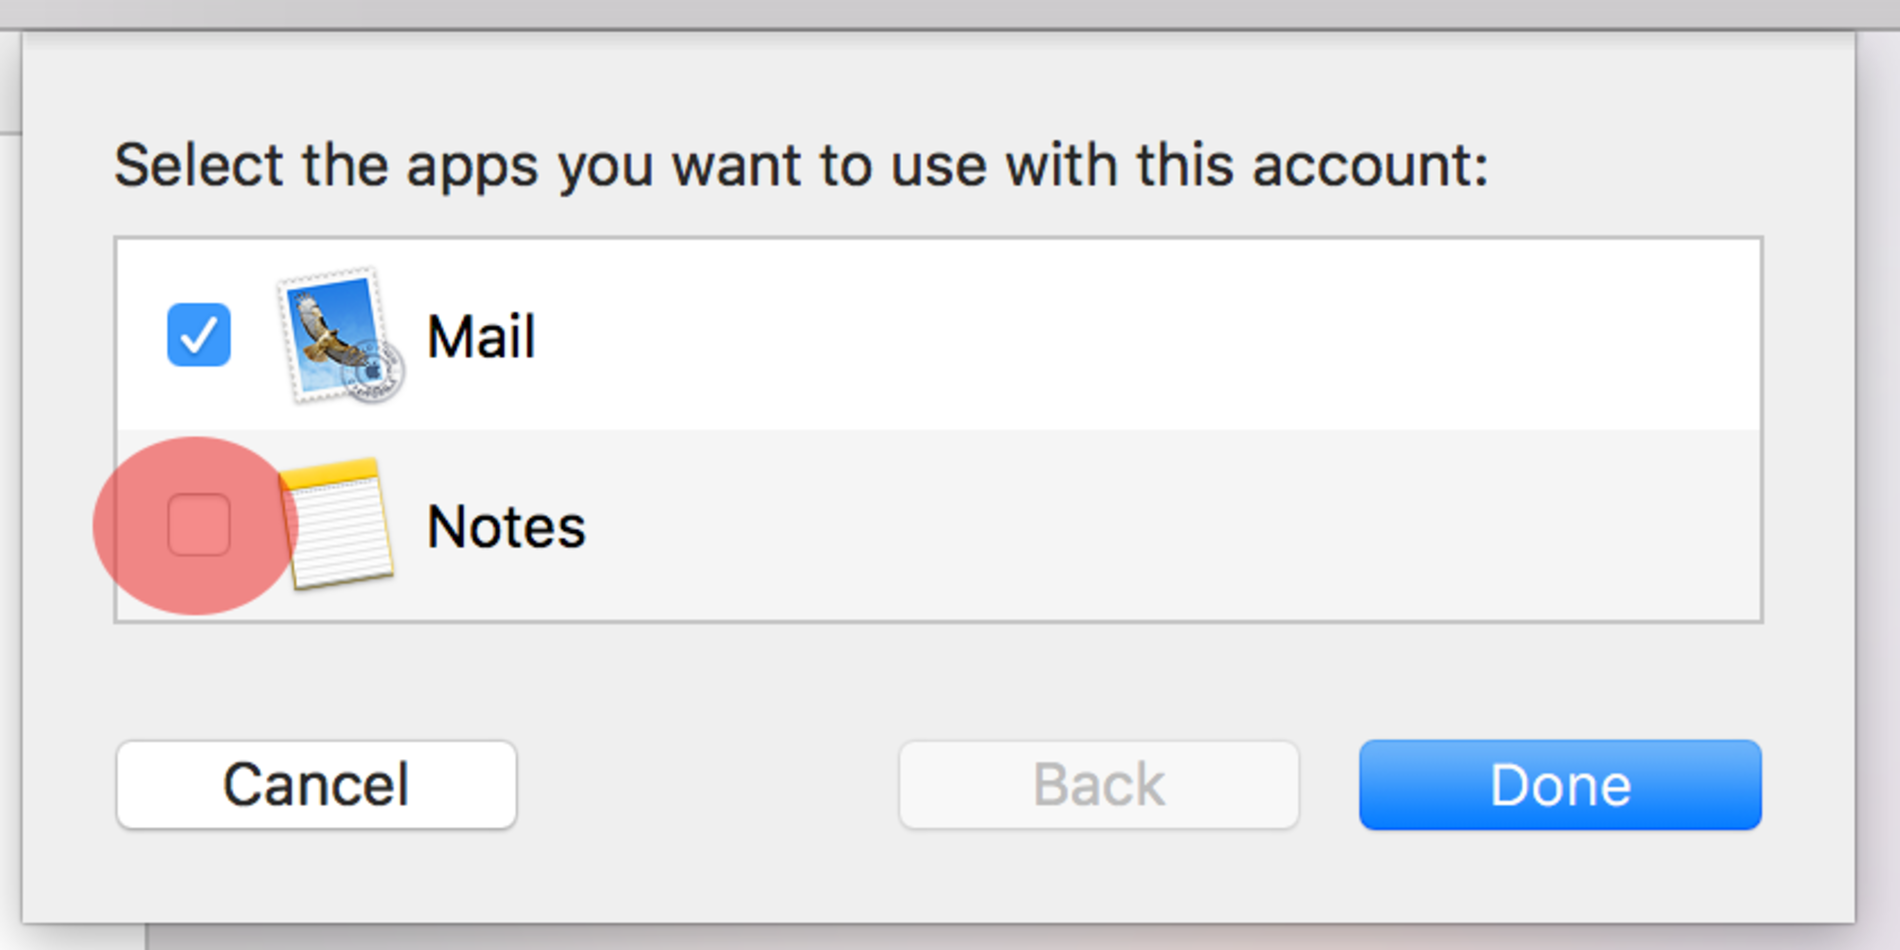
Next delete the tick at the box "Notes" so only "Mail" is selected.
Click on "Done" to close the setup assistant.
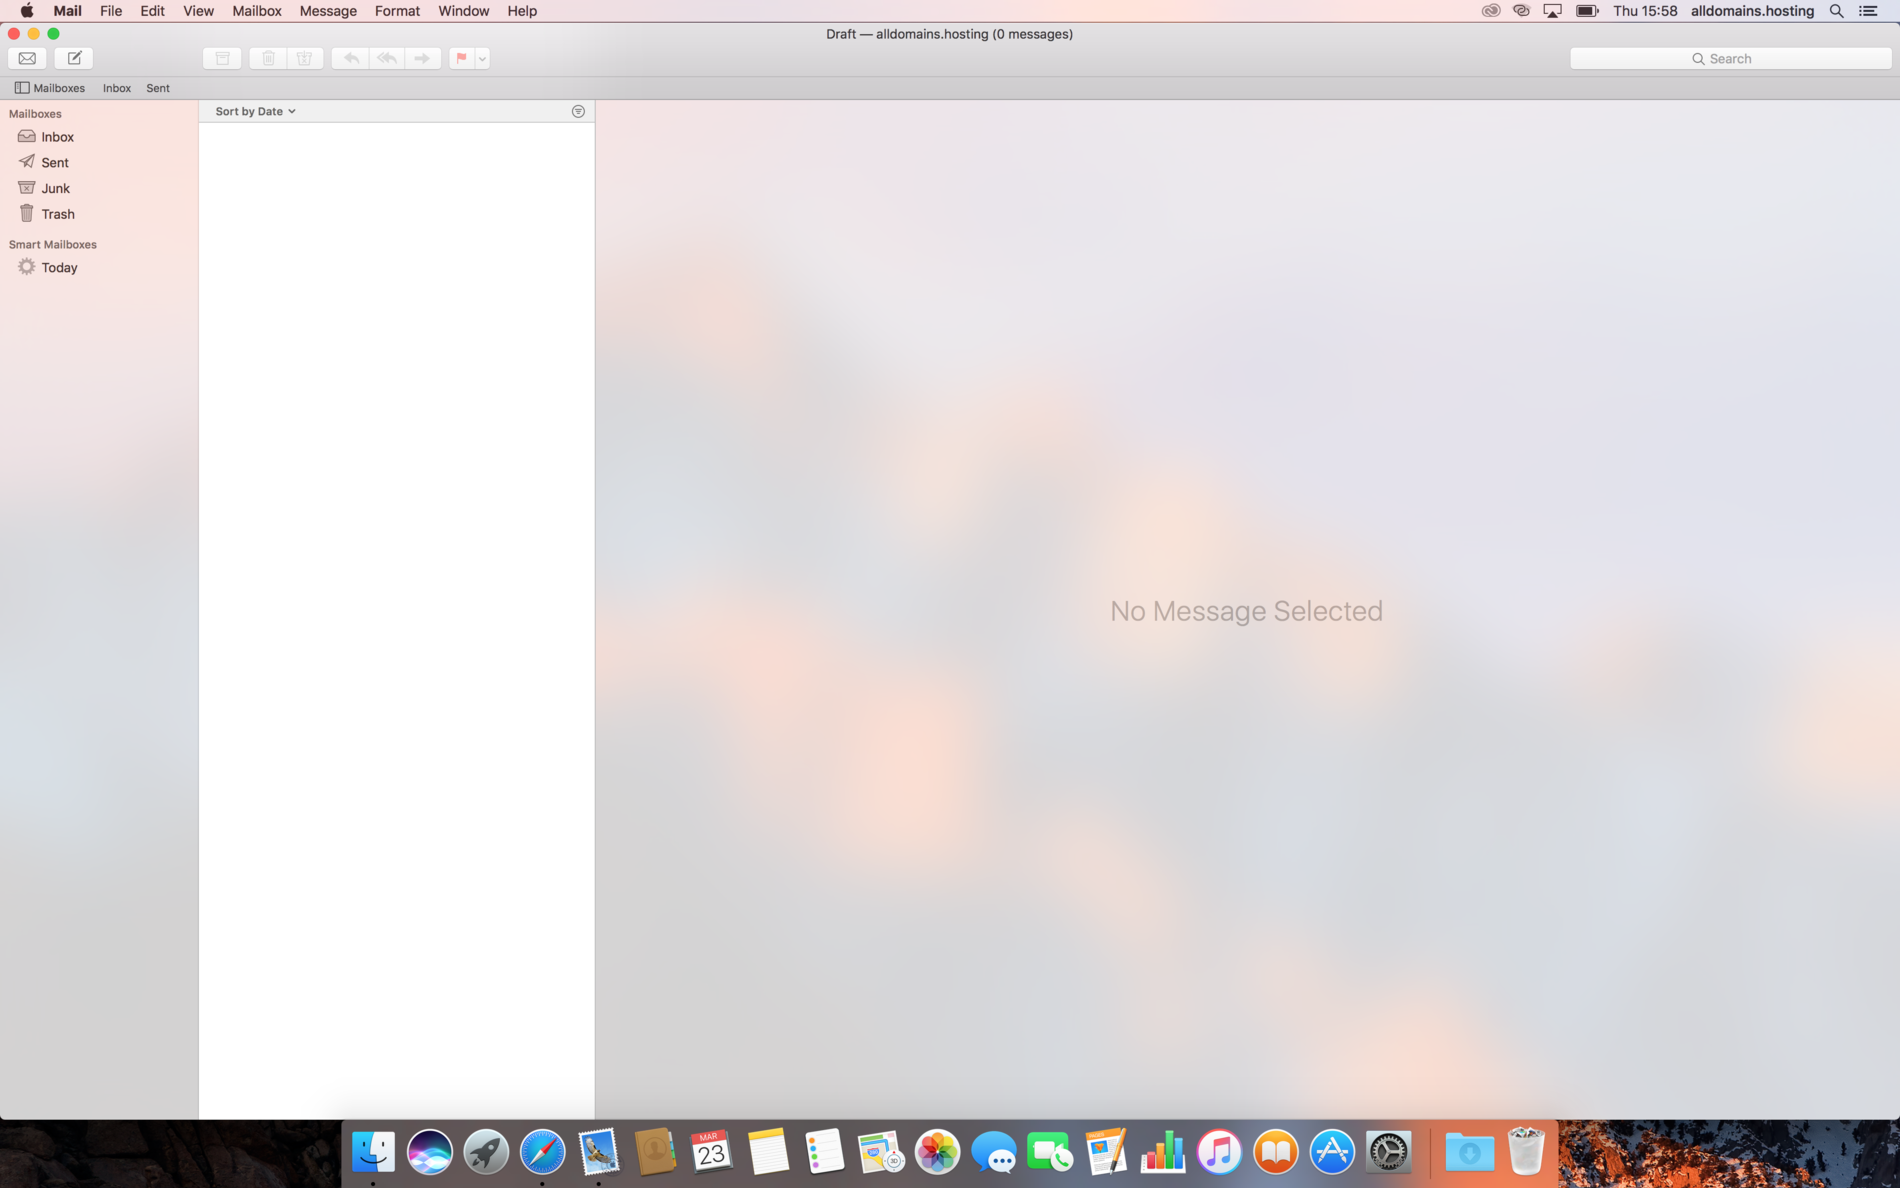
Step 7
The setup of your new e-mail address is now completed.