Set up a new e-mail account in Mozilla Thunderbird 52.x.
Bellow you find a detailed description of how to set up a new e-mail account in Mozilla Thunderbird 52.x.
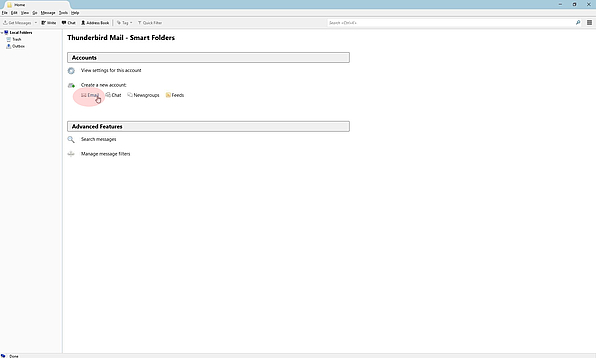
Step 1
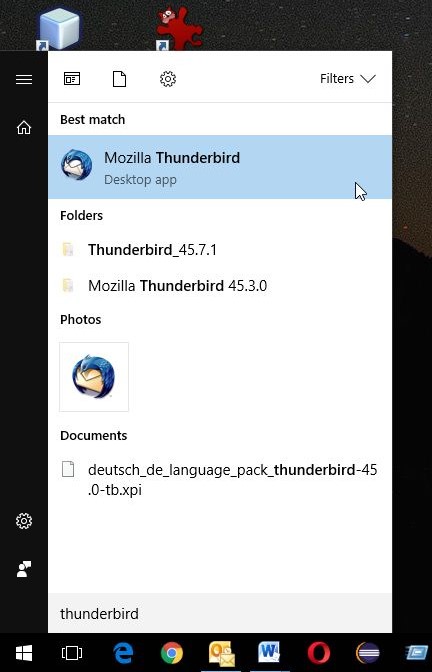
First of all start Mozilla Thunderbird 52.x.
You can do so by typing "Thunderbird" into the search bar of Windows or with an desktop or taskbar icon.
Note:
If you haven’t installed Mozilla Thunderbird 52.x yet you can download the current version here: www.mozilla.org/en-US/thunderbird/
If you haven’t installed Mozilla Thunderbird 52.x yet you can download the current version here: www.mozilla.org/en-US/thunderbird/
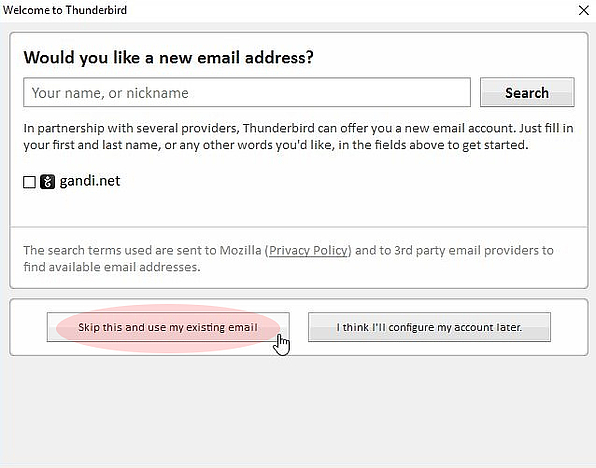
Step 4
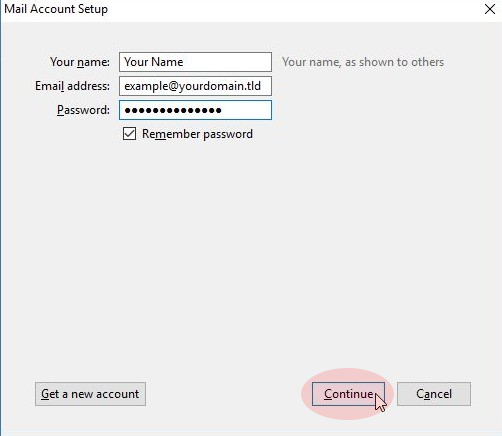
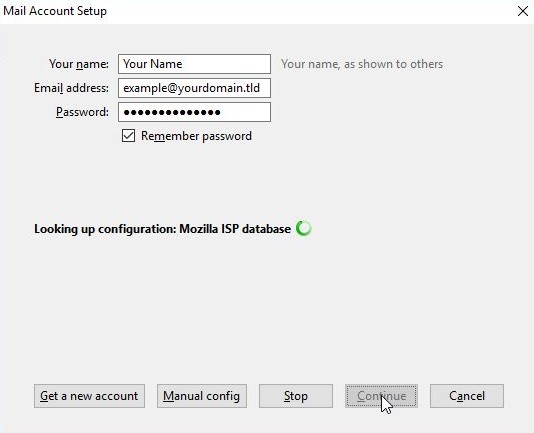
Please enter your name into the field "Your name".
Type in the e-mail address which you want to set up into the field "Email address" and enter the associated password of the e-mail address.
The password was set at the Email Manager module of your Control Panel.
Click on "Continue" to start checking if the entered e-mail address and password are correct.
Step 6
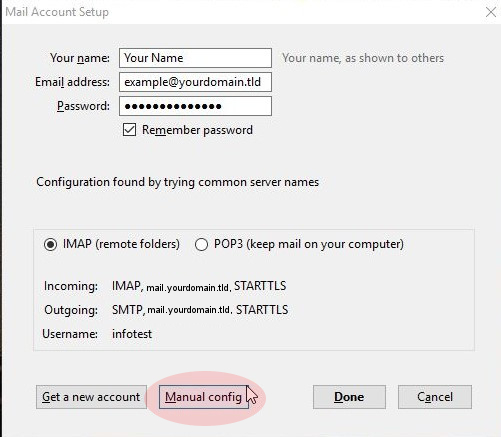
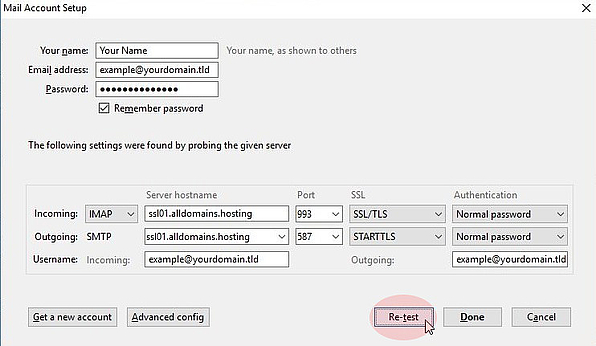
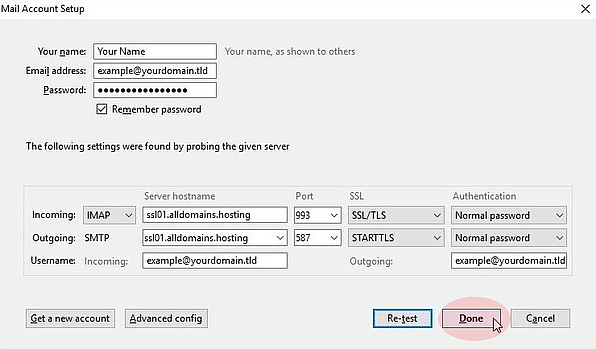
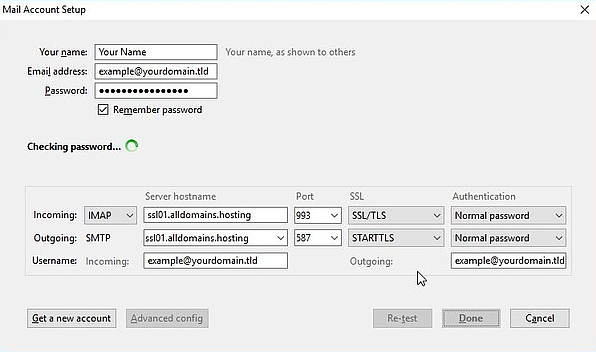
Please make sure you enter the settings like they are shown in the screenshots to ensure you are using a SSL secured connection.
"Incoming:"
The "Server hostname" is ssl01.alldomains.hosting.
The "Port" is 993 and for "SSL" please use SSL/TLS.
The "Authentication" is set to Normal password.
"Outgoing:"
The outgoing "Server hostname" is also ssl01.alldomains.hosting.
The used "Port" is 587 .
At the point "SSL" you select STARTTLS and the "Authentication" is also Normal password.
The "Username" for "Incoming" and "Outgoing" is both your e-mail address.
Afterwards you click on "Re-test" to check if the settings are correct.
The "Re-test" might change some of your settings like a "Port" or the "Authentication". If so, please change it back to the values which are shown in the screenshots.

