Set up new POP3 e-mail account in Microsoft Outlook 2016

Bellow you find a detailed description of how you set up a new POP3 e-mail account in Microsoft Outlook 2016.

Step 1

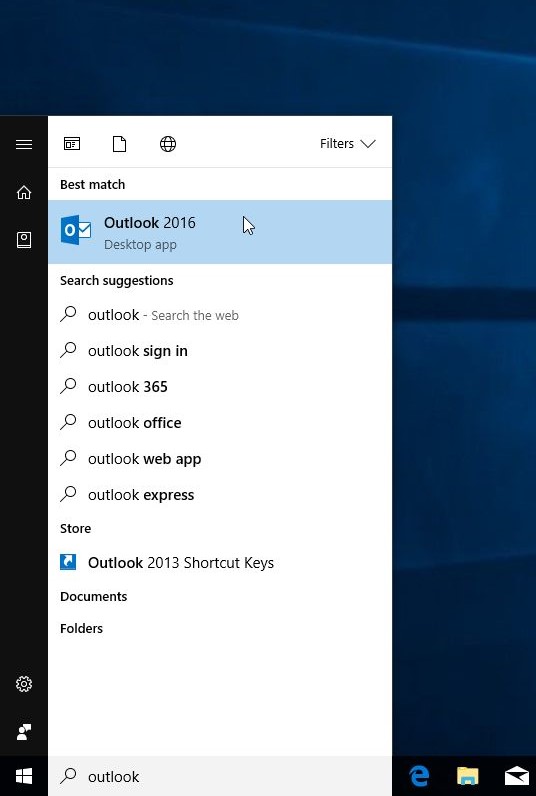
First start Microsoft Outlook 2016 either with a desktop or taskbar icon or you enter "Outlook 2016" into the search bar of Windows.

Step 2

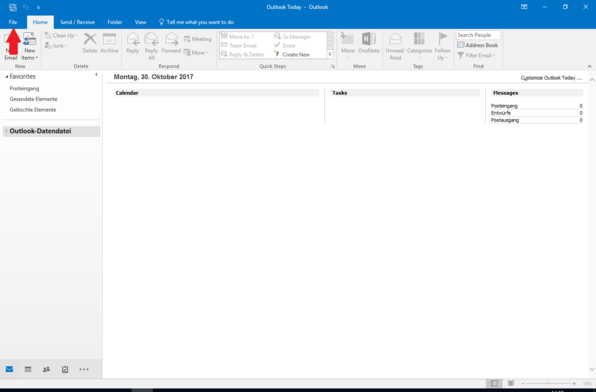
Now please click at the tab "File" in the upper left corner.

Step 3

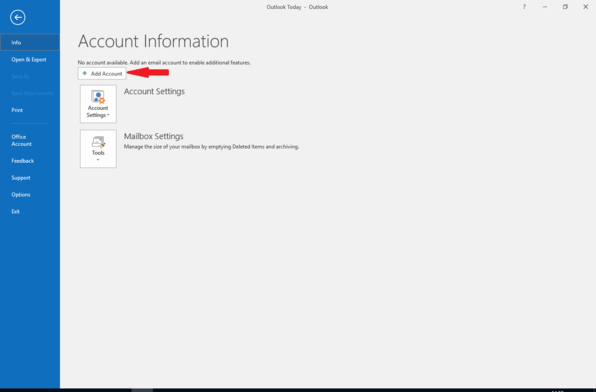
Next click on "+Add Account" to start the setup assistant.

Step 4

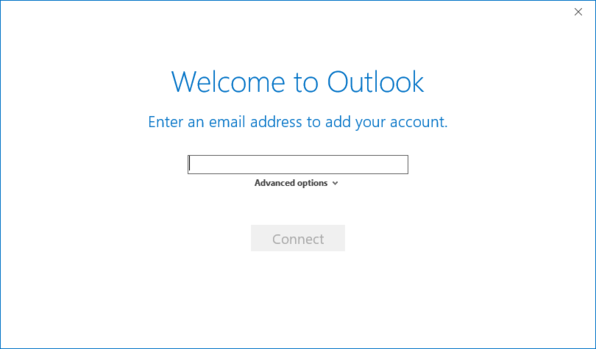
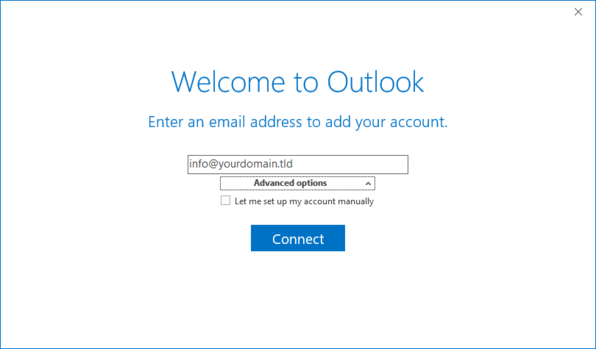
In this windows please enter your e-mail address.

Step 5

Now expand the "Advaned options" and set the tick at"Let me set up my account manually", finally click the "Connect" button to continue.

Step 6

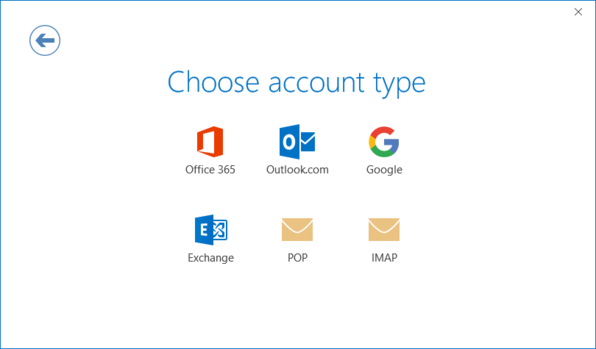
In the next step you need to choose the account type "POP".

Step 7

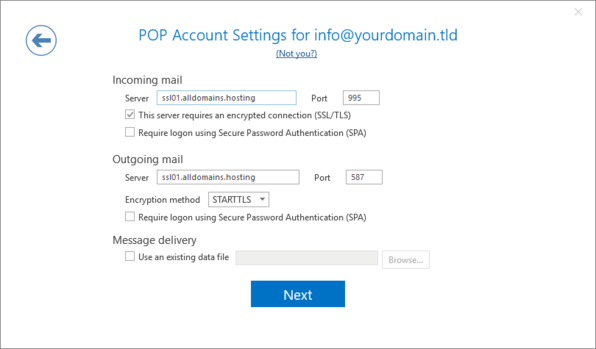
Please enter the following information like it is show on the screenshot to ensure you are using a SSL secured connection. "Server Information": The "Incoming mail " and "Outgoing mail" "Server" are both ssl01.alldomains.hosting. Information referring to this step can be found at the Email Manager module of your Control Panel by clicking on "Action >" besides your e-mail address and open "Settings for Mail Client".

Step 8

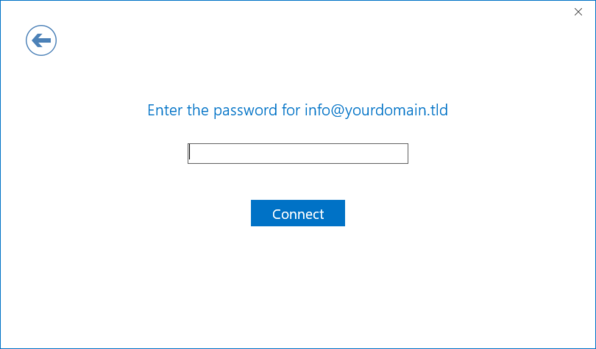
In the next step you only need to enter your password.

Step 9

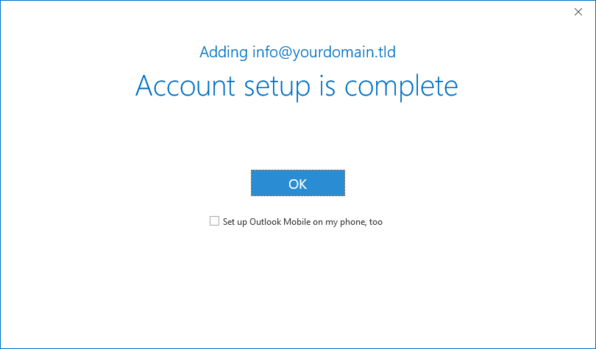
Finally you need to click on the "OK" Button to finsh the assistant.

Step 10

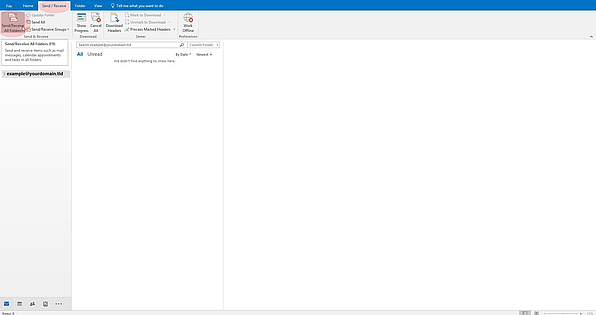
Last thing to do in the main window of Microsoft Outlook 2016 you have to switch to the tab "Send  / Receive" and click on "Send/Receive All Folders". Now all e-mails of the setup e-mail accounts are getting synchronized.