Set up new IMAP e-mail account in Microsoft Office Outlook 2016
Bellow you find a detailed description of how you set up a new IMAP e-mail account in Microsoft Office Outlook 2016.
Note:
If the e-mail address you want to set up was newly created, we recommend to login into the webmail of your Control Panelbefore you start the setup. This way all the directories for example sent messages, deleted messages or drafts are created.Start your webmail:
To start your preferred webmail which was set at your Control Panel simply attach the alias /up to your domain (yourdomain.tld/up). You also can use the Control Panel module Webmail to start the webmail client. More information about webmail and e-mail.
Step 1
Open Microsoft Outlook 2016. You can use an icon on your desktop or in the taskbar or you use the Windows search bar by typing "Outlook 2016".

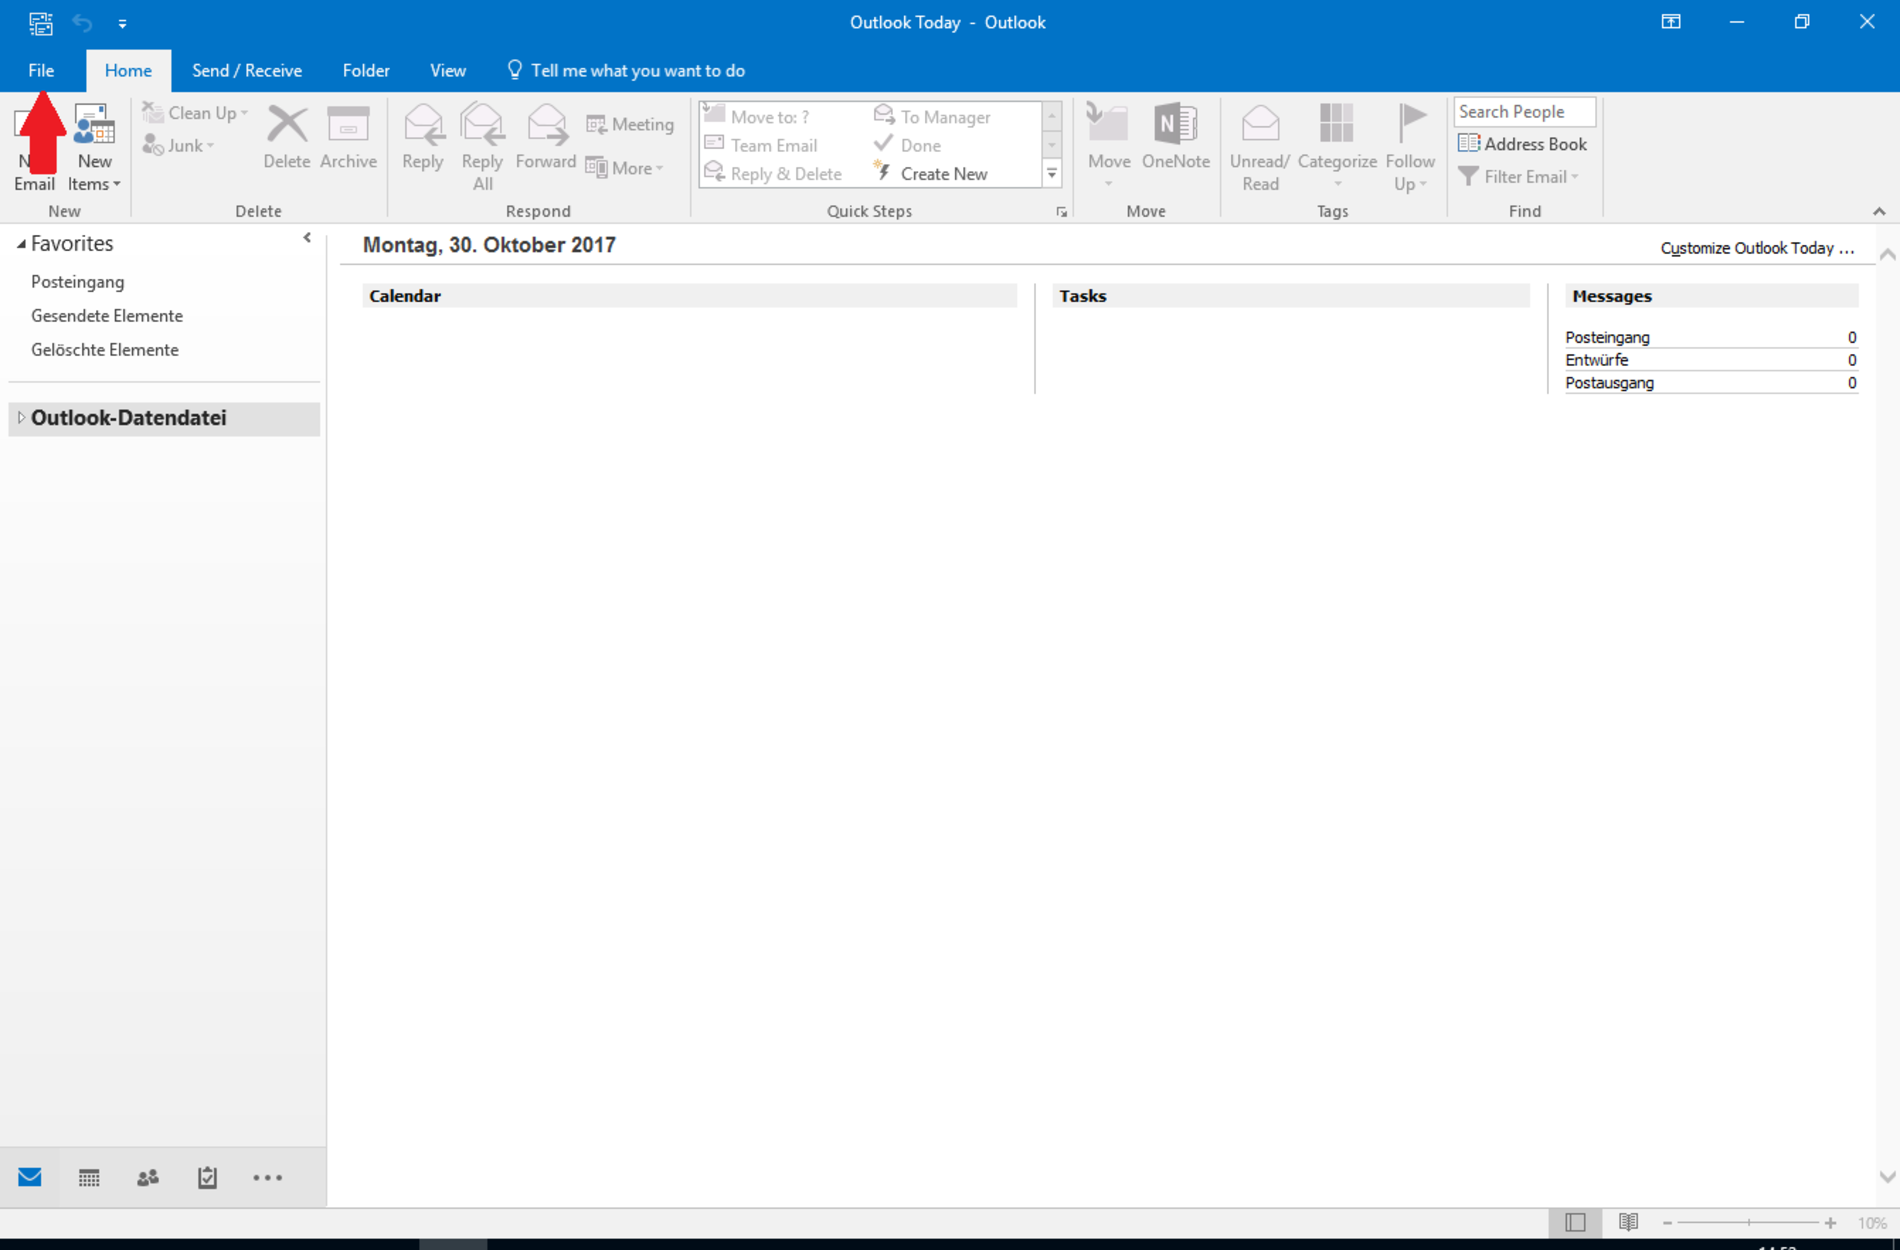
Step 2
Now select the blue tab called "File" in the top left corner.
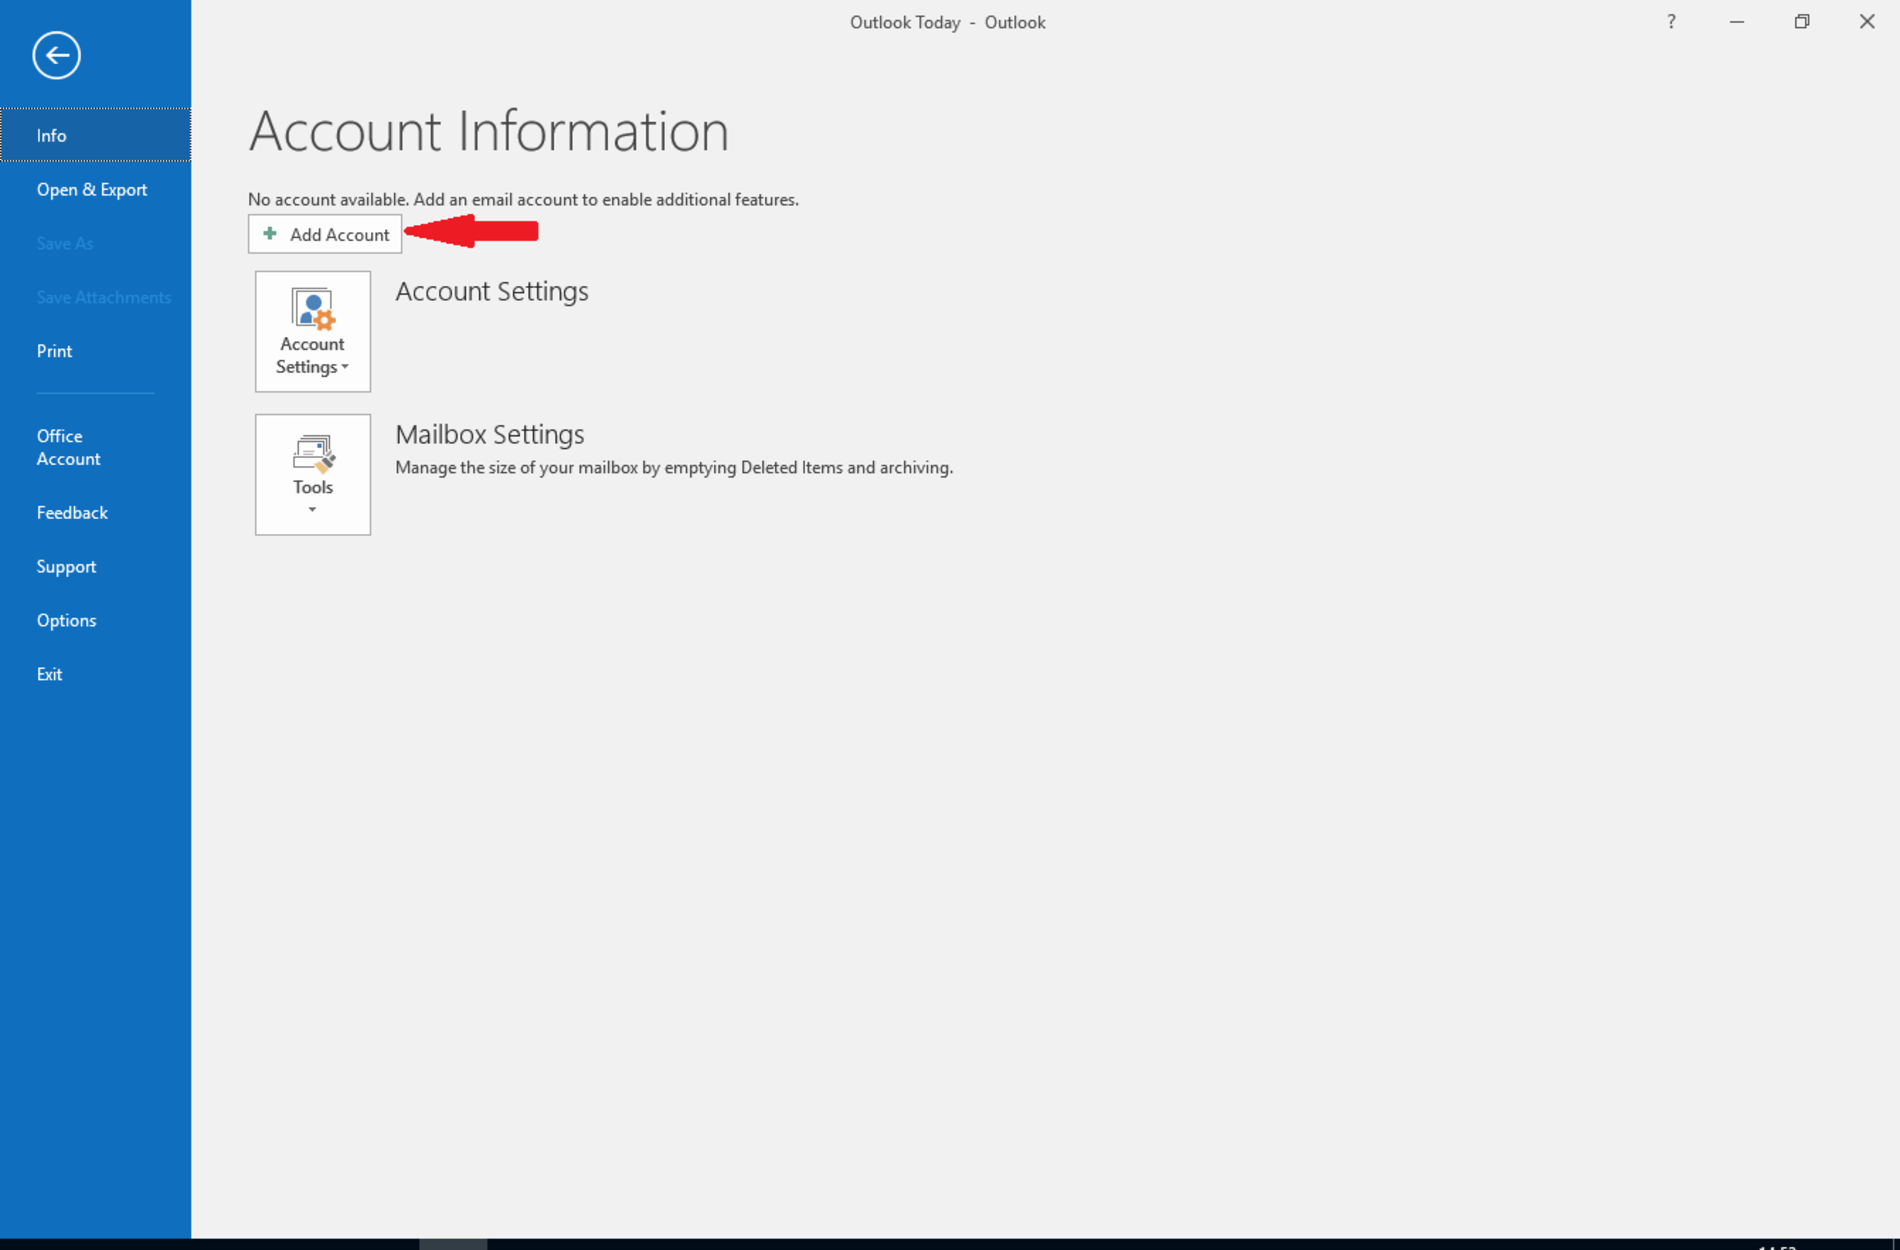
Step 3
Select the button "+Add Account" to start the setup of the e-mail account.
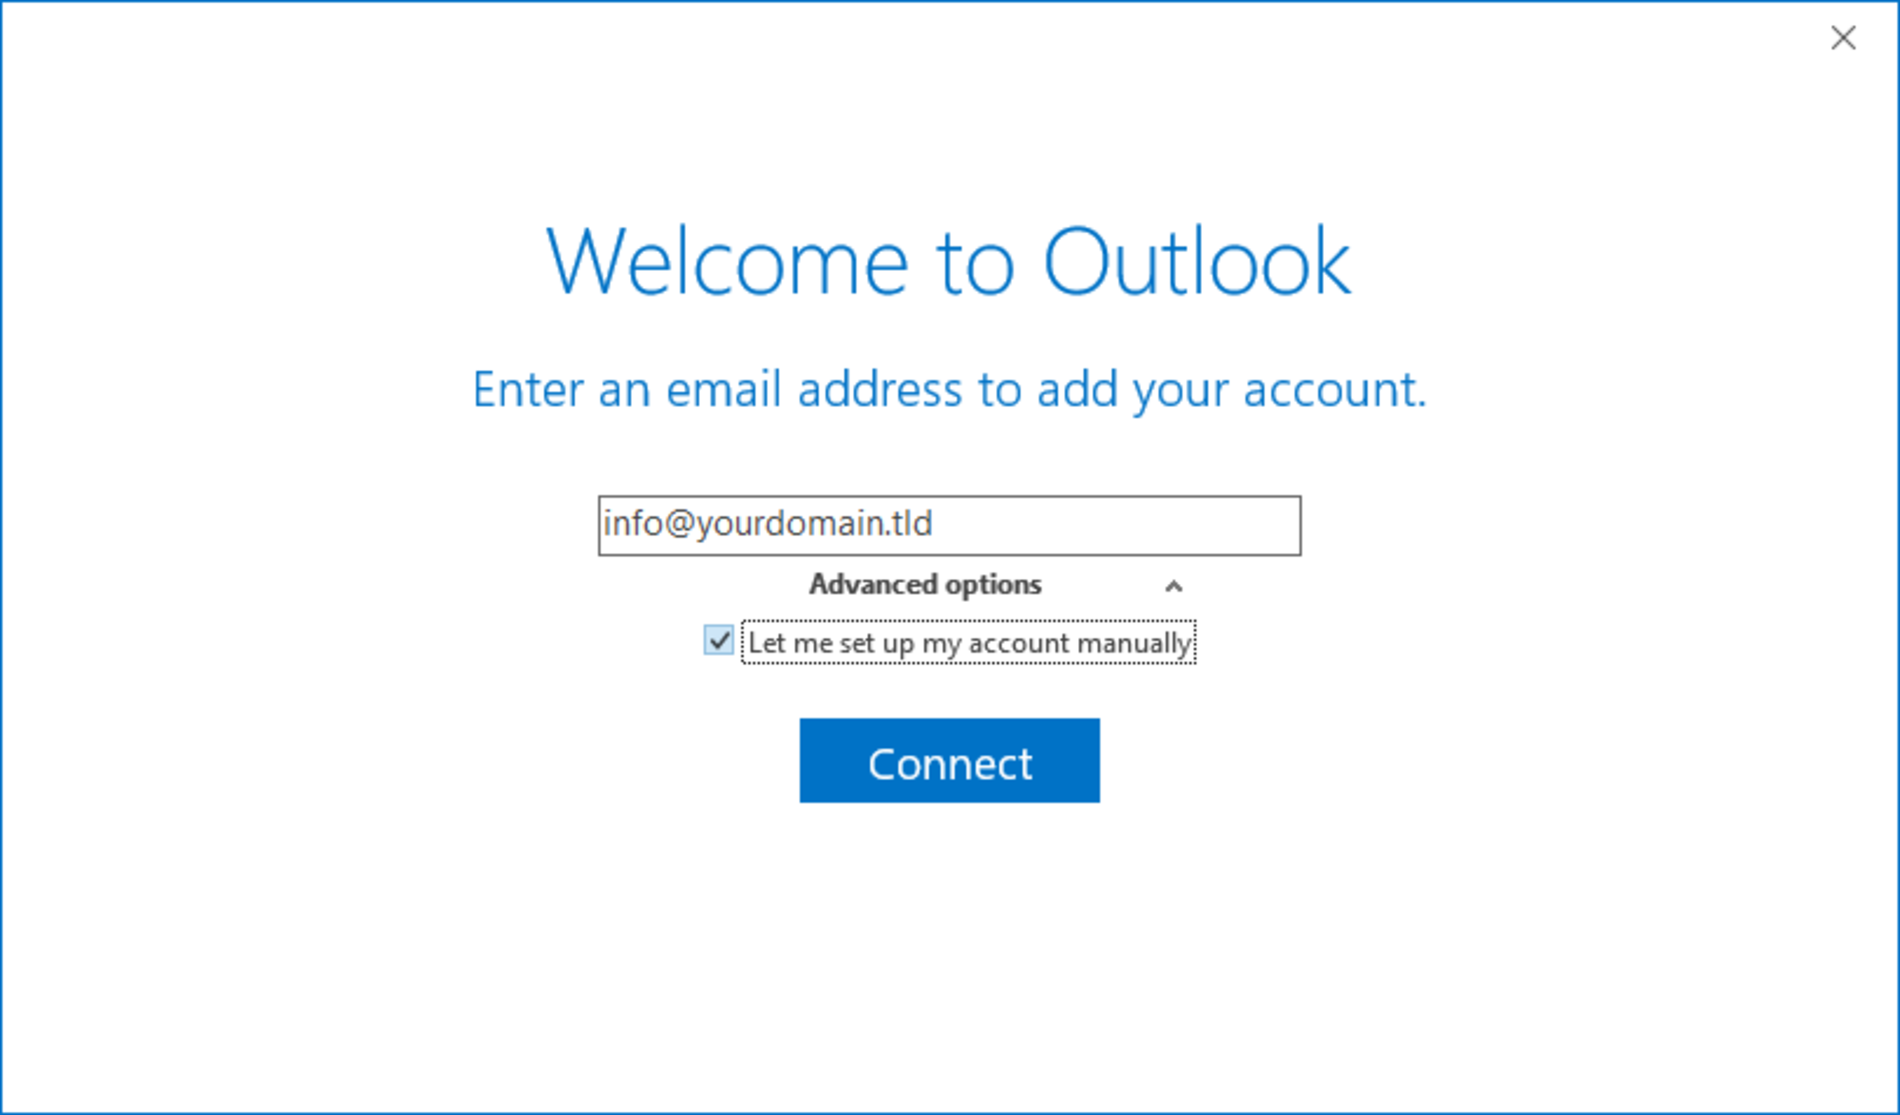
Step 4
In the new step you need to enter your e-mail address. At the "Advanced options" you have to set a tick at "Let me set up my account manually".
Continue with a click on "Connect".
Step 5
In the next step you need to choose the account type "IMAP".

Step 6
In the next step you need to enter the "Server Information" of your e-mail account:
Attention:
The "Server Information" should be entered like shown on the screenshot to use a SSL secured connection. That means, that at the "Incoming mail" and "Outgoing mail" you need to enter ssl01.alldomains.hosting at the "Server" field. Information about that step can be found in your Control Panel in the Email Manager besides your e-mail address with "Action >" and then open "Mail Client Settings".
The "Server Information" should be entered like shown on the screenshot to use a SSL secured connection. That means, that at the "Incoming mail" and "Outgoing mail" you need to enter ssl01.alldomains.hosting at the "Server" field. Information about that step can be found in your Control Panel in the Email Manager besides your e-mail address with "Action >" and then open "Mail Client Settings".

Step 7
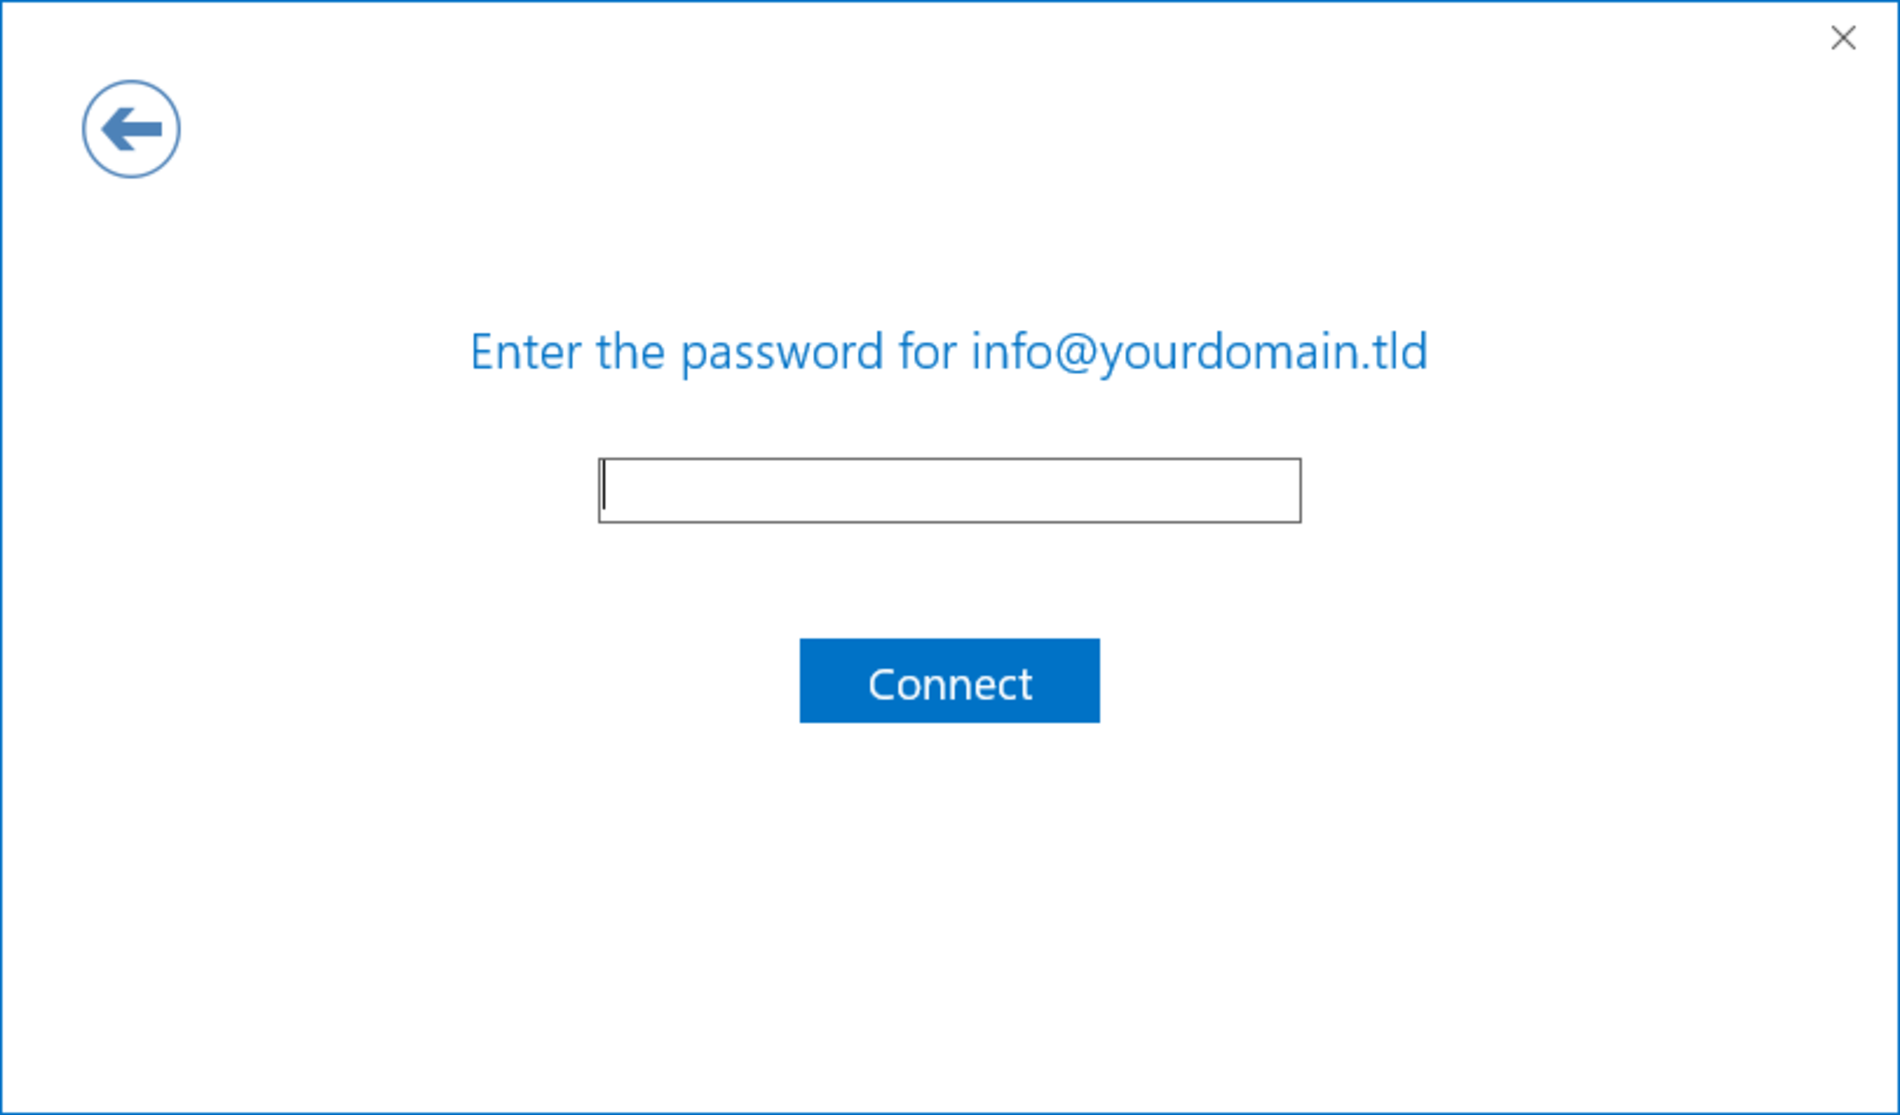
In the next step you only need to enter your password.
Step 8
Finally you need to click on the "OK" Button to finsh the assistant.
Note:
To ensure all IMAP directories are detected correctly you need to follow the optional steps 9 to 12.

Step 9 - optional
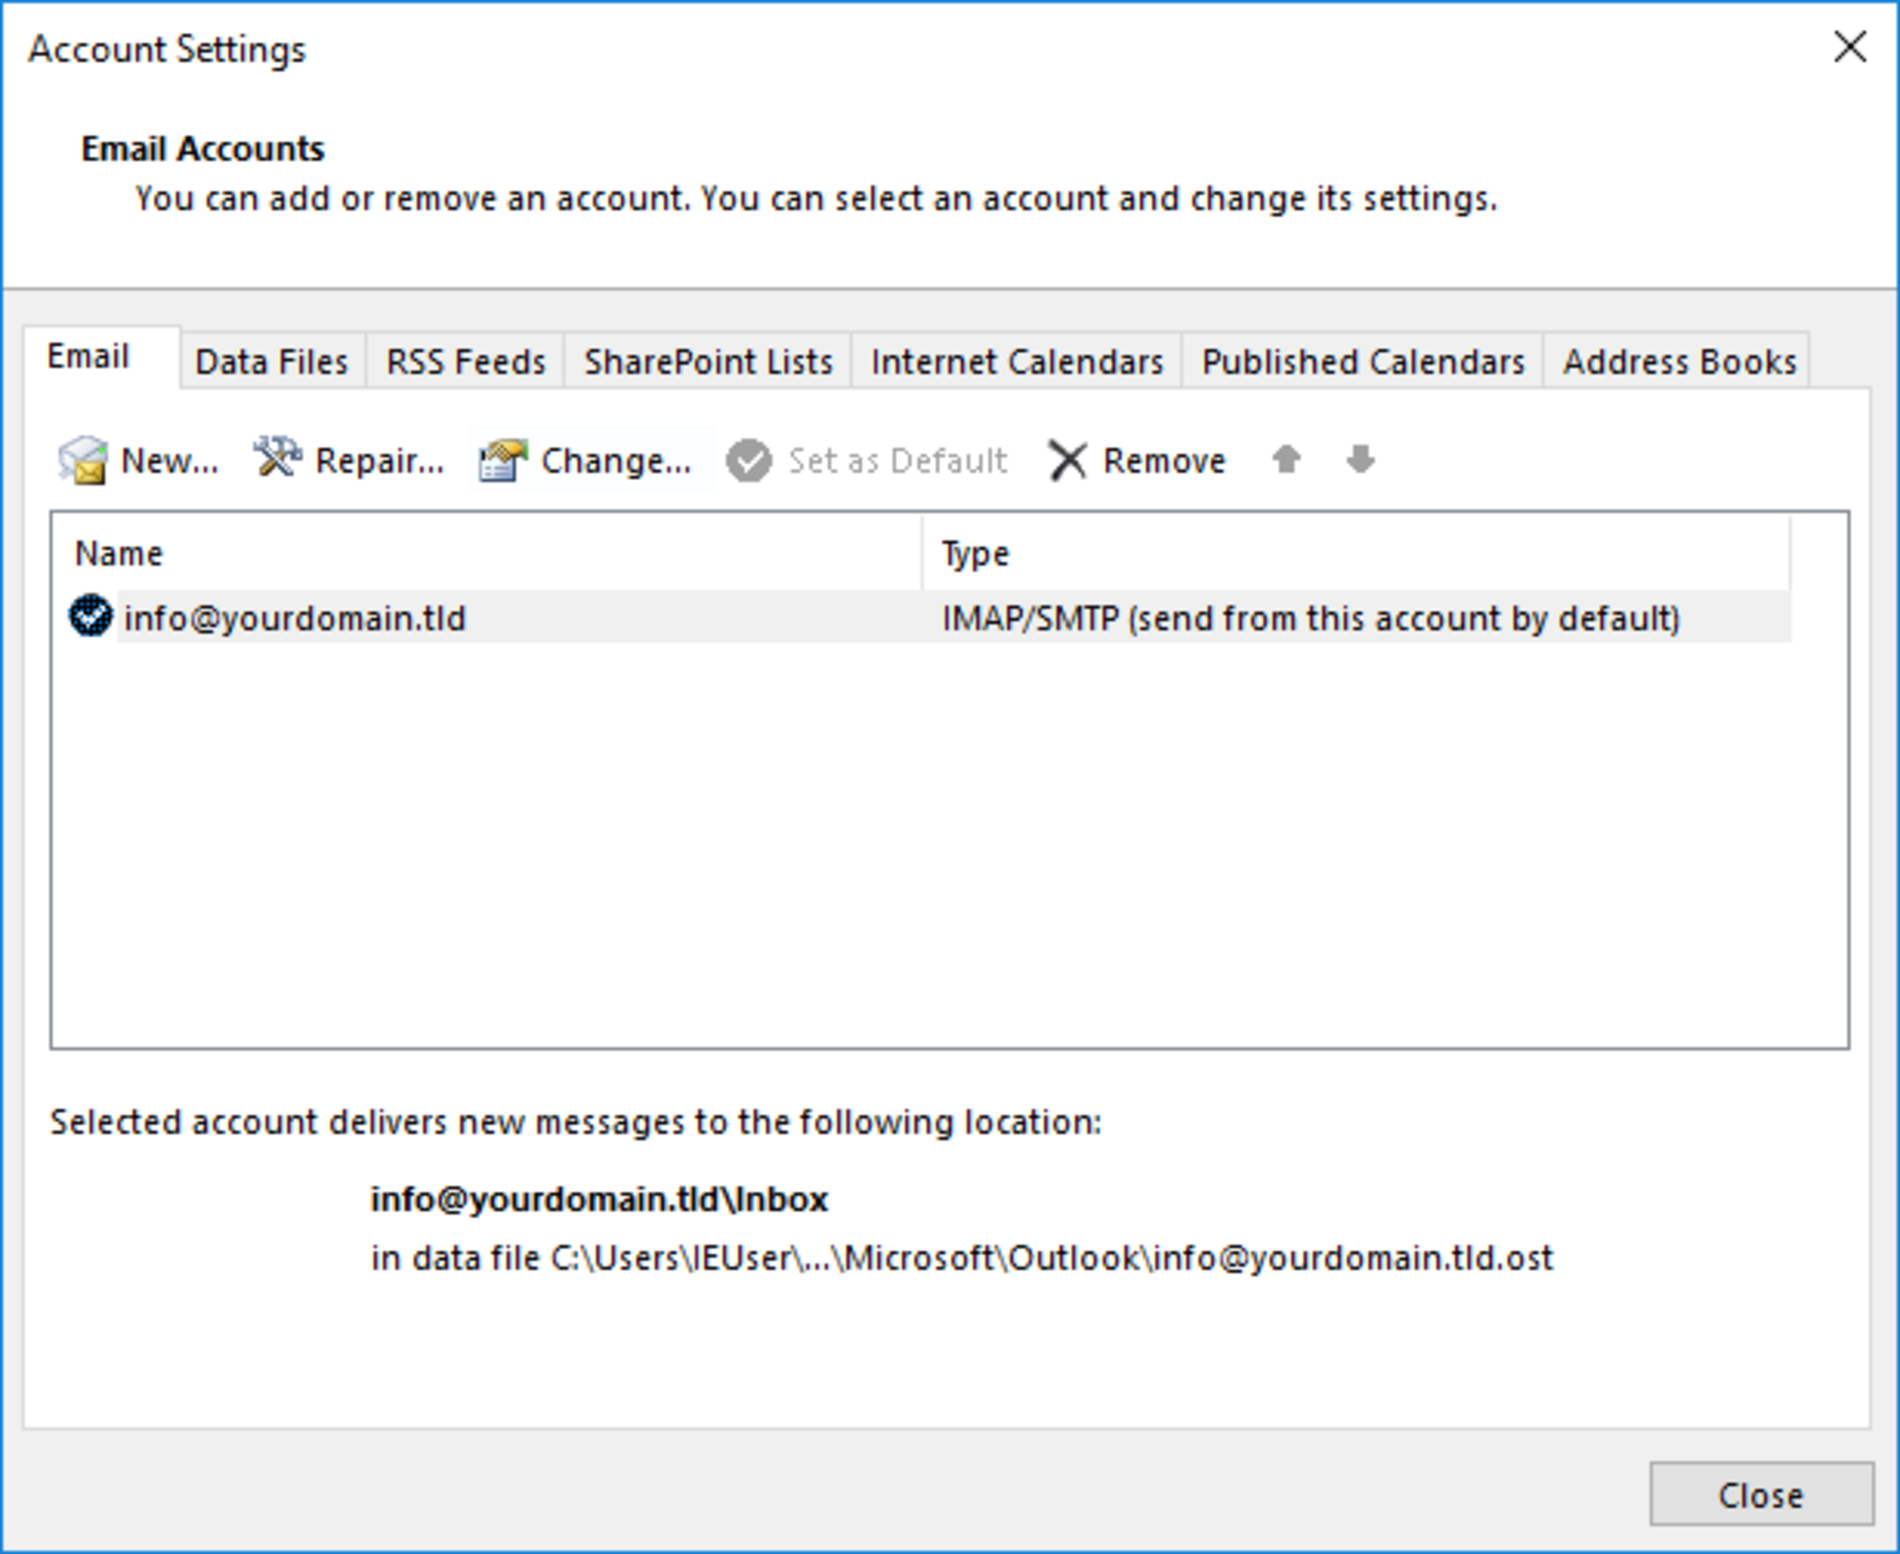
After you finished the basic setup assistand you need to click on "file" again. In that menu you need to open the "Account Settings".

Step 10 - optional
In the list of all your e-mail accounts please select your new account and then you need to click on "Change...".
Step 11 - optional
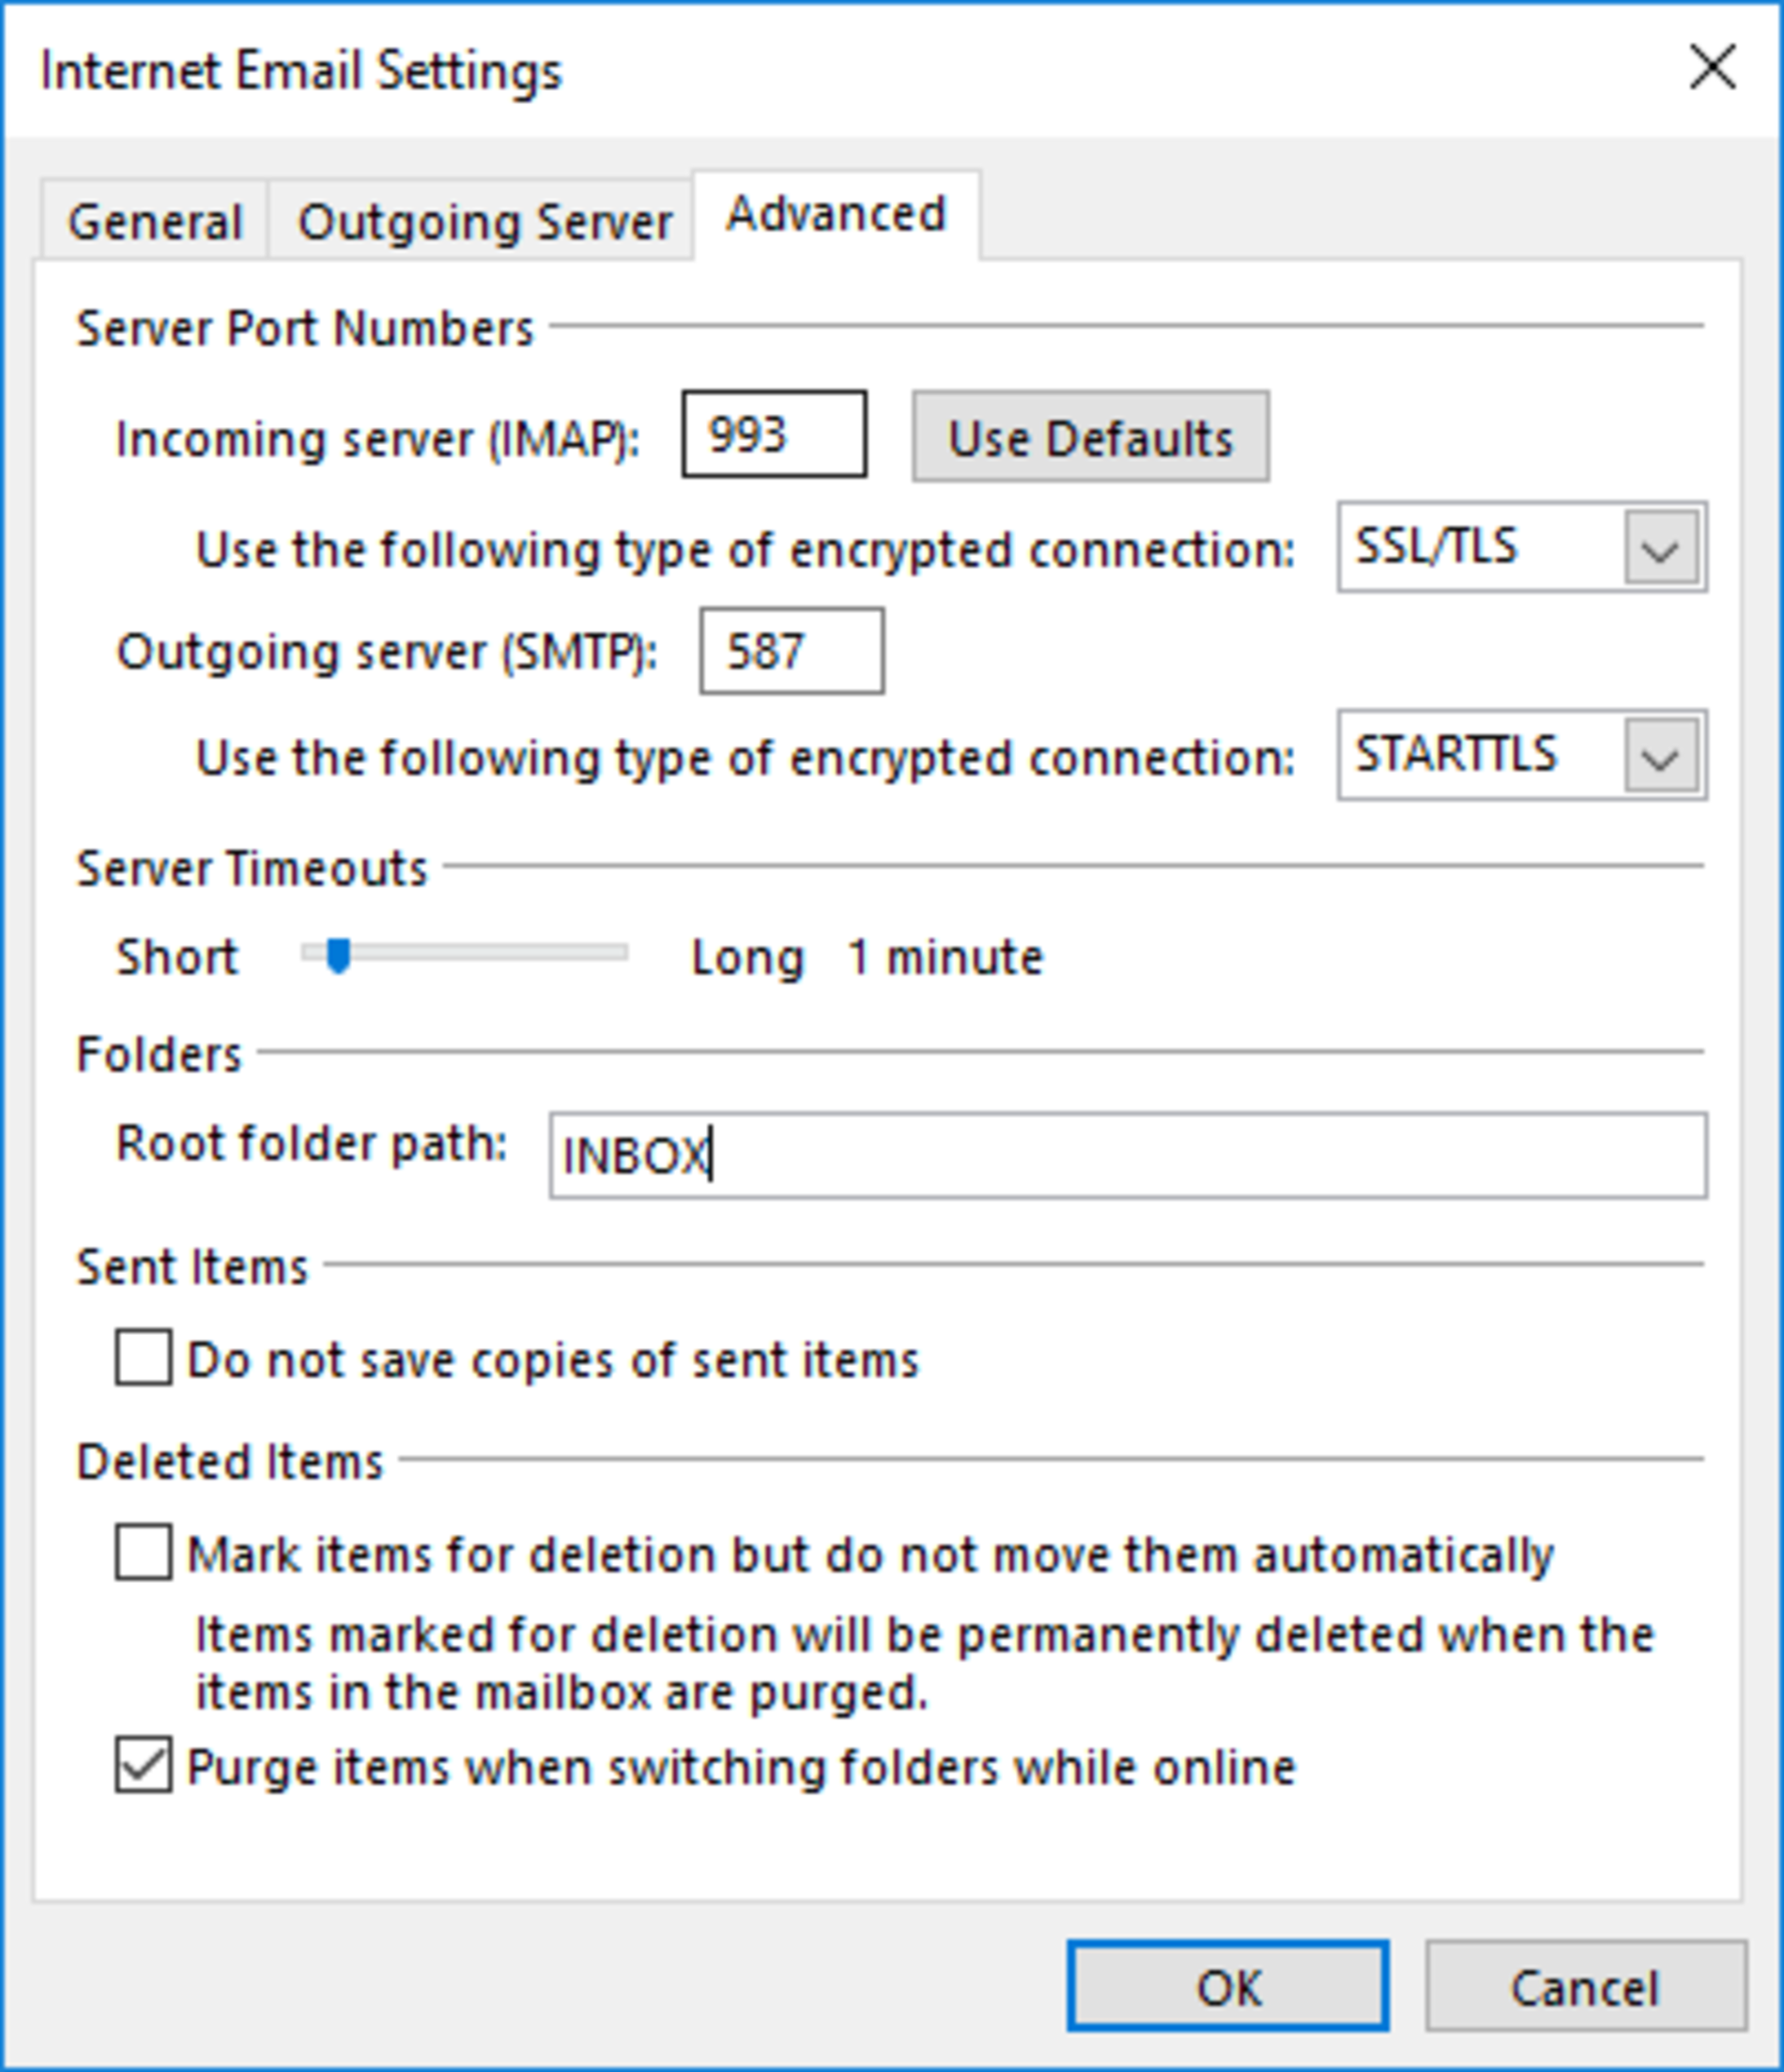
In the next step you need to open "More Settings..." and the change to the tab "Advanced". Now you have to enter "INBOX" (in capital letters) at "Root folder path", to close that window you need to click on "OK".
Step 12 - optional
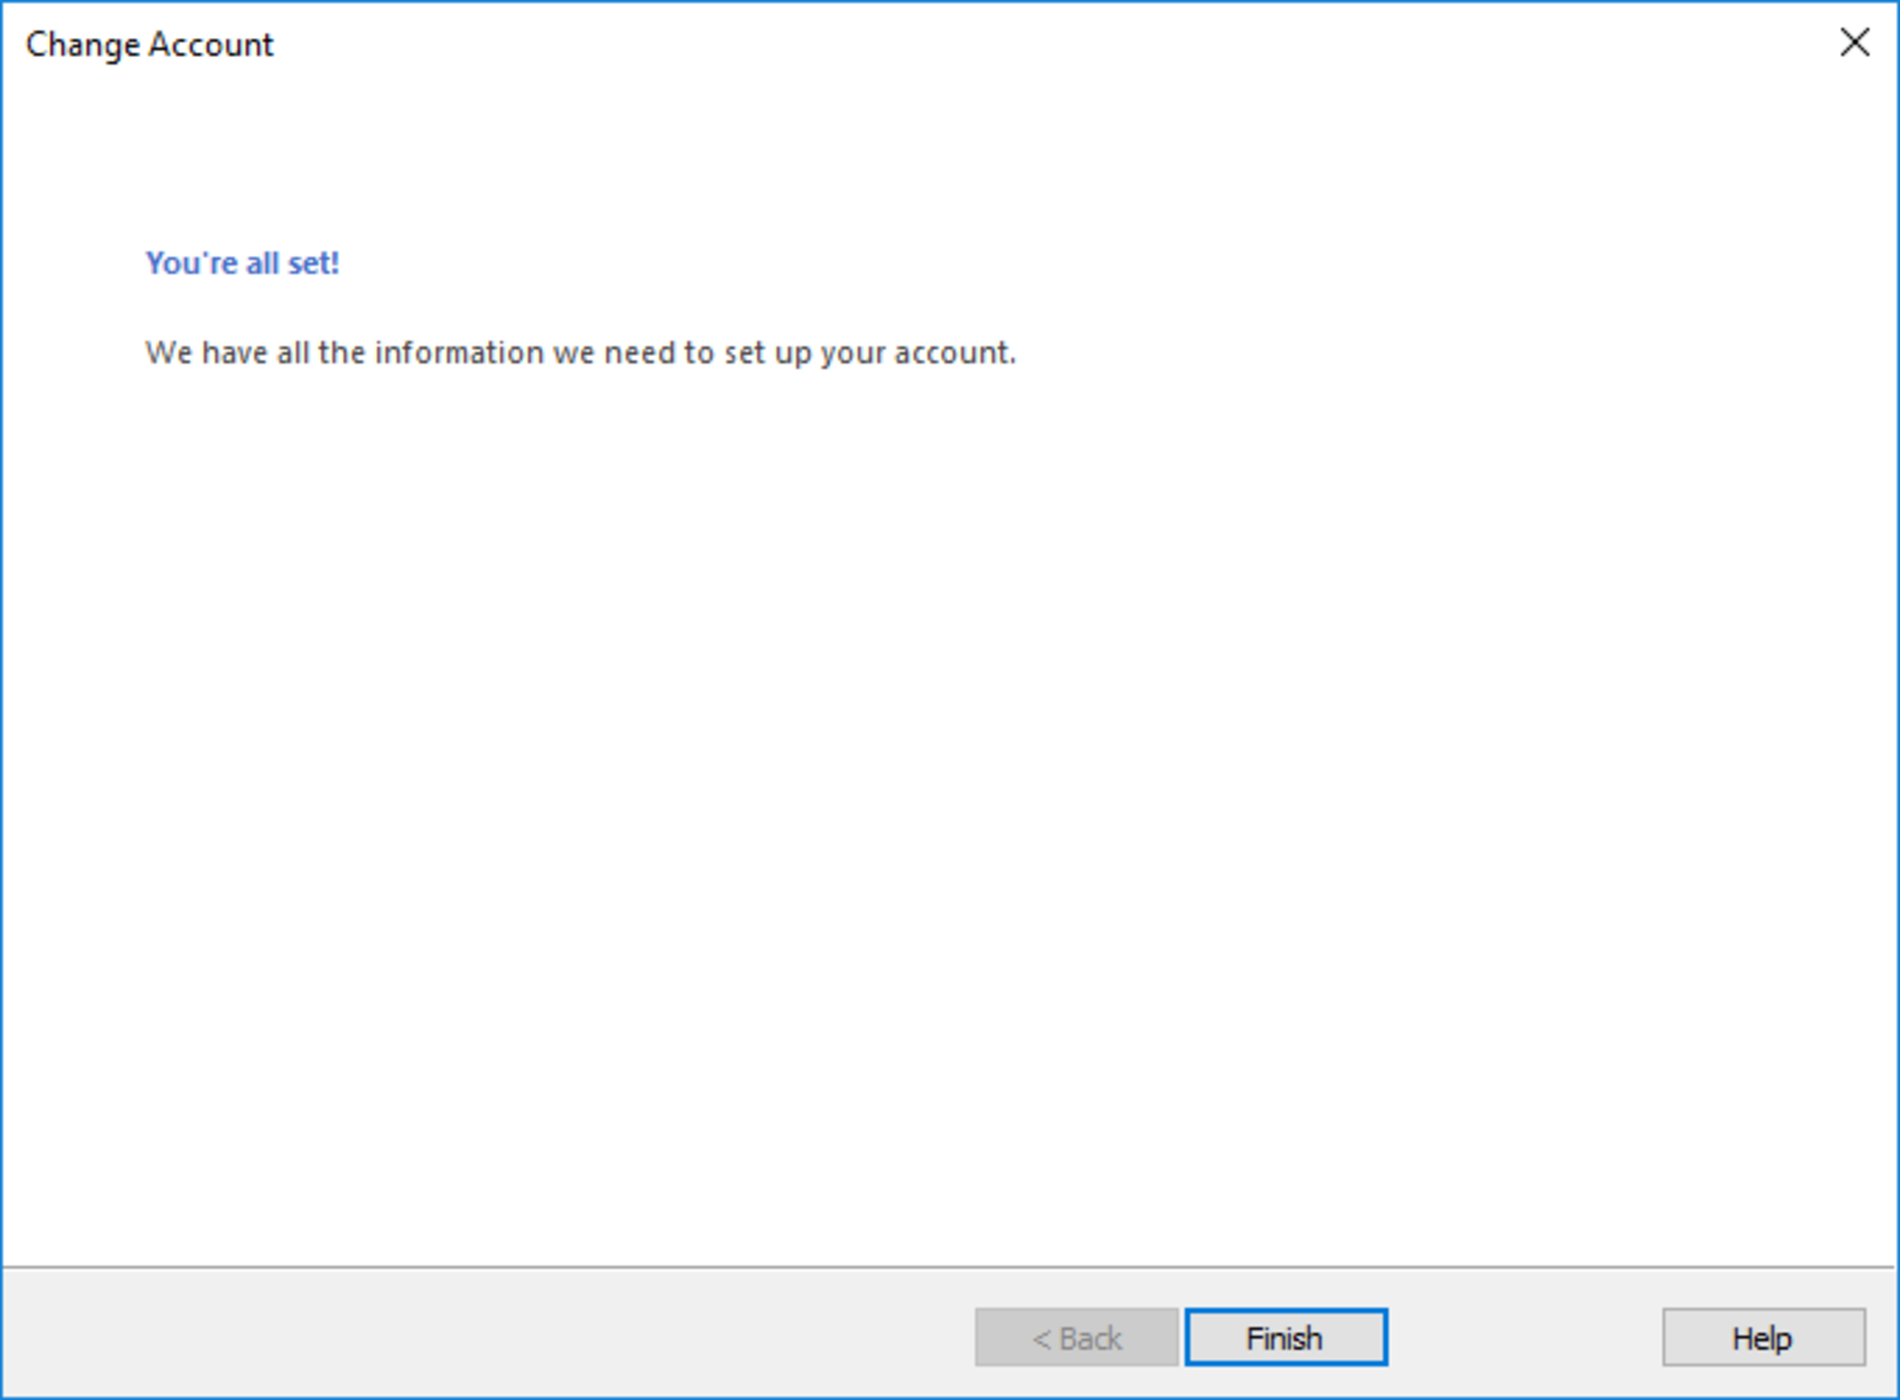
Finally click on "Next" to test the changed settings. If all tests are successful you can finish the setup with a click on "Finish".
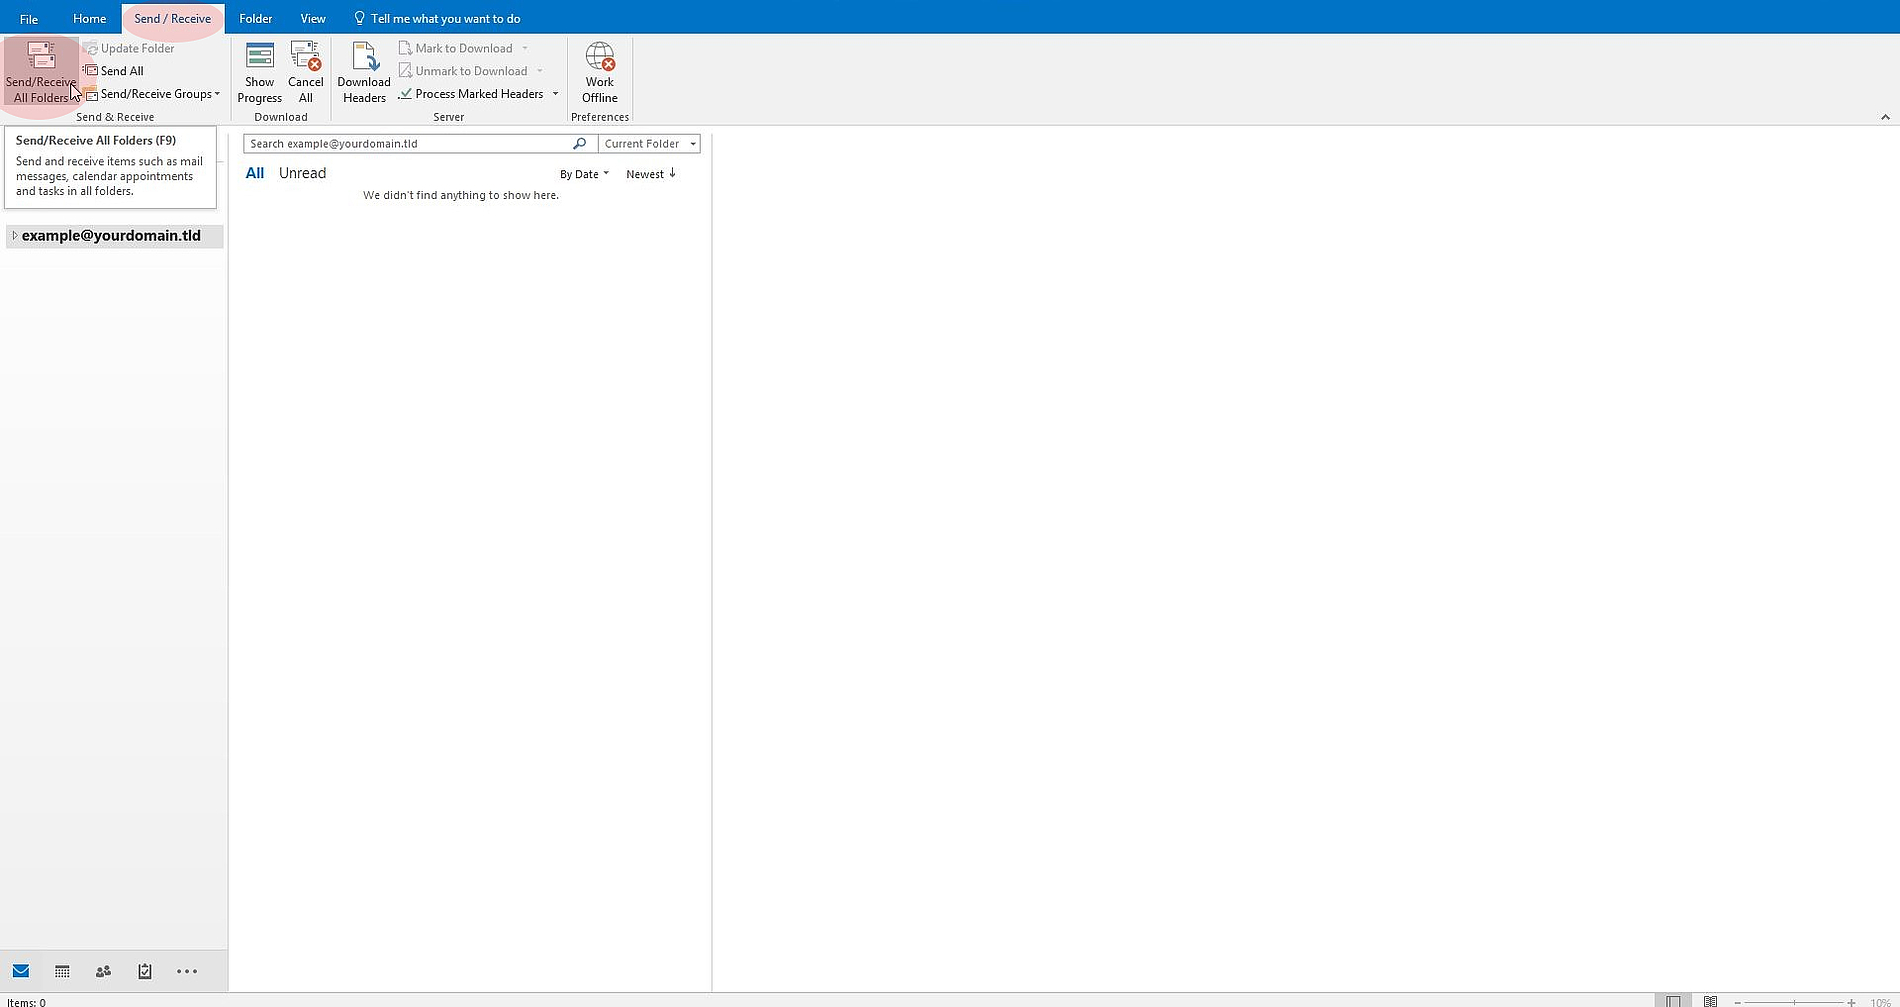
Step 14
To fetch your e-mail you need to click on "Send/Receive All Folders" in the tab "Send/Recieve".