Set up new IMAP e-mail account in Microsoft Outlook 2013
Bellow you will find a detailed description of how you set up a new IMAP e-mail account in Microsoft Outlook 2013.
Note:
If the e-mail address which should be set up is a new created one, we recommend to login into the webmail in your Control Panelbefore you start the configuration in your e-mail client.Start webmail:
You can start the webmail either with the Control Panel module Webmail or you use the alias "/up" by simply typing yourdomain.tld/up (yourdomain.tld have to be replaced by your own domain) into the search bar of your browser. More information about webmail and e-mail.
Step 1
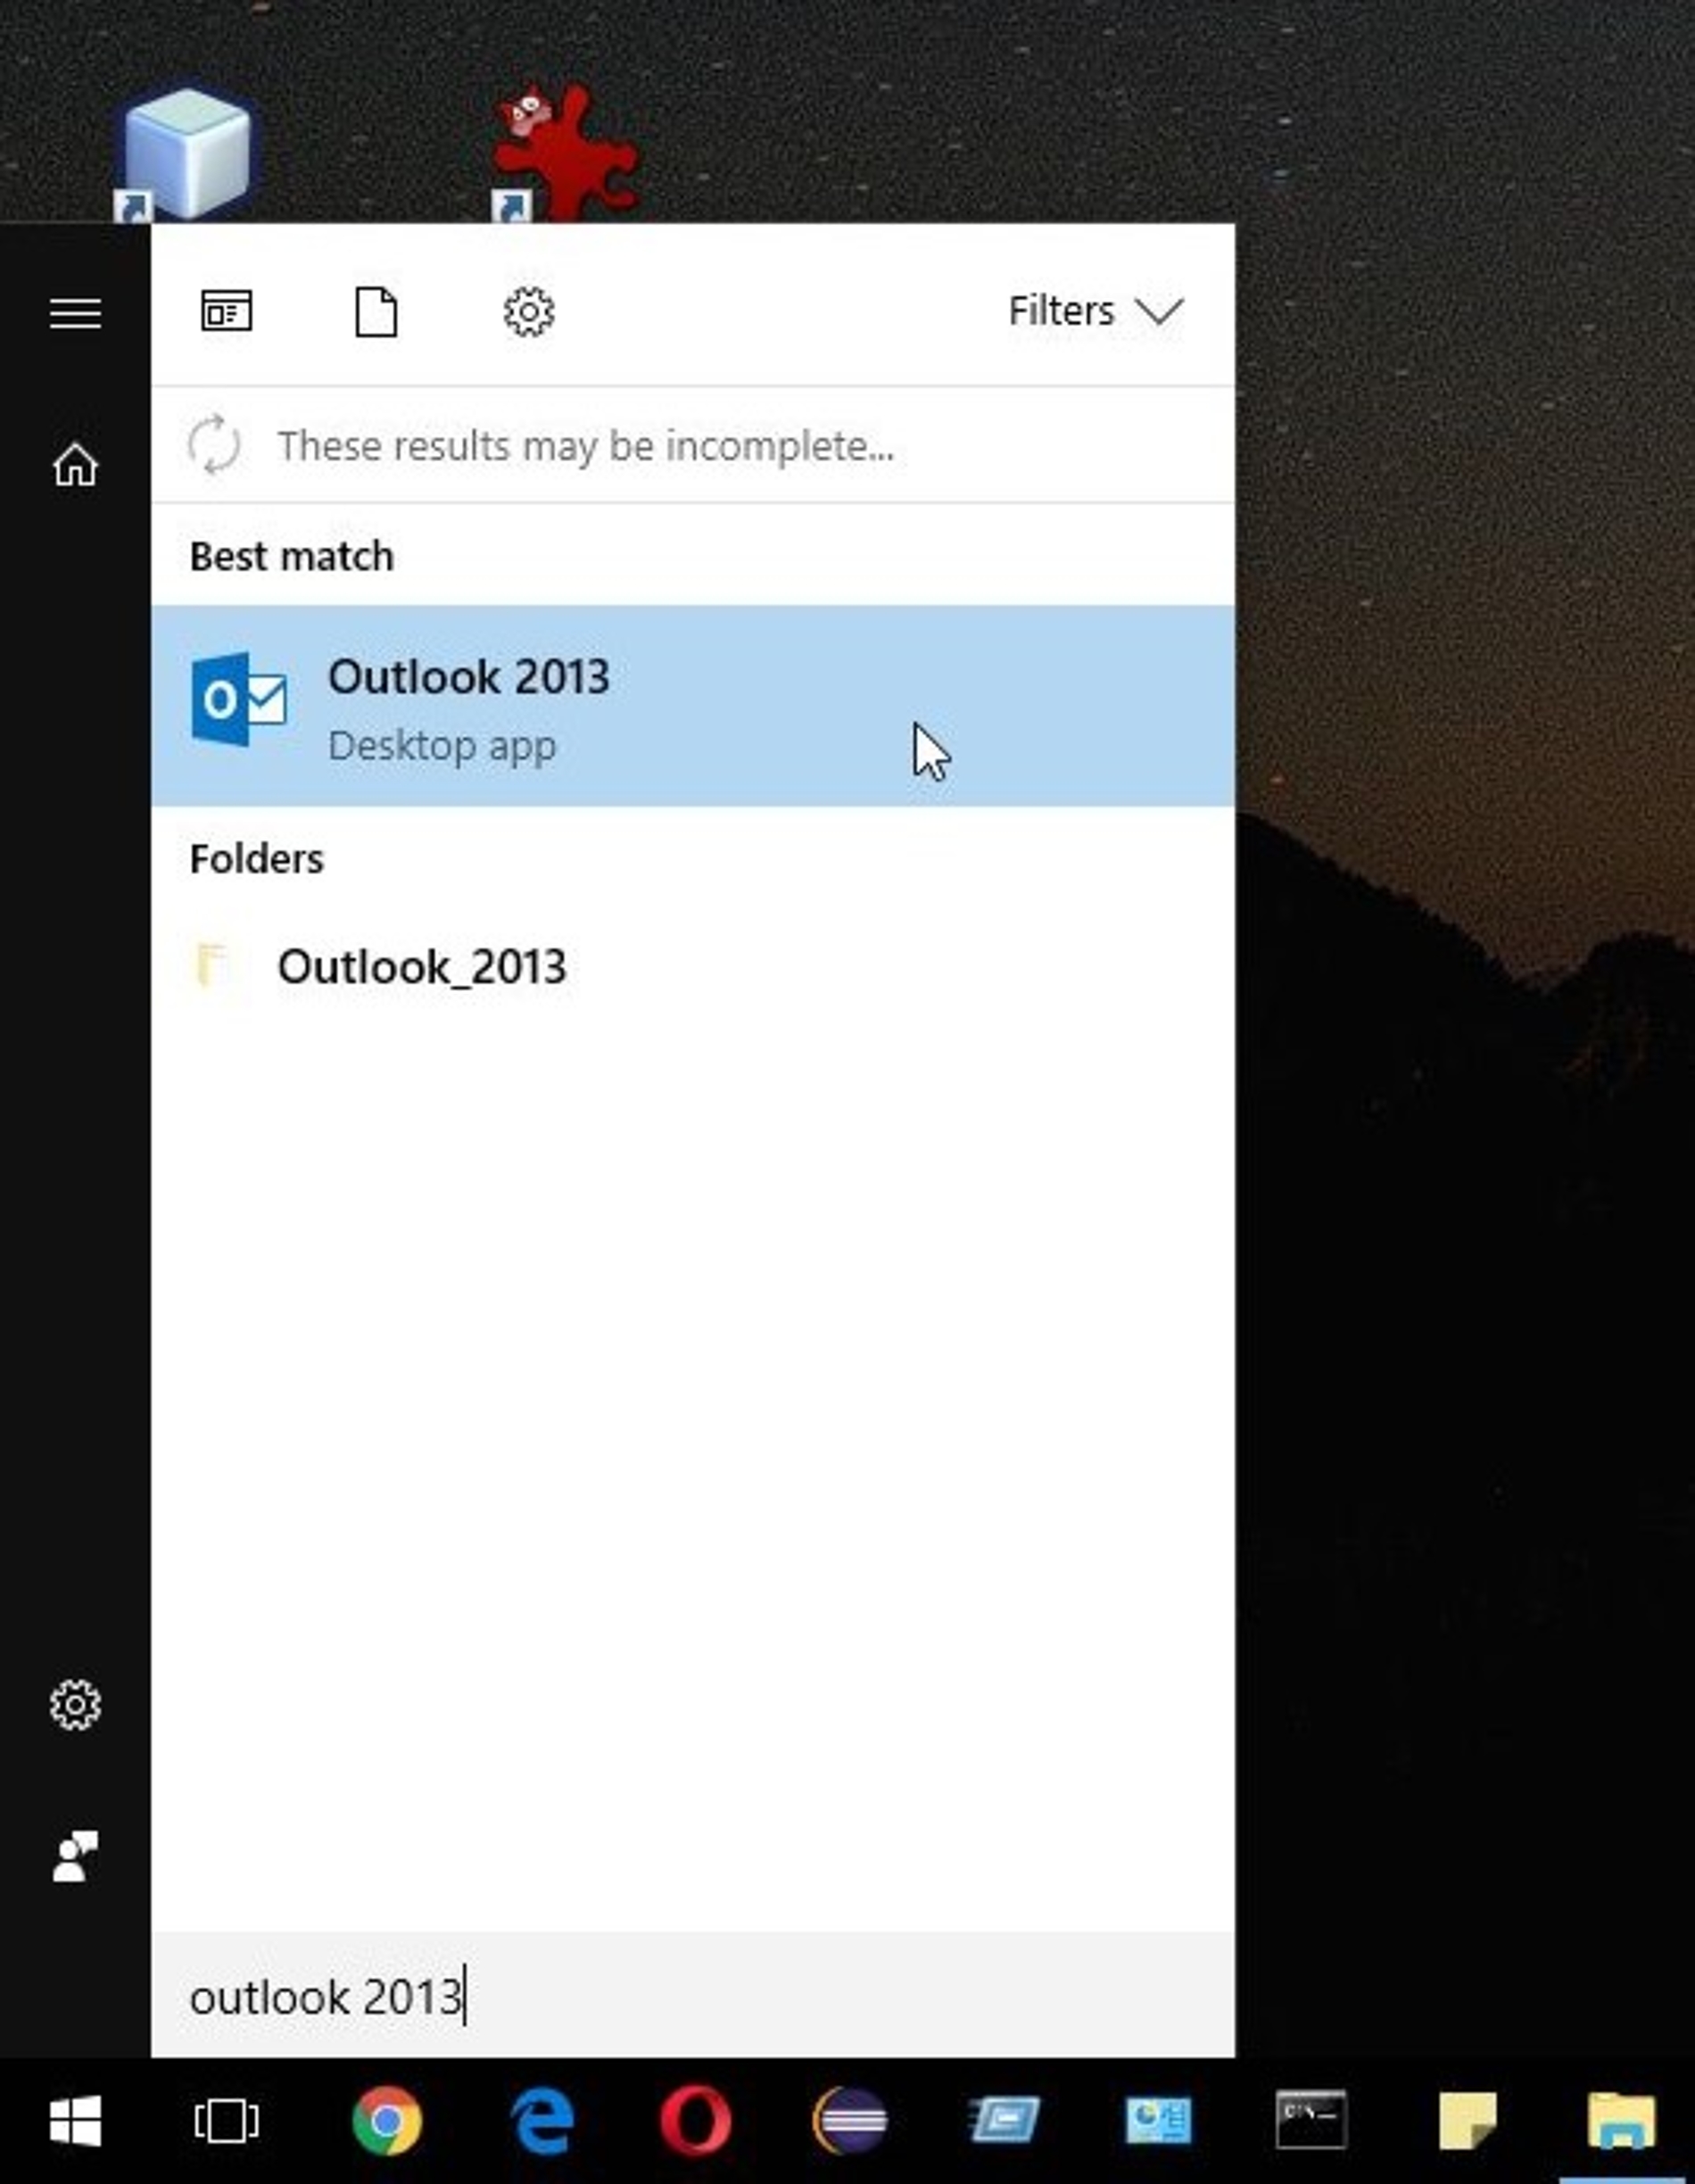
Start Microsoft Outlook 2013 either by typing "Outlook 2013" into the search bar of Windows or you use an icon on your desktop or taskbar.
Step 2
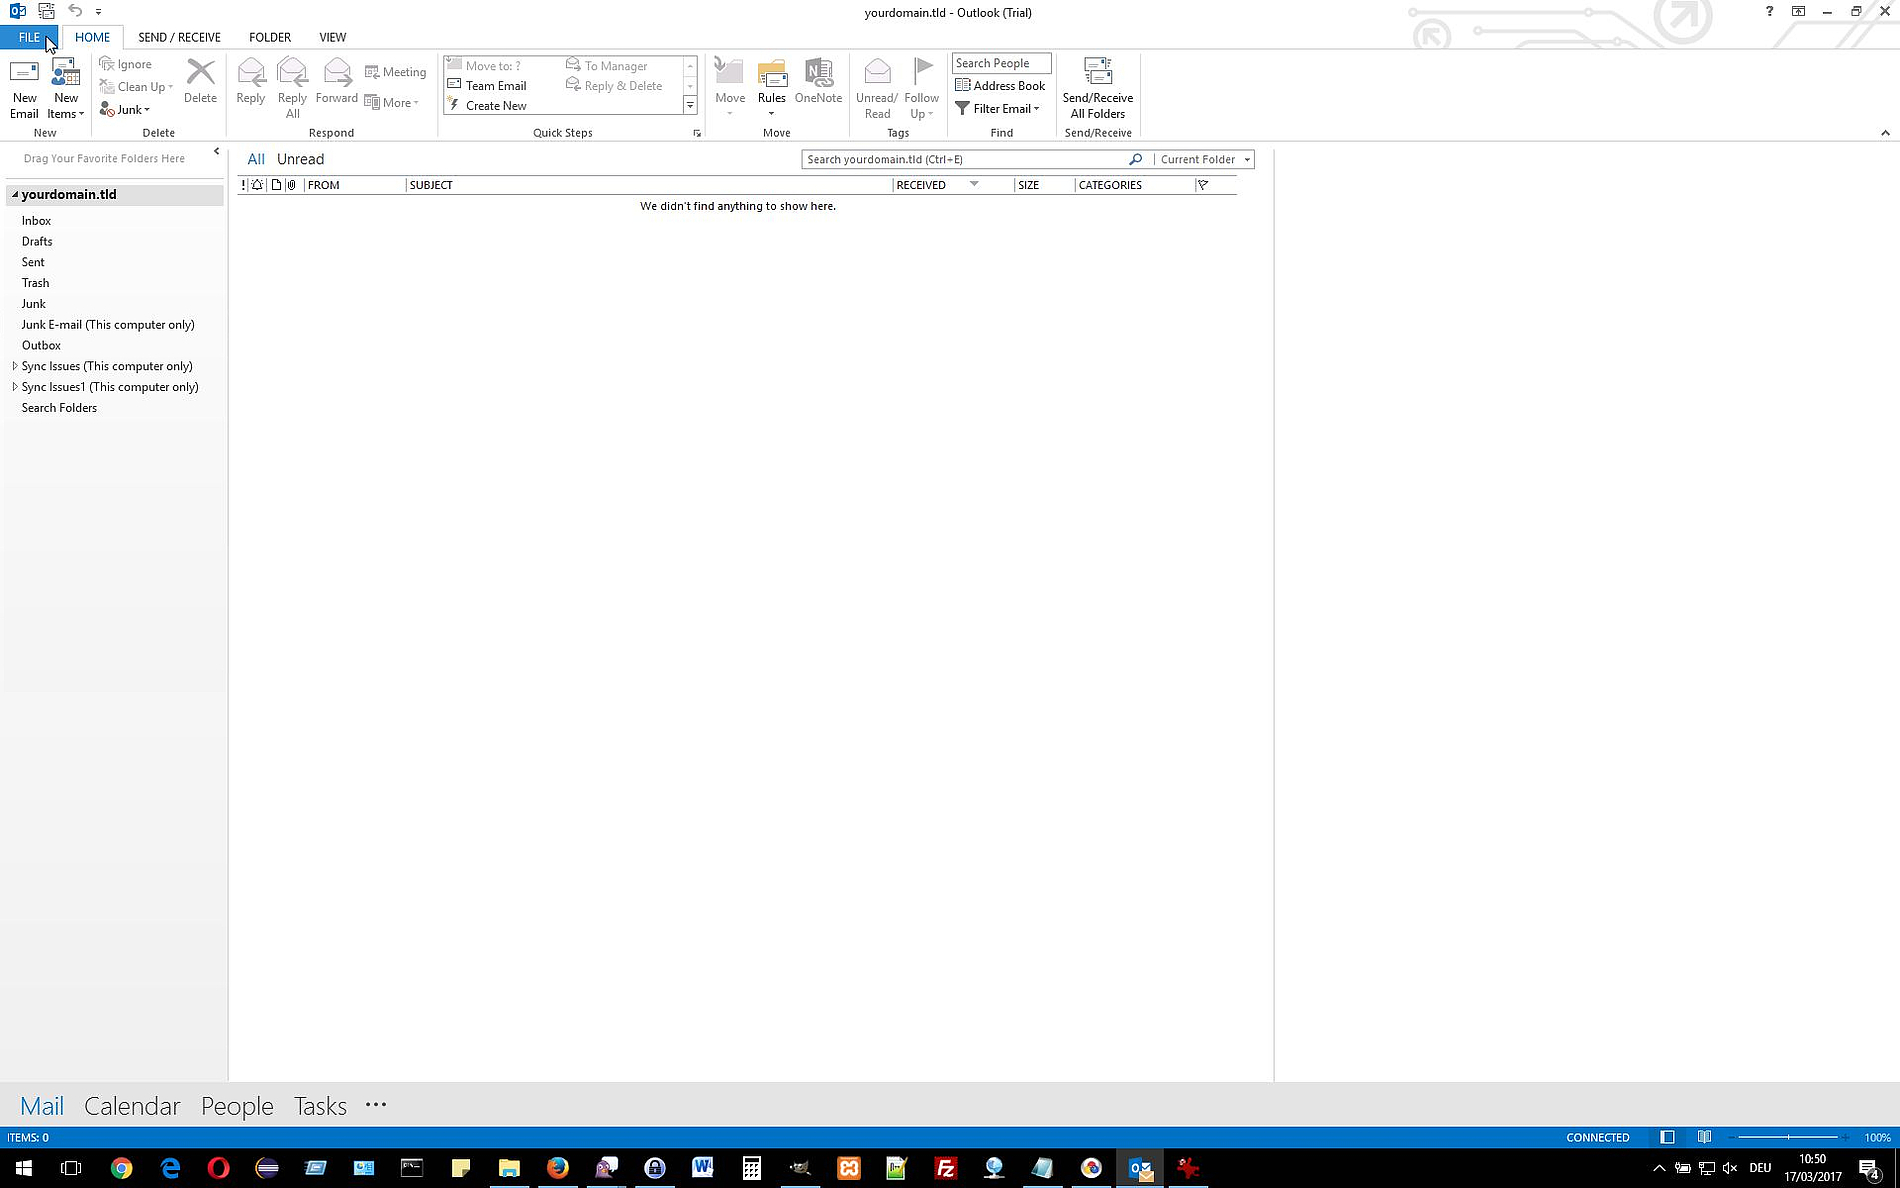
Click on the blue tab named "File" in the upper left corner of the screen.
Step 3
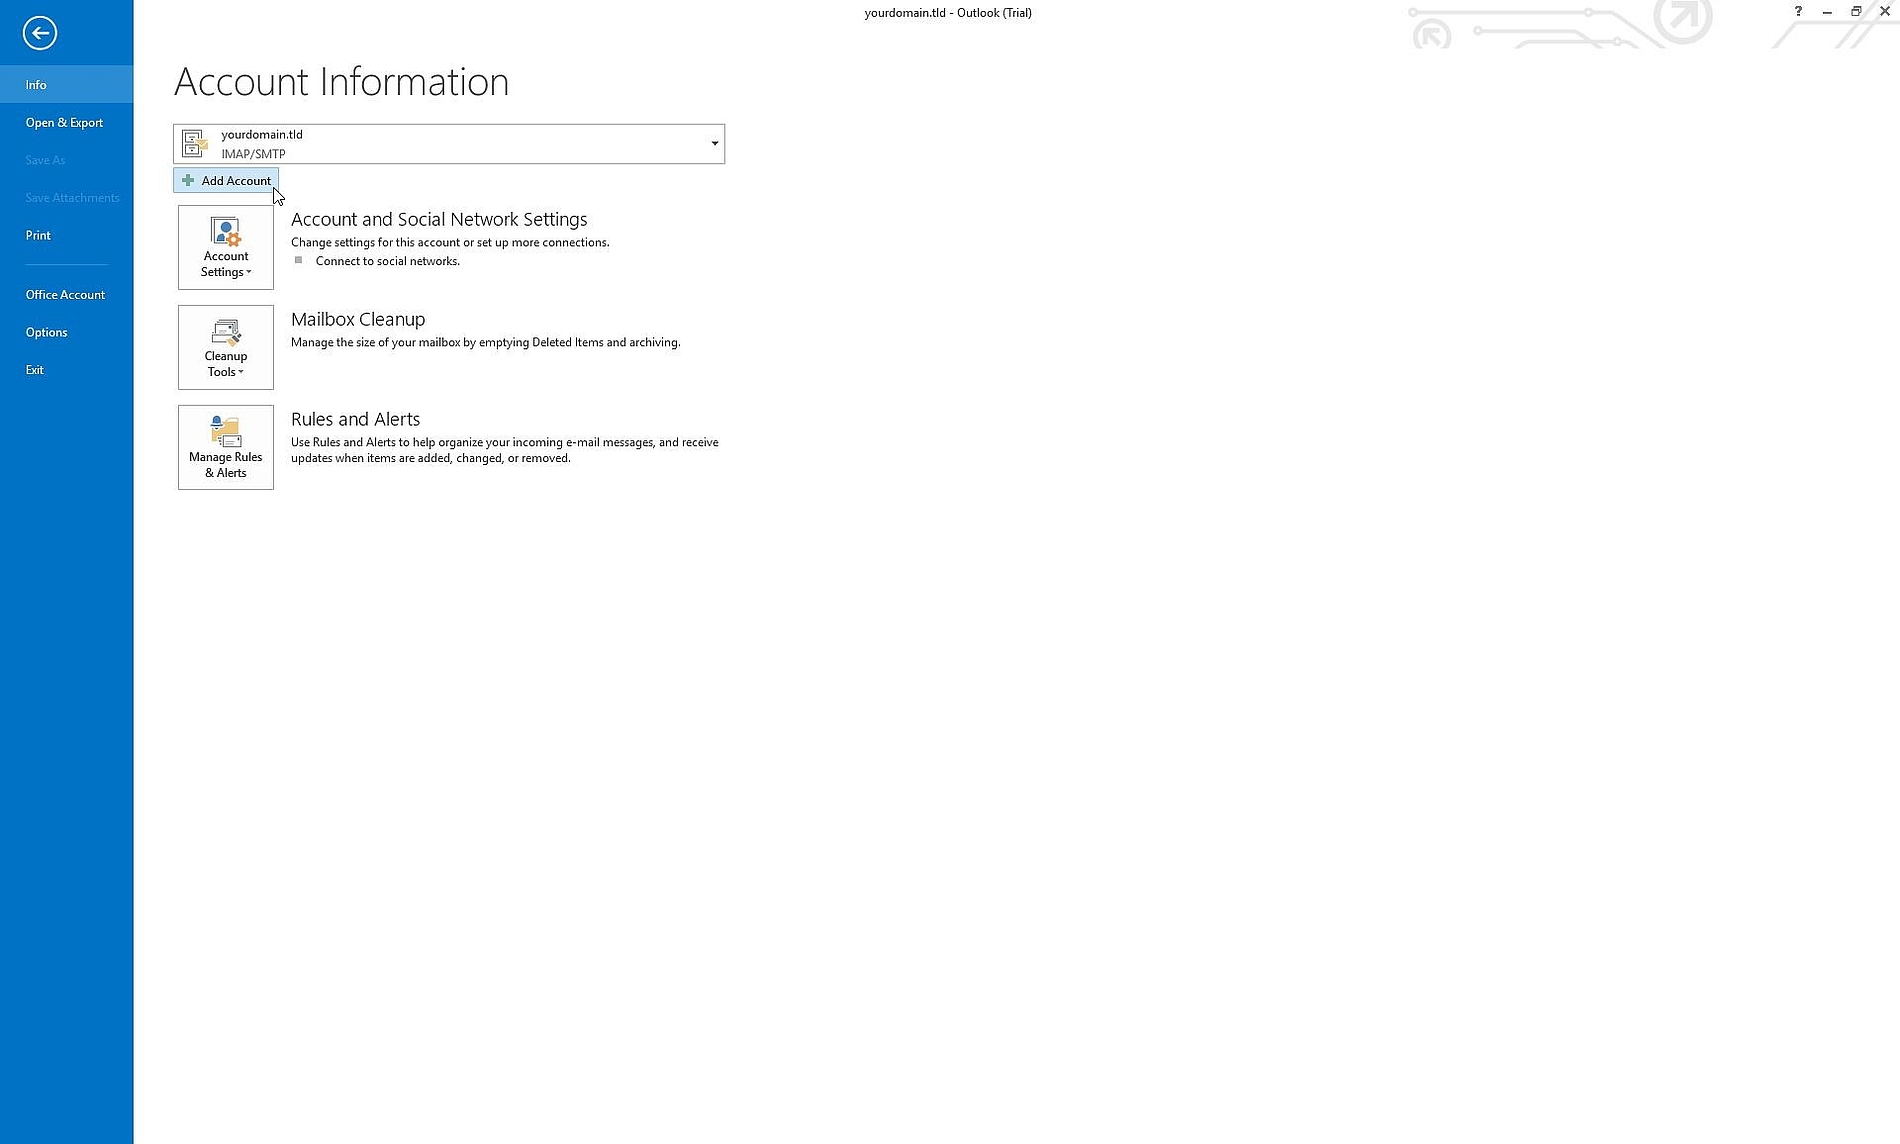
Please click on "+Add Account" to start the setup assistant.
Step 4
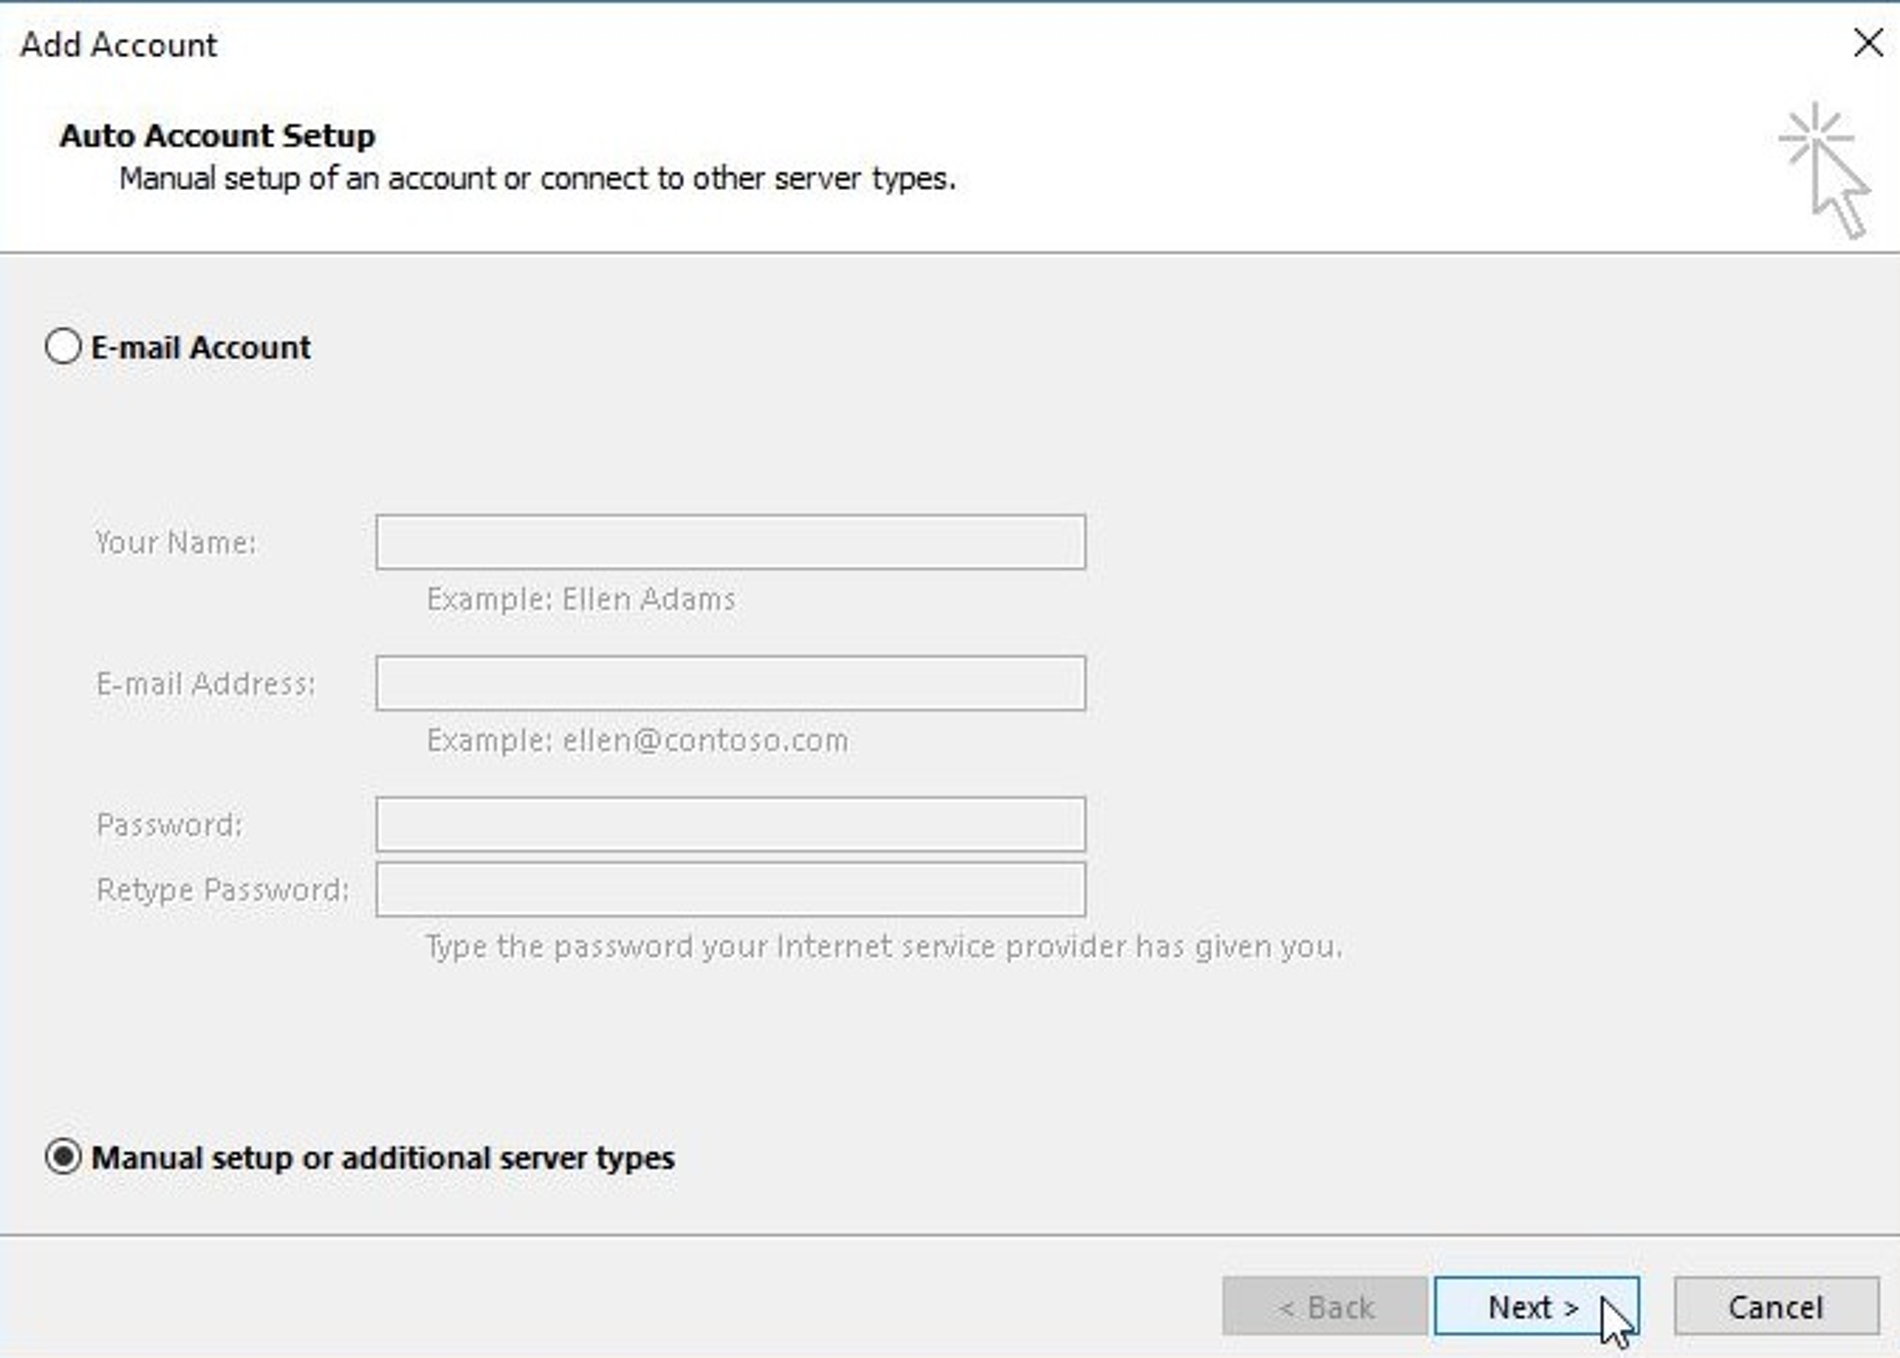
Select the point "Manual setup or additional server types" and confirm by clicking "Next >".
Step 5
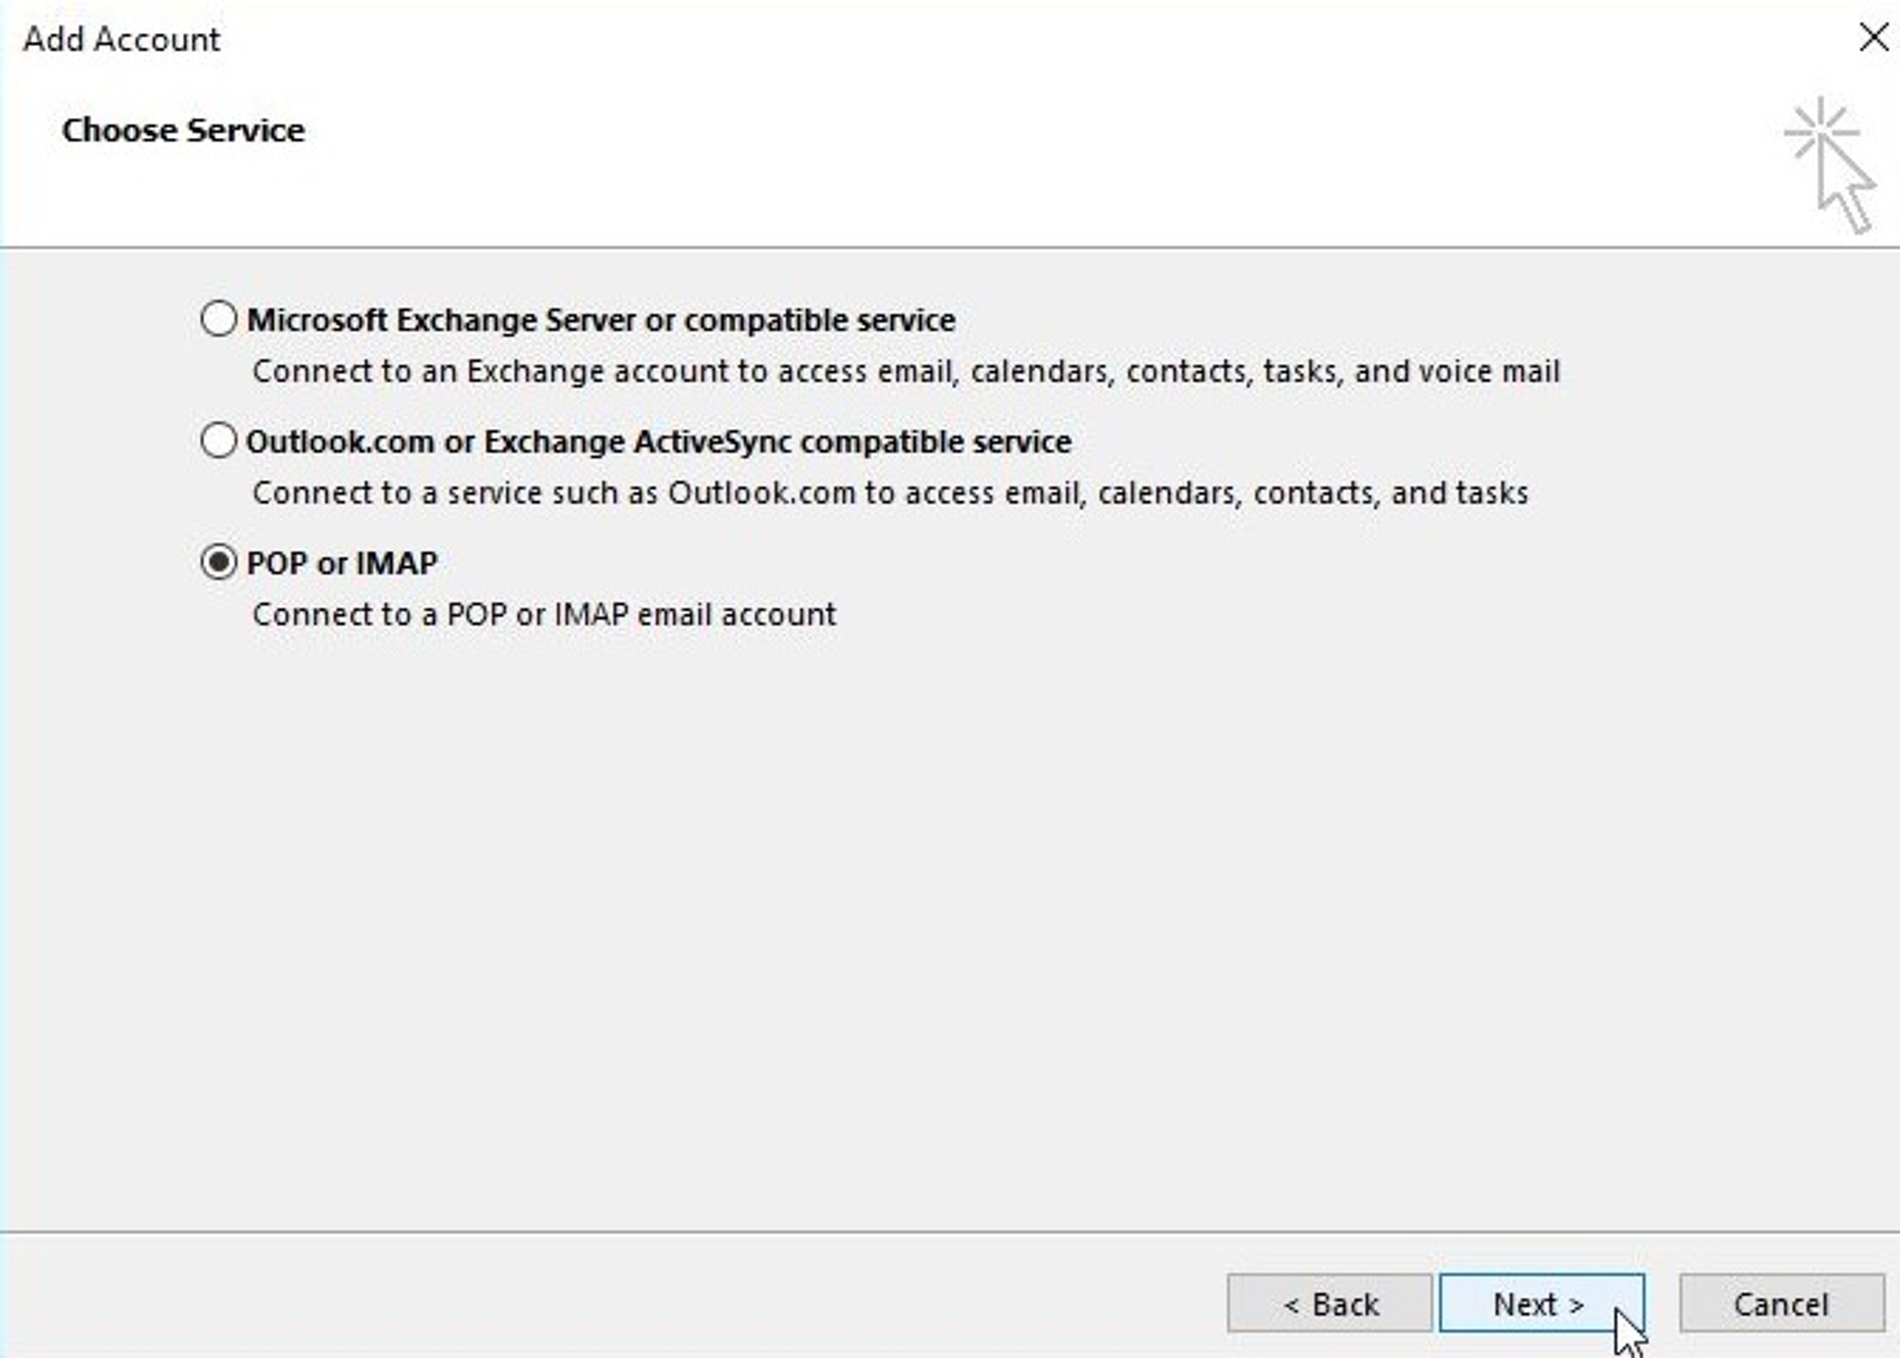
Now select the last option in this list "POP or IMAP" and continue with "Next >".
Step 6
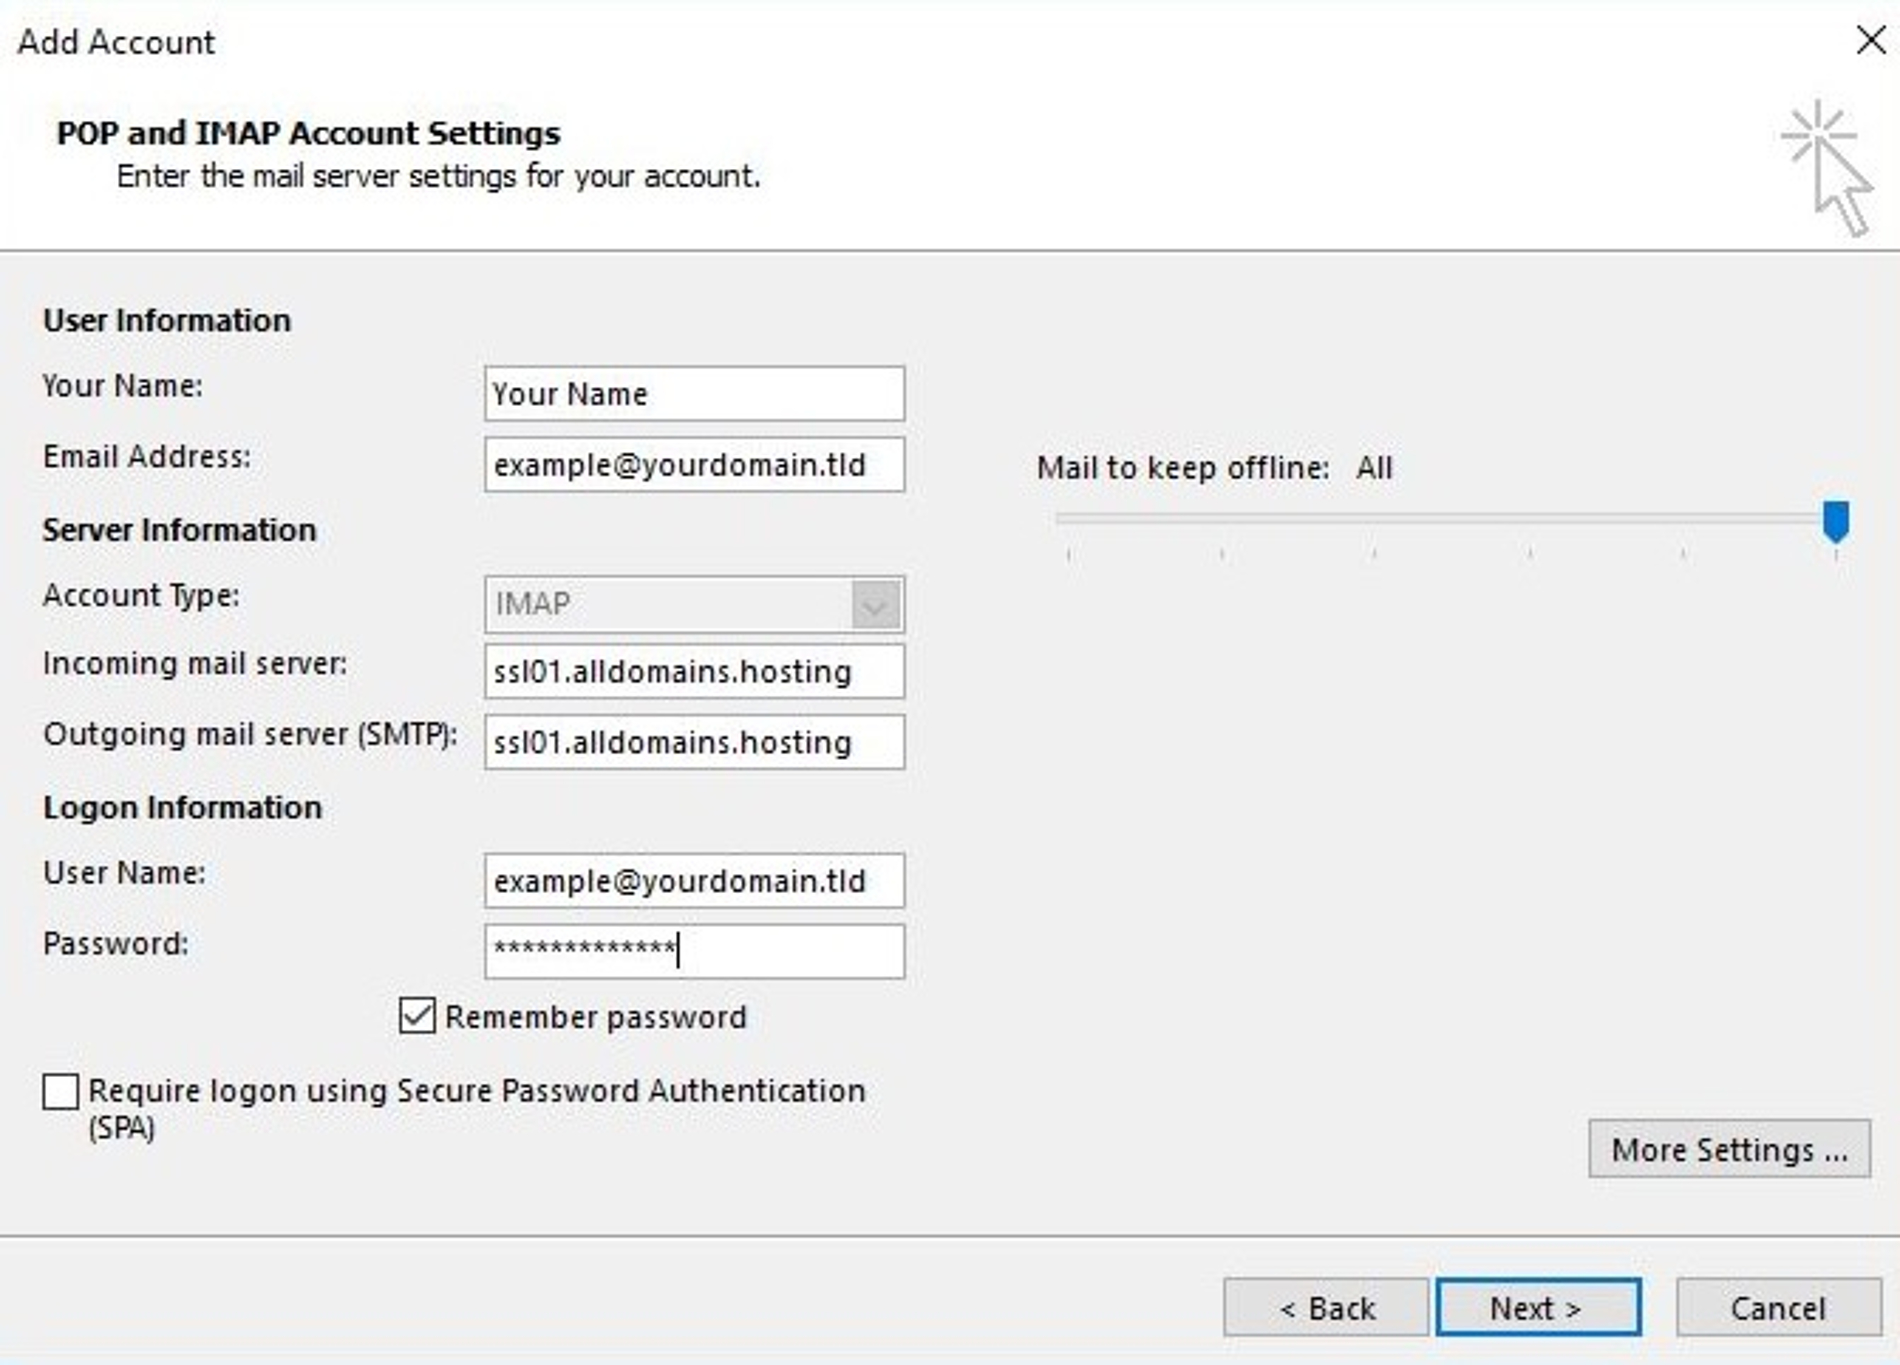
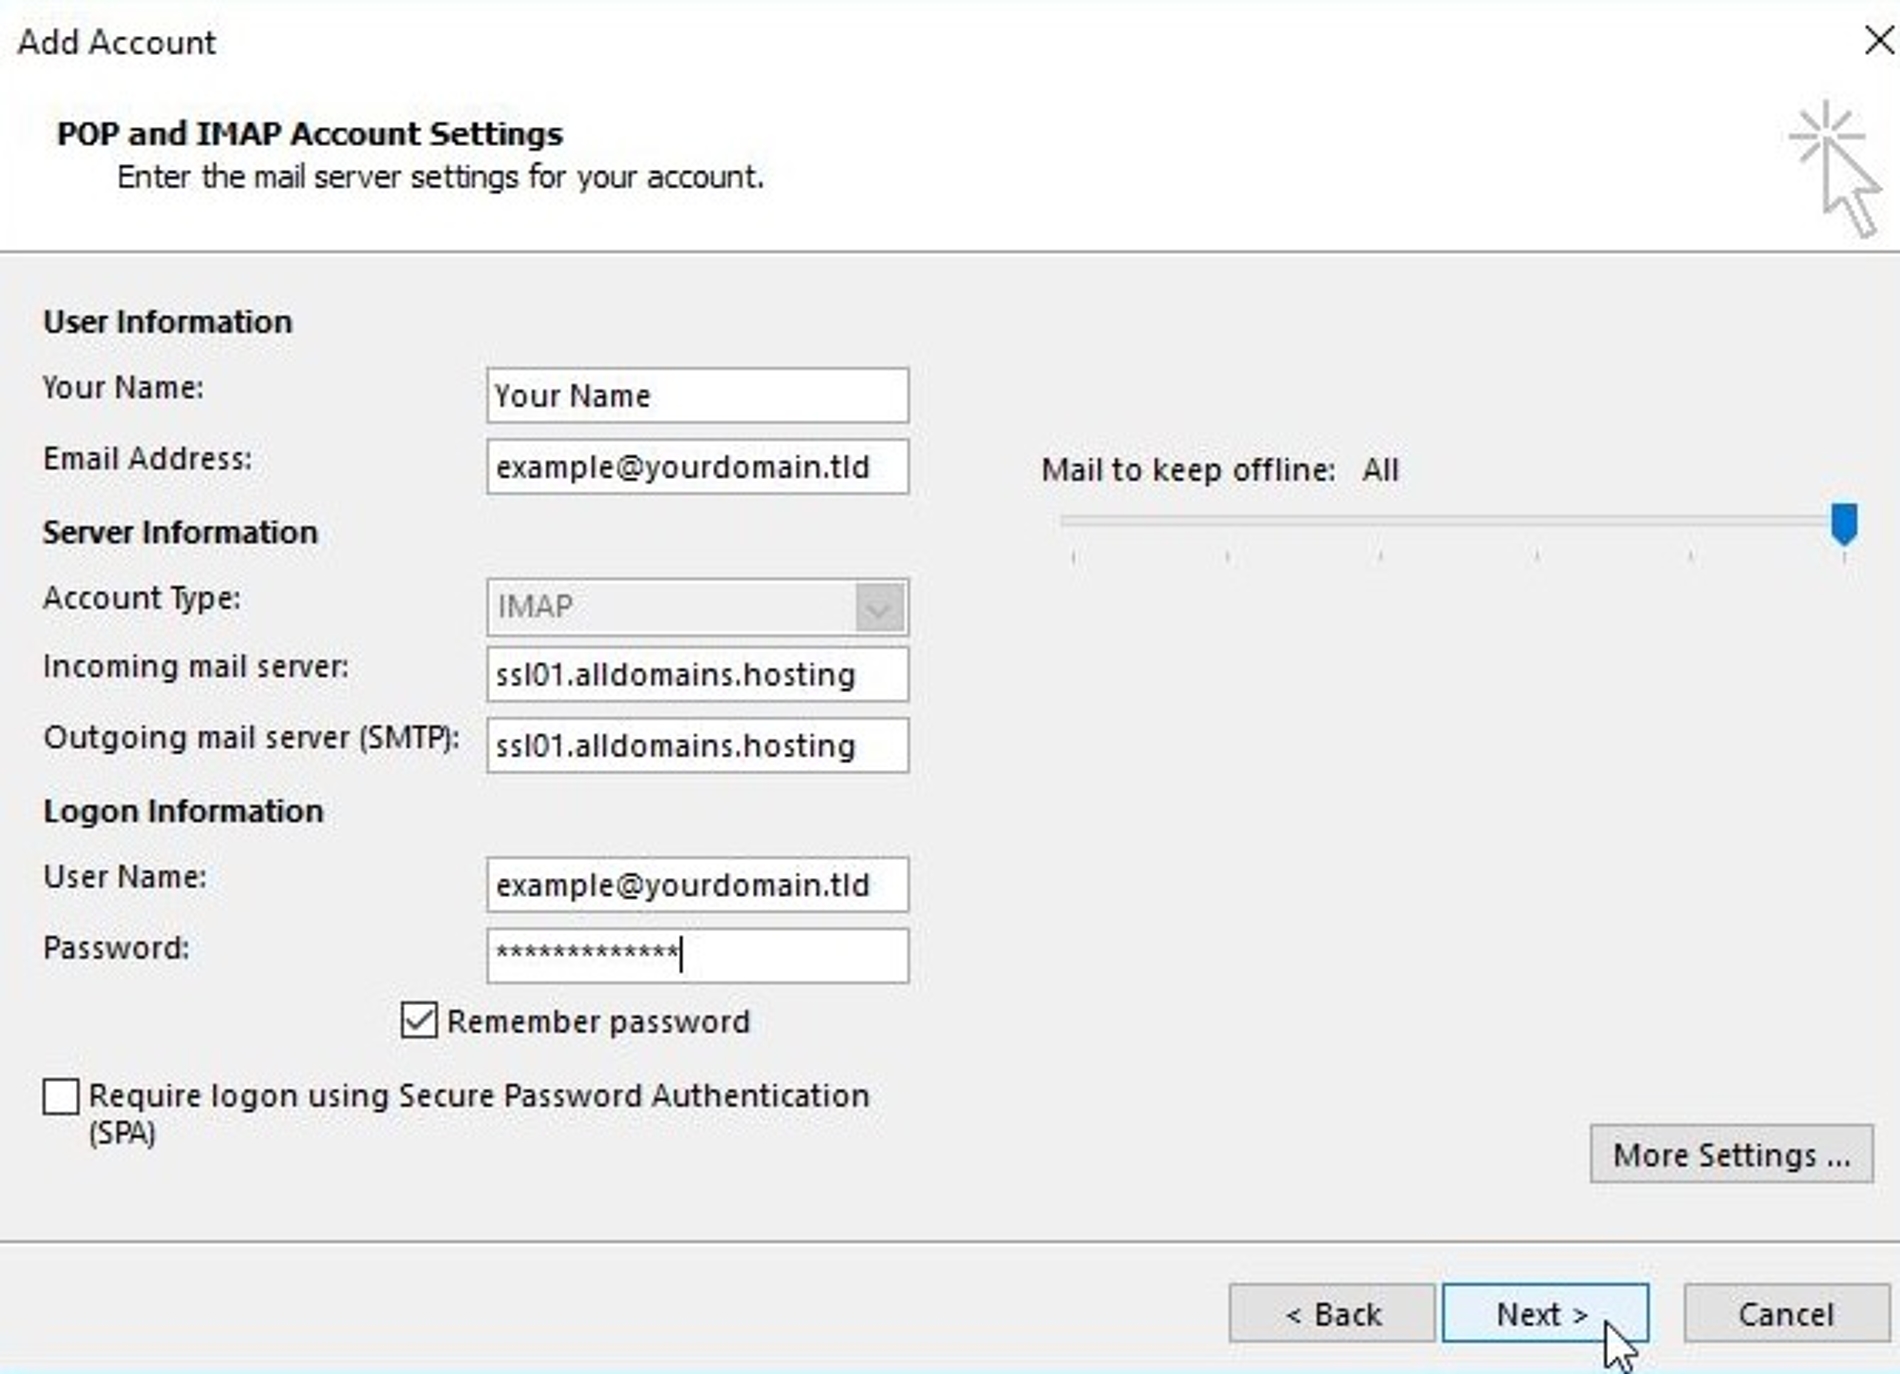
Now you have to enter the "User", "Server" and "Logon Information" of your e-mail account.
Please enter your name and the e-mail address which you want to setup at "User Information".
Important:
The "Server Information" should be set as shown in the screenshot to ensure you are using a SSL secured connection. The "Account Type" is IMAP. You type ssl01.alldomains.hosting into both fields of "Incoming mail server" and "Outgoing mail server (SMTP)". At "Logon Information" the "User Name" is the e-mail address which you want to set up and the password which was set for this e-mail account in your Control Panel. All needed settings for this step can be looked up at the Email Manager module of your Control Panel. Click at the "Action >" button besides your e-mail address and open "Mail Client Settings".
The "Server Information" should be set as shown in the screenshot to ensure you are using a SSL secured connection. The "Account Type" is IMAP. You type ssl01.alldomains.hosting into both fields of "Incoming mail server" and "Outgoing mail server (SMTP)". At "Logon Information" the "User Name" is the e-mail address which you want to set up and the password which was set for this e-mail account in your Control Panel. All needed settings for this step can be looked up at the Email Manager module of your Control Panel. Click at the "Action >" button besides your e-mail address and open "Mail Client Settings".
Step 7
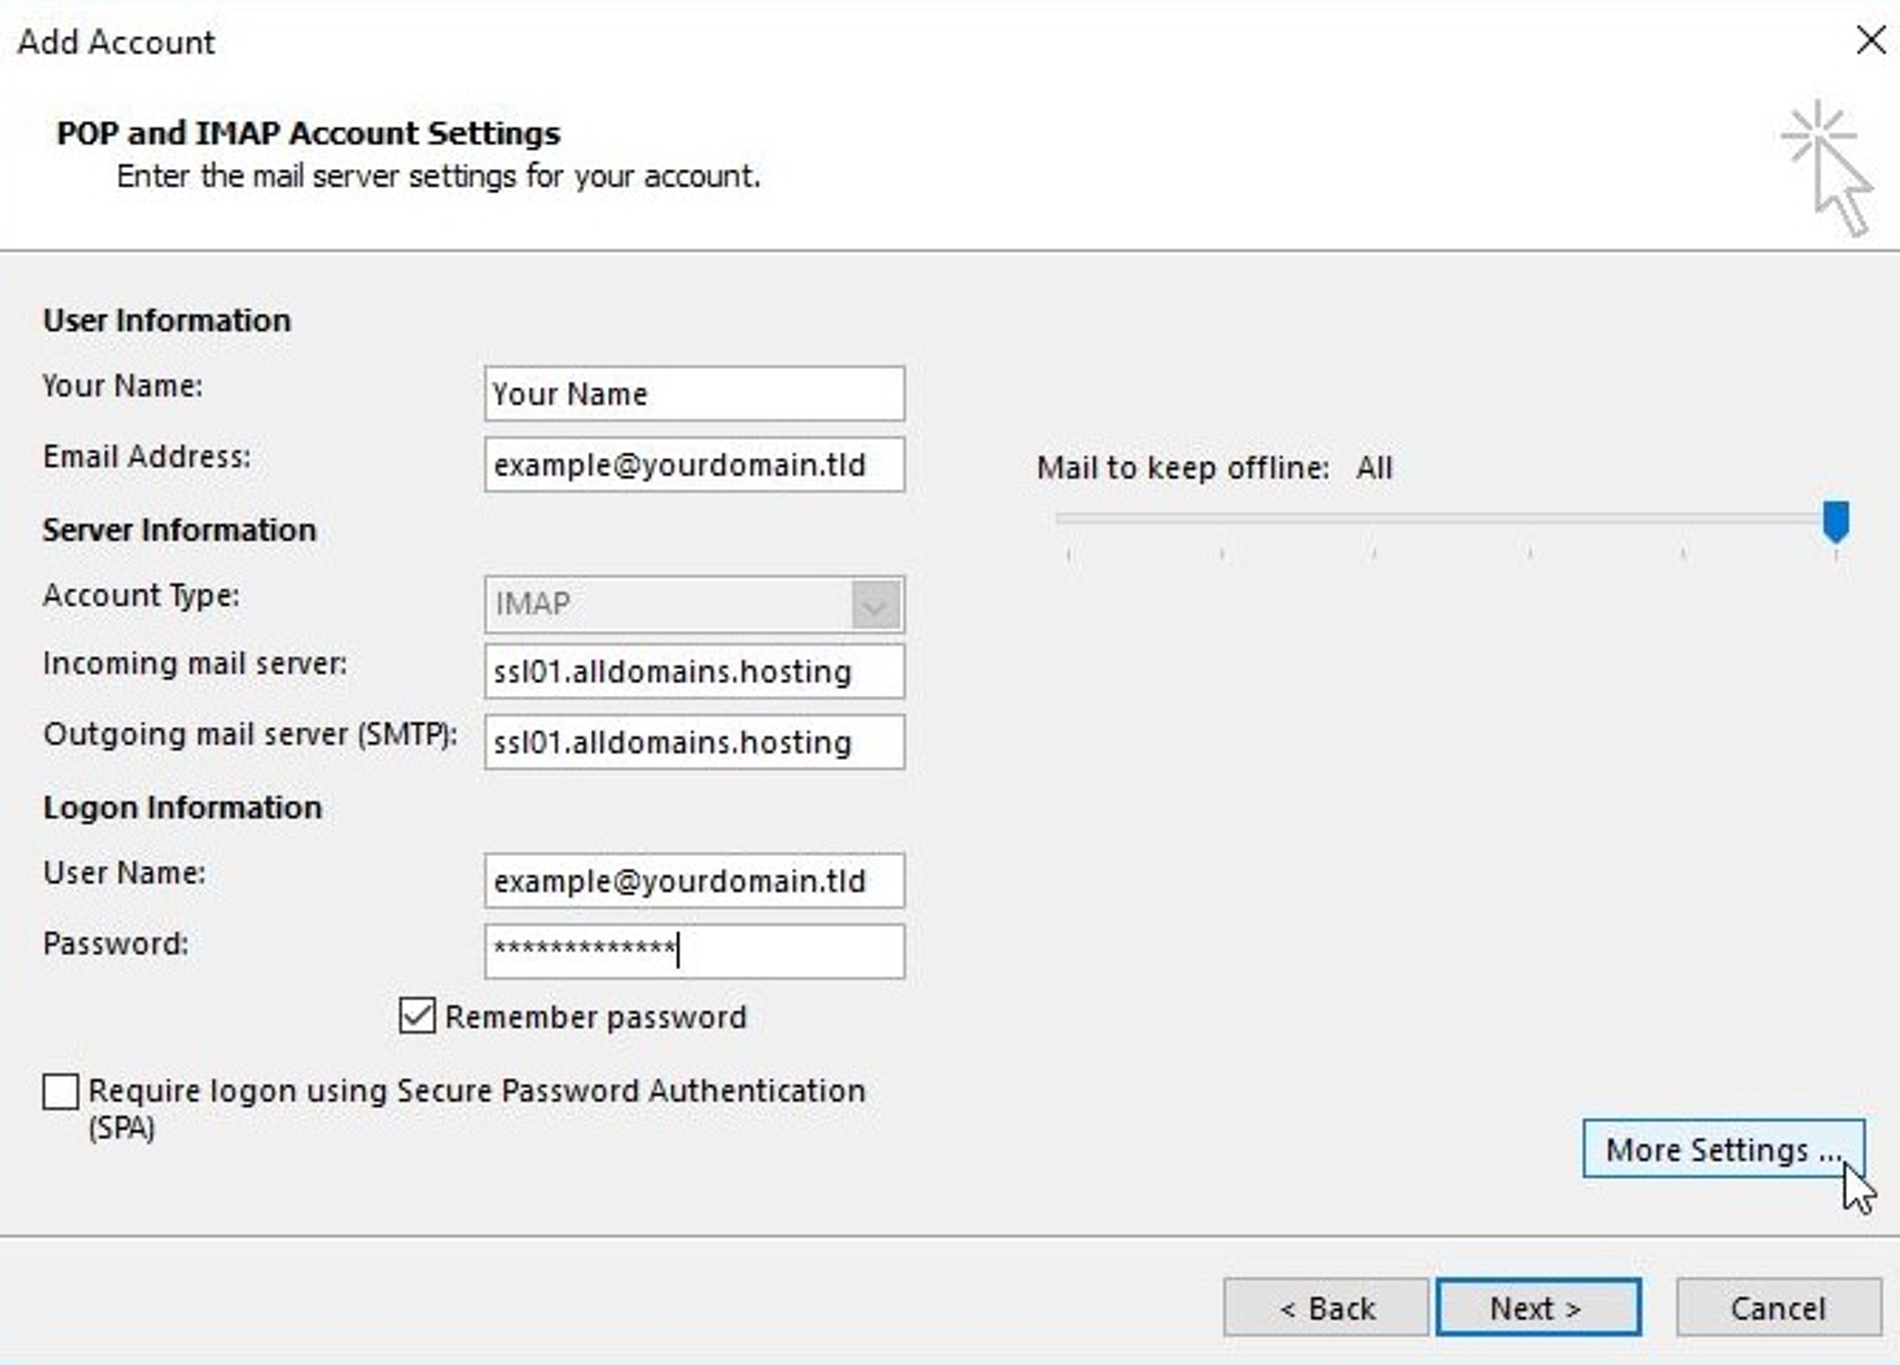
With the slider "Mail to keep offline:" you can change the time period of how long e-mails are offline available.
Double check all your setting regarding "User", "Server" and "Logon Information" and afterwards click on "More Settings…" to continue the manual.
Step 8
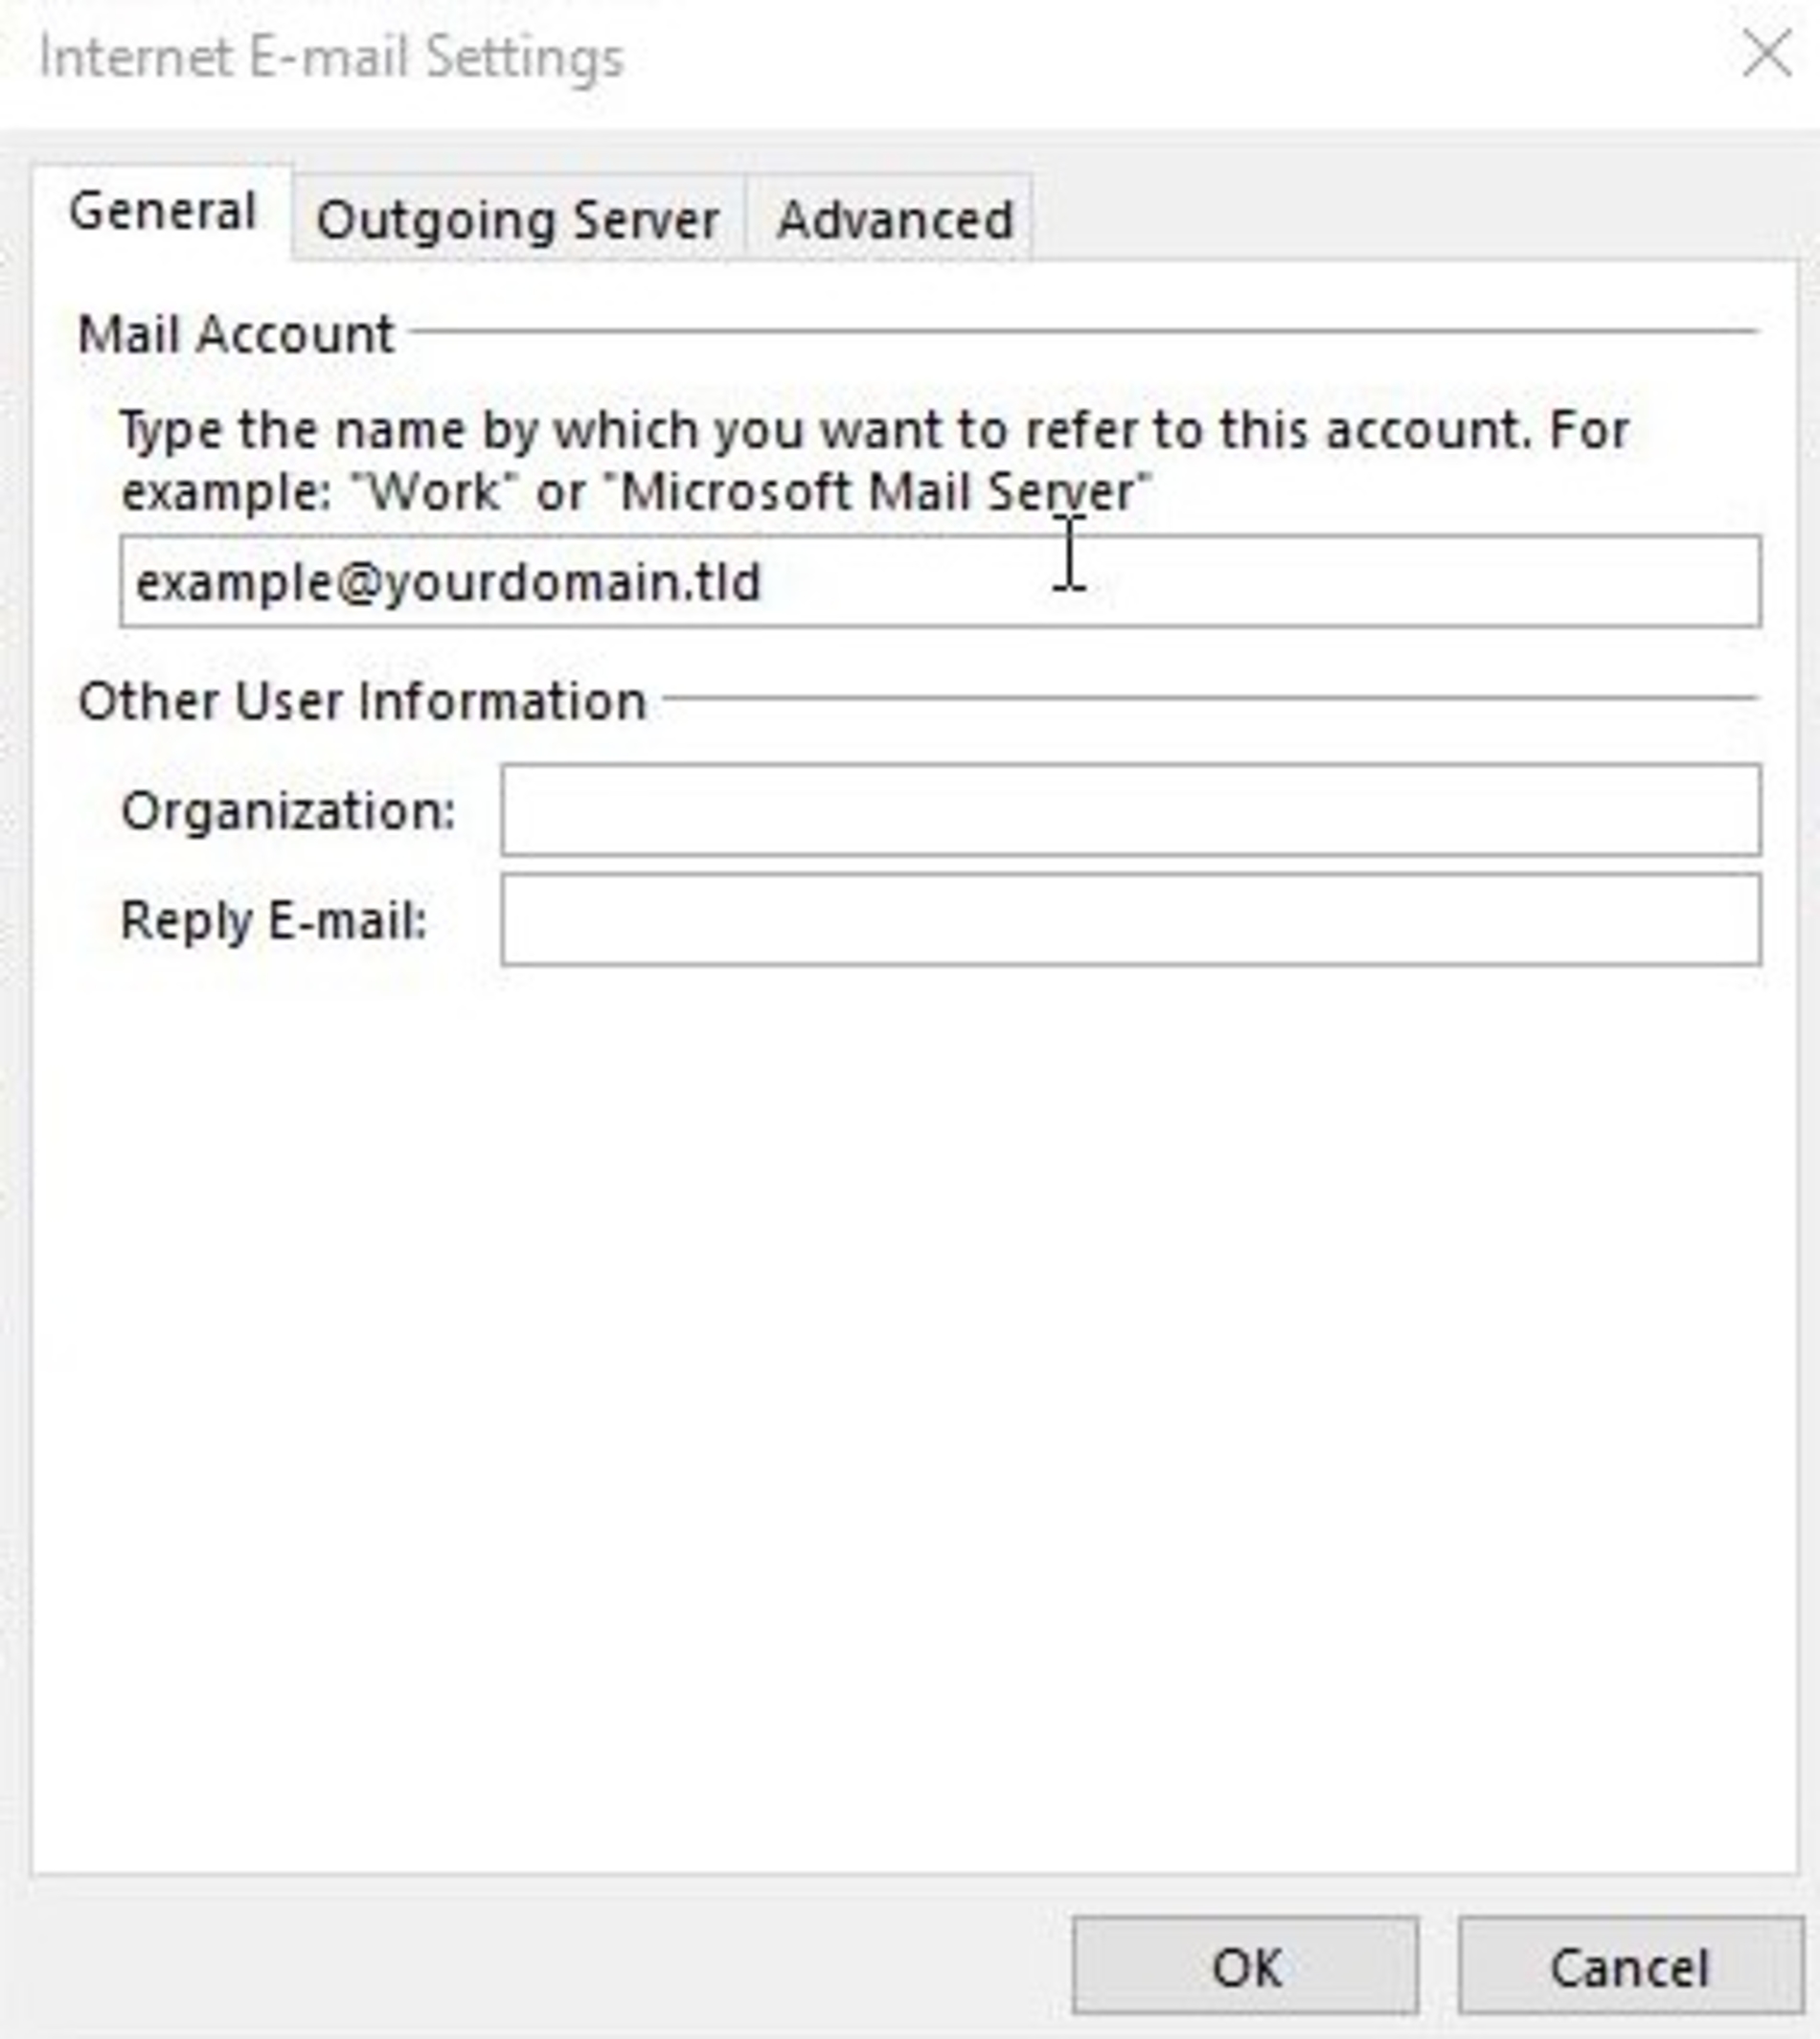
At the tab "General" you can set a name for the e-mail account, otherwise the e-mail address itself will be set as the name for the account.
Step 9
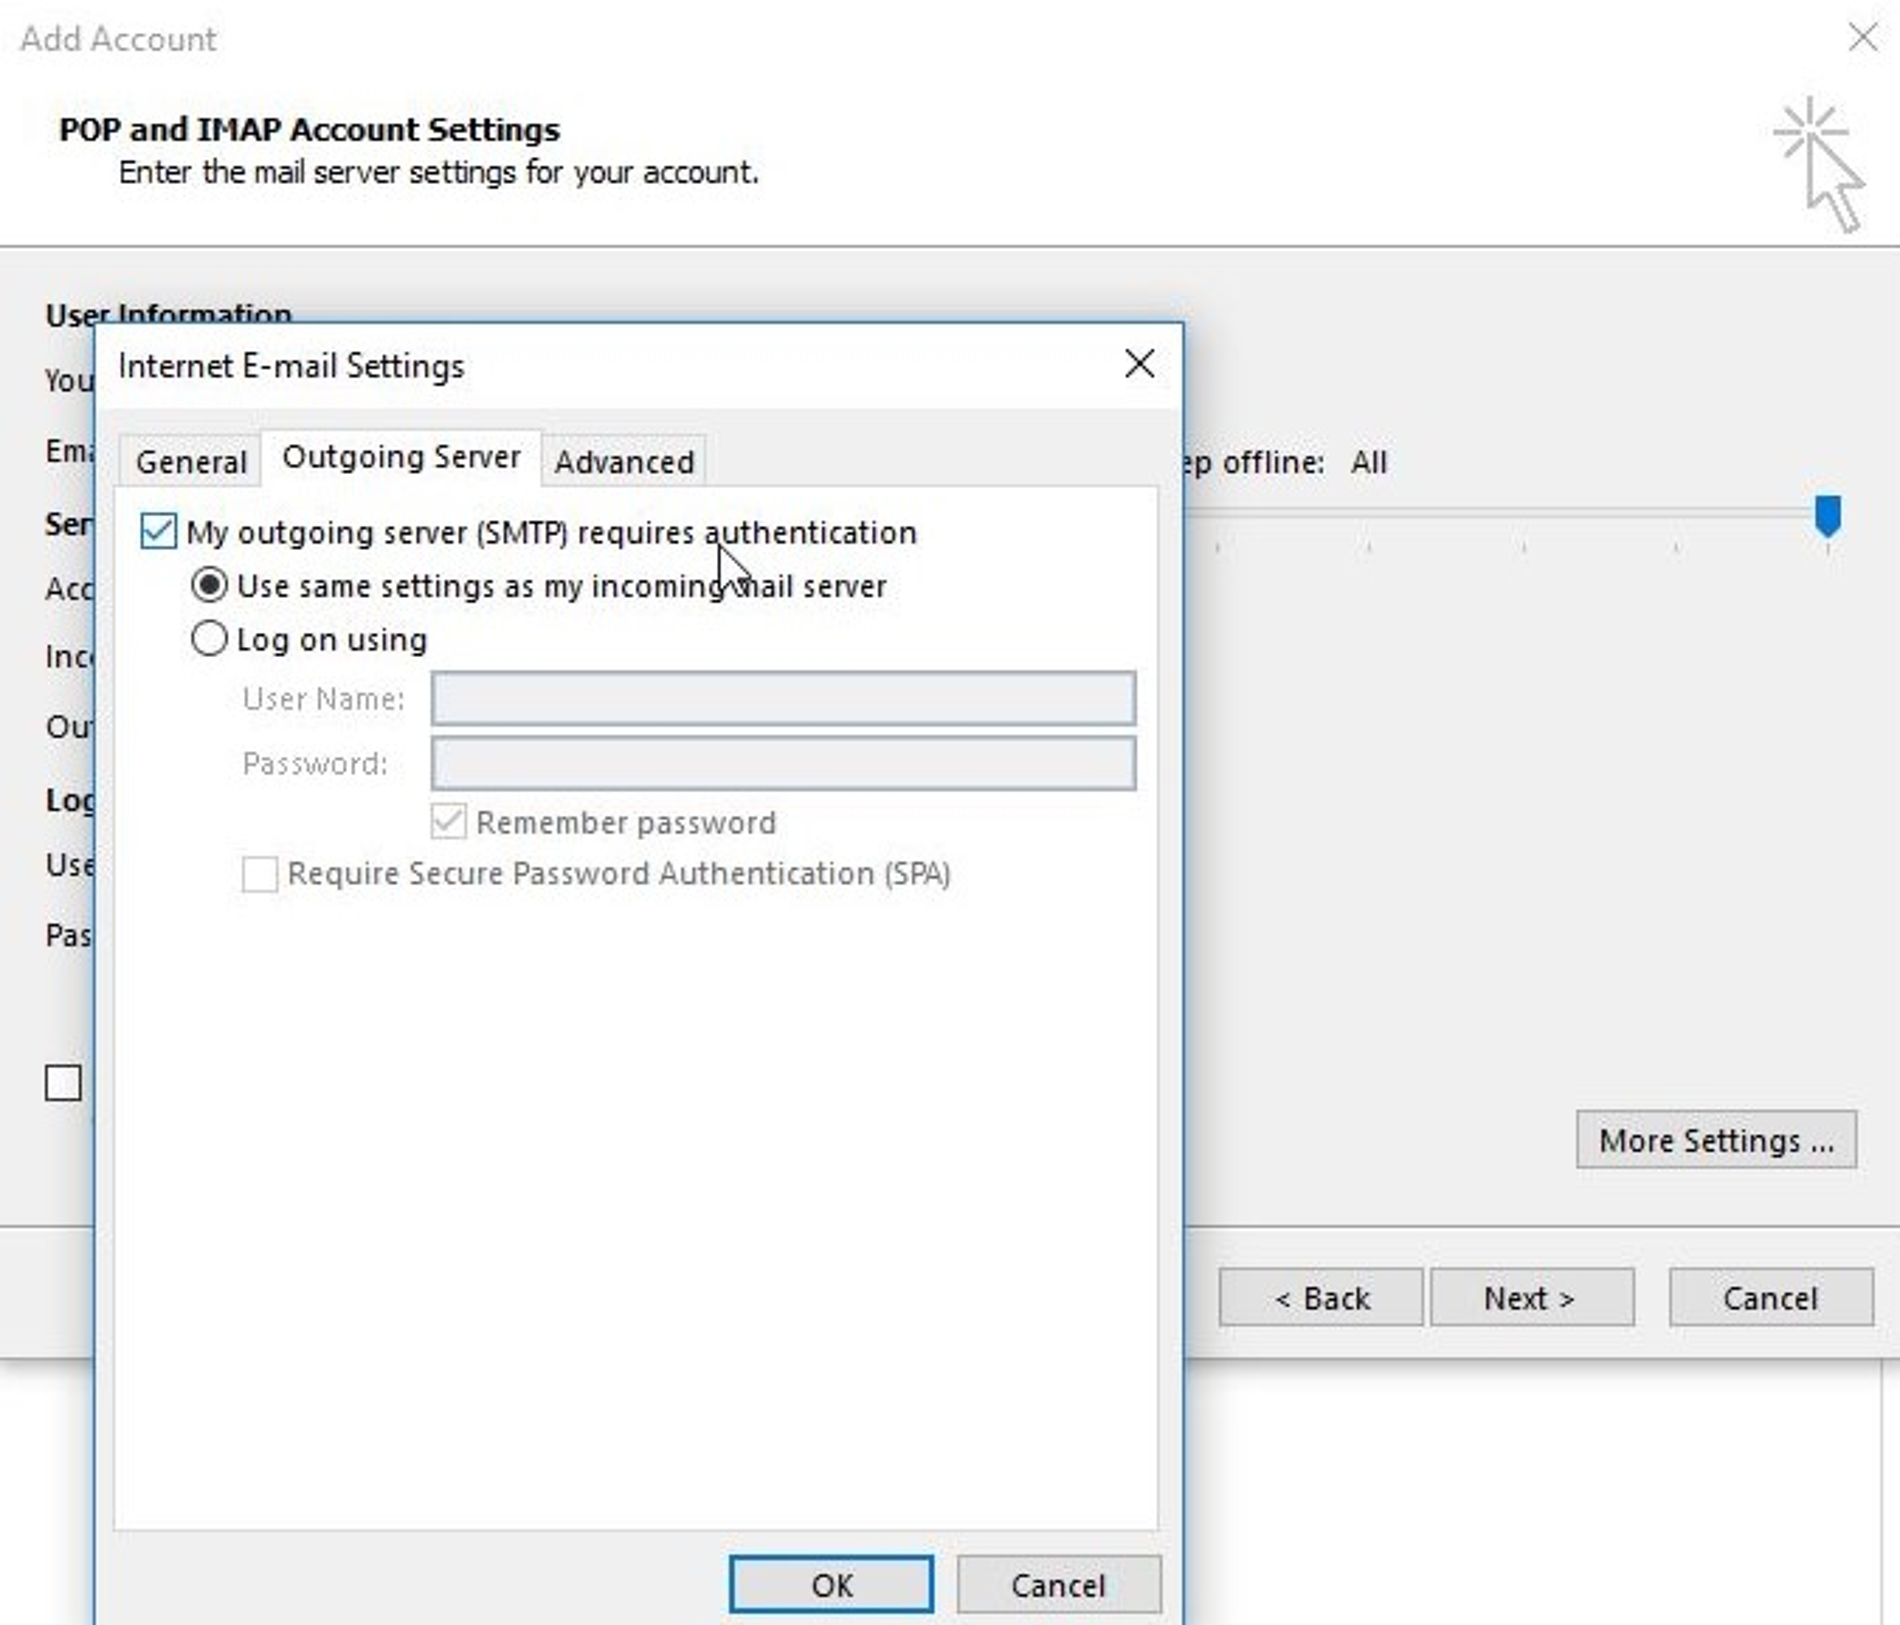
Switch to tab "Outgoing Server" and make sure the first two points "My outgoing server (SMTP) requires authentication" and "Use same settings as my incoming mail server" are both selected.
Step 10
Now go to the last tab "Advanced".
The port for "Incoming server (IMAP):" is 993 and the encryption type is SSL.
The port for "Outgoing server (SMTP)" is 587 and the used encryption type is TLS.
Note:
If you use the encryption type "SSL" for SMTP the port 465 should be used. The "Server Timeouts" should be left at the default value of 1 minute. The last thing to do in this tab is to type in the "Root folder path" INBOX (uppercase letters are required). Double check your settings and continue with "Ok".
If you use the encryption type "SSL" for SMTP the port 465 should be used. The "Server Timeouts" should be left at the default value of 1 minute. The last thing to do in this tab is to type in the "Root folder path" INBOX (uppercase letters are required). Double check your settings and continue with "Ok".

Step 11
Now we are back on the previous window where we can finish the set up by clicking on "Next >".
All settings now are getting checked if they are correct.
If an error is displayed double check your settings and try again.

Step 12
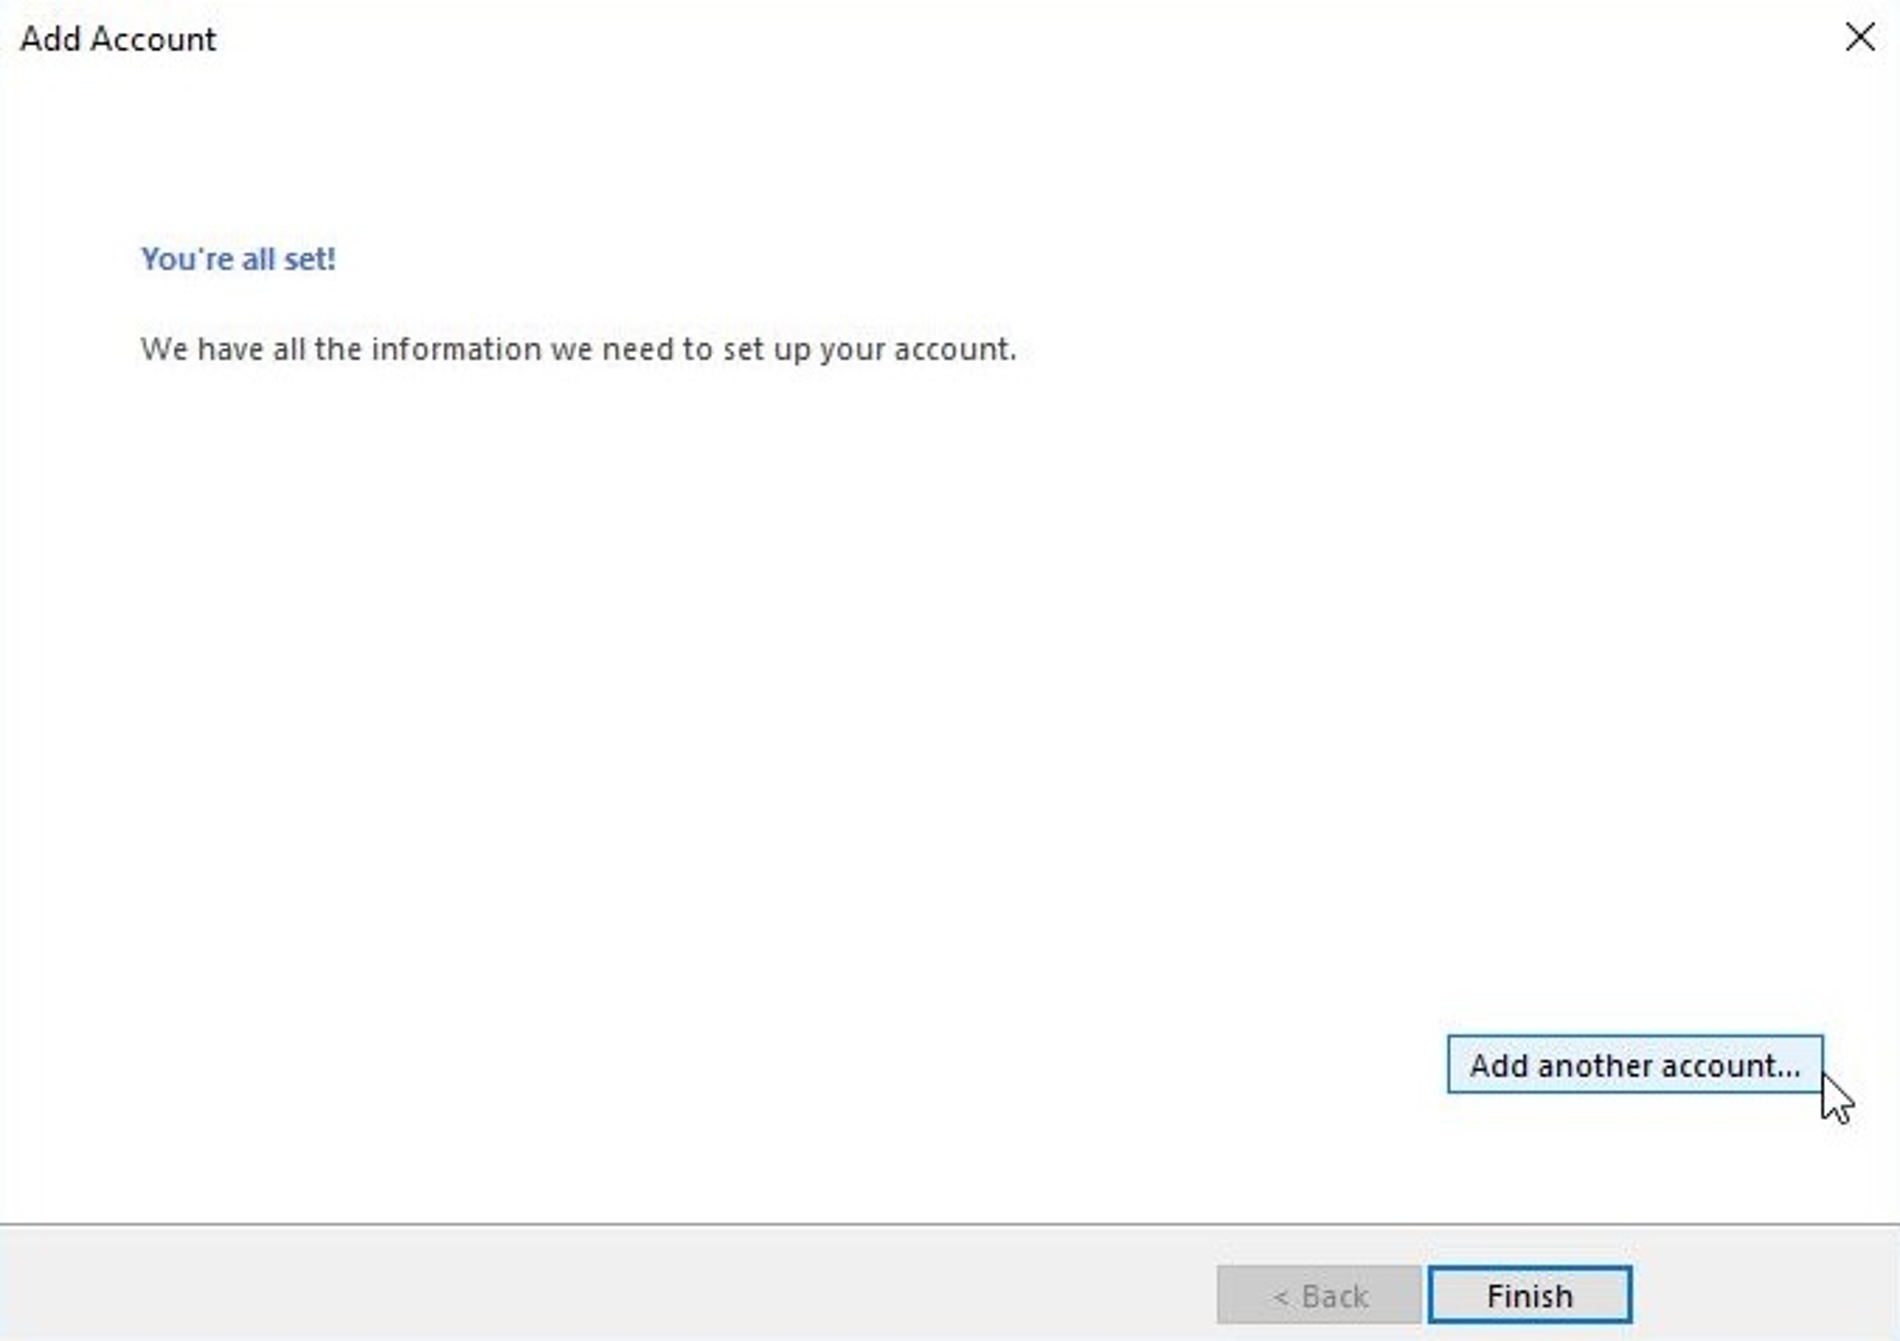
You have now the possibility to "Add another account…"
or
to finish the setup by clicking on "Finish".

Step 13
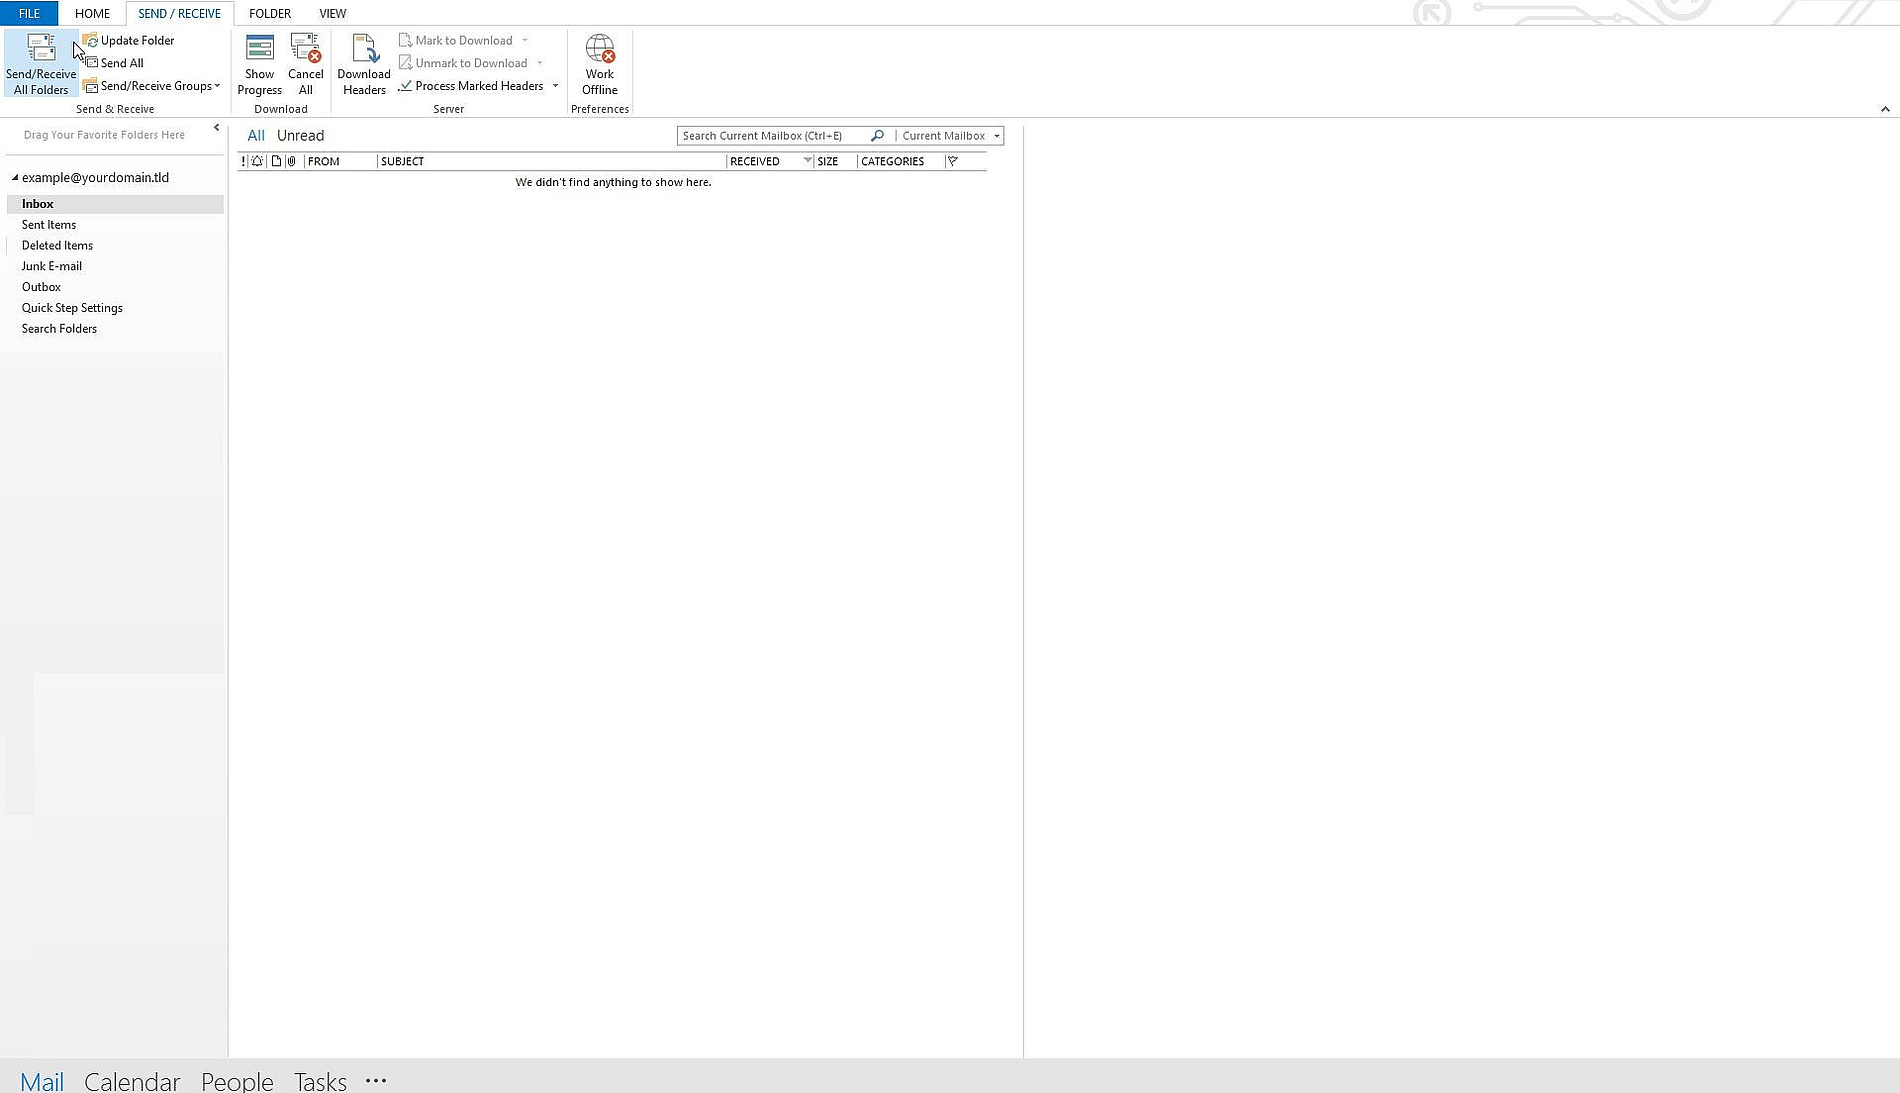
For the last step open the main window of Microsoft Outlook 2013 and switch to the tab "SEND / RECEIVE" then click on "Send / Receive All Folders".
Now the e-mails of the set up account are being synchronised.