Set up new e-mail account in Windows Live Mail
Bellow you find a detailed description of how you set up a new e-mail account in Windows Live Mail.
Step 1
Open Windows Live Mail. If you don’t have an icon on your desktop or in your taskbar simply enter "Windows Live Mail" into the Windows search bar.

Step 2
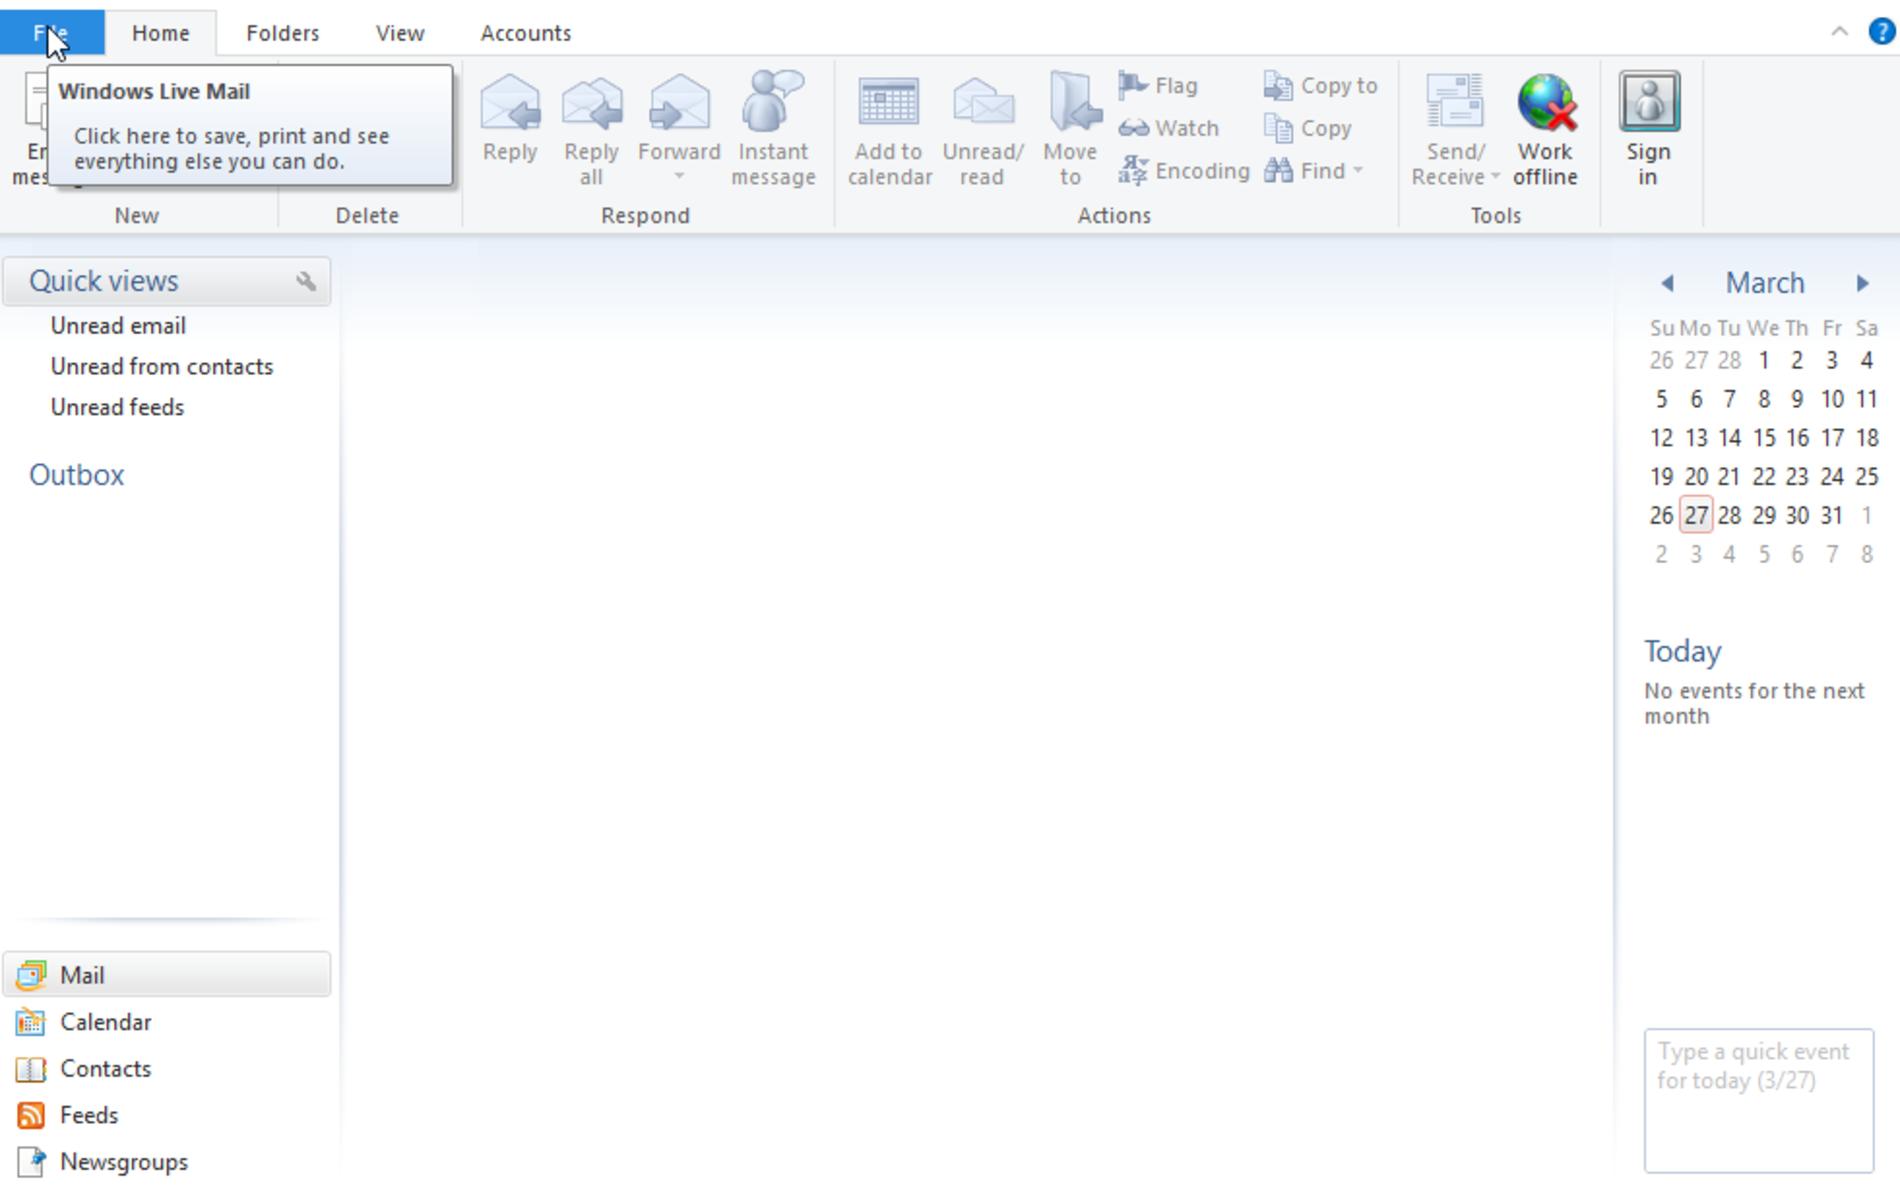
Now click with your mouse on the blue tab in the top left corner called "File".

Step 3
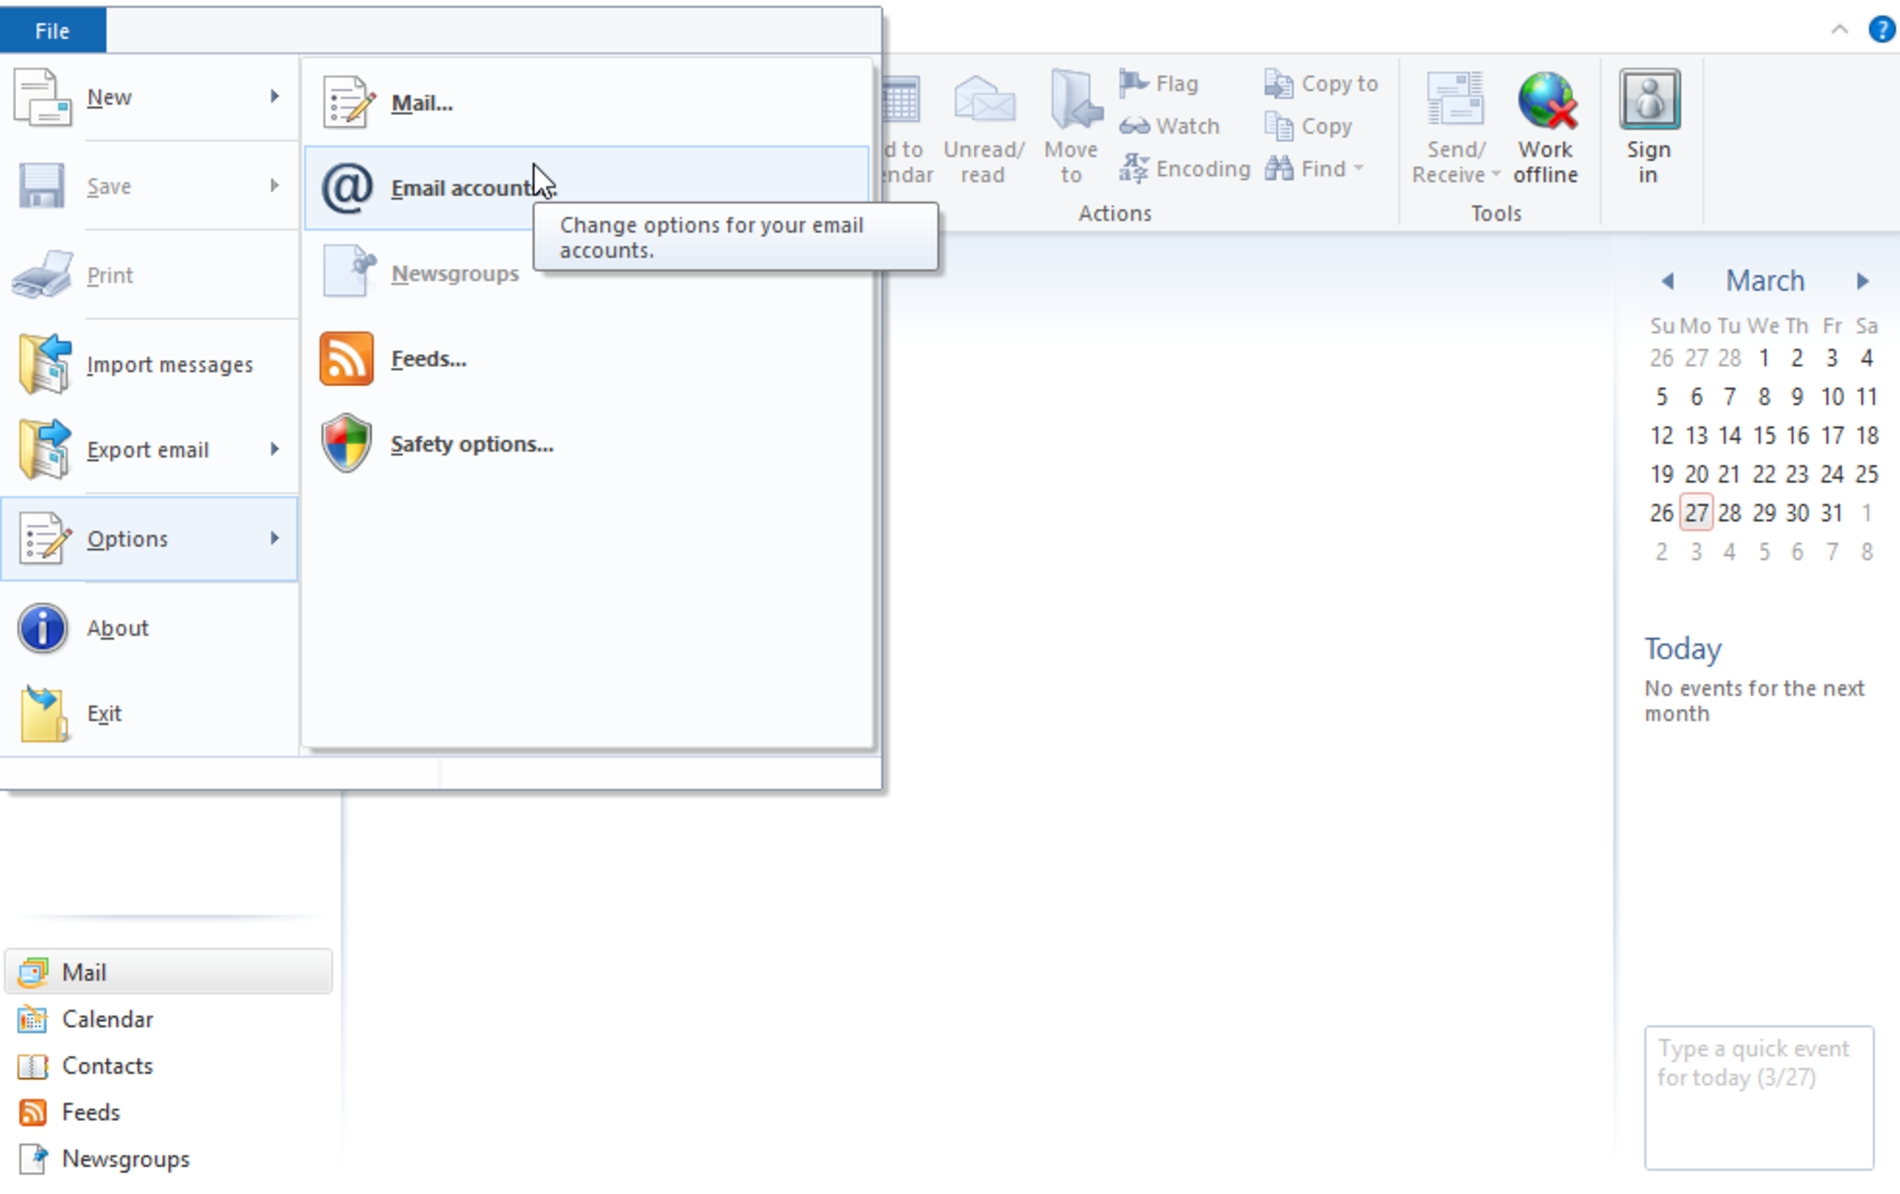
After that select the entry "Options" an afterwards "Email accounts…".

Step 4
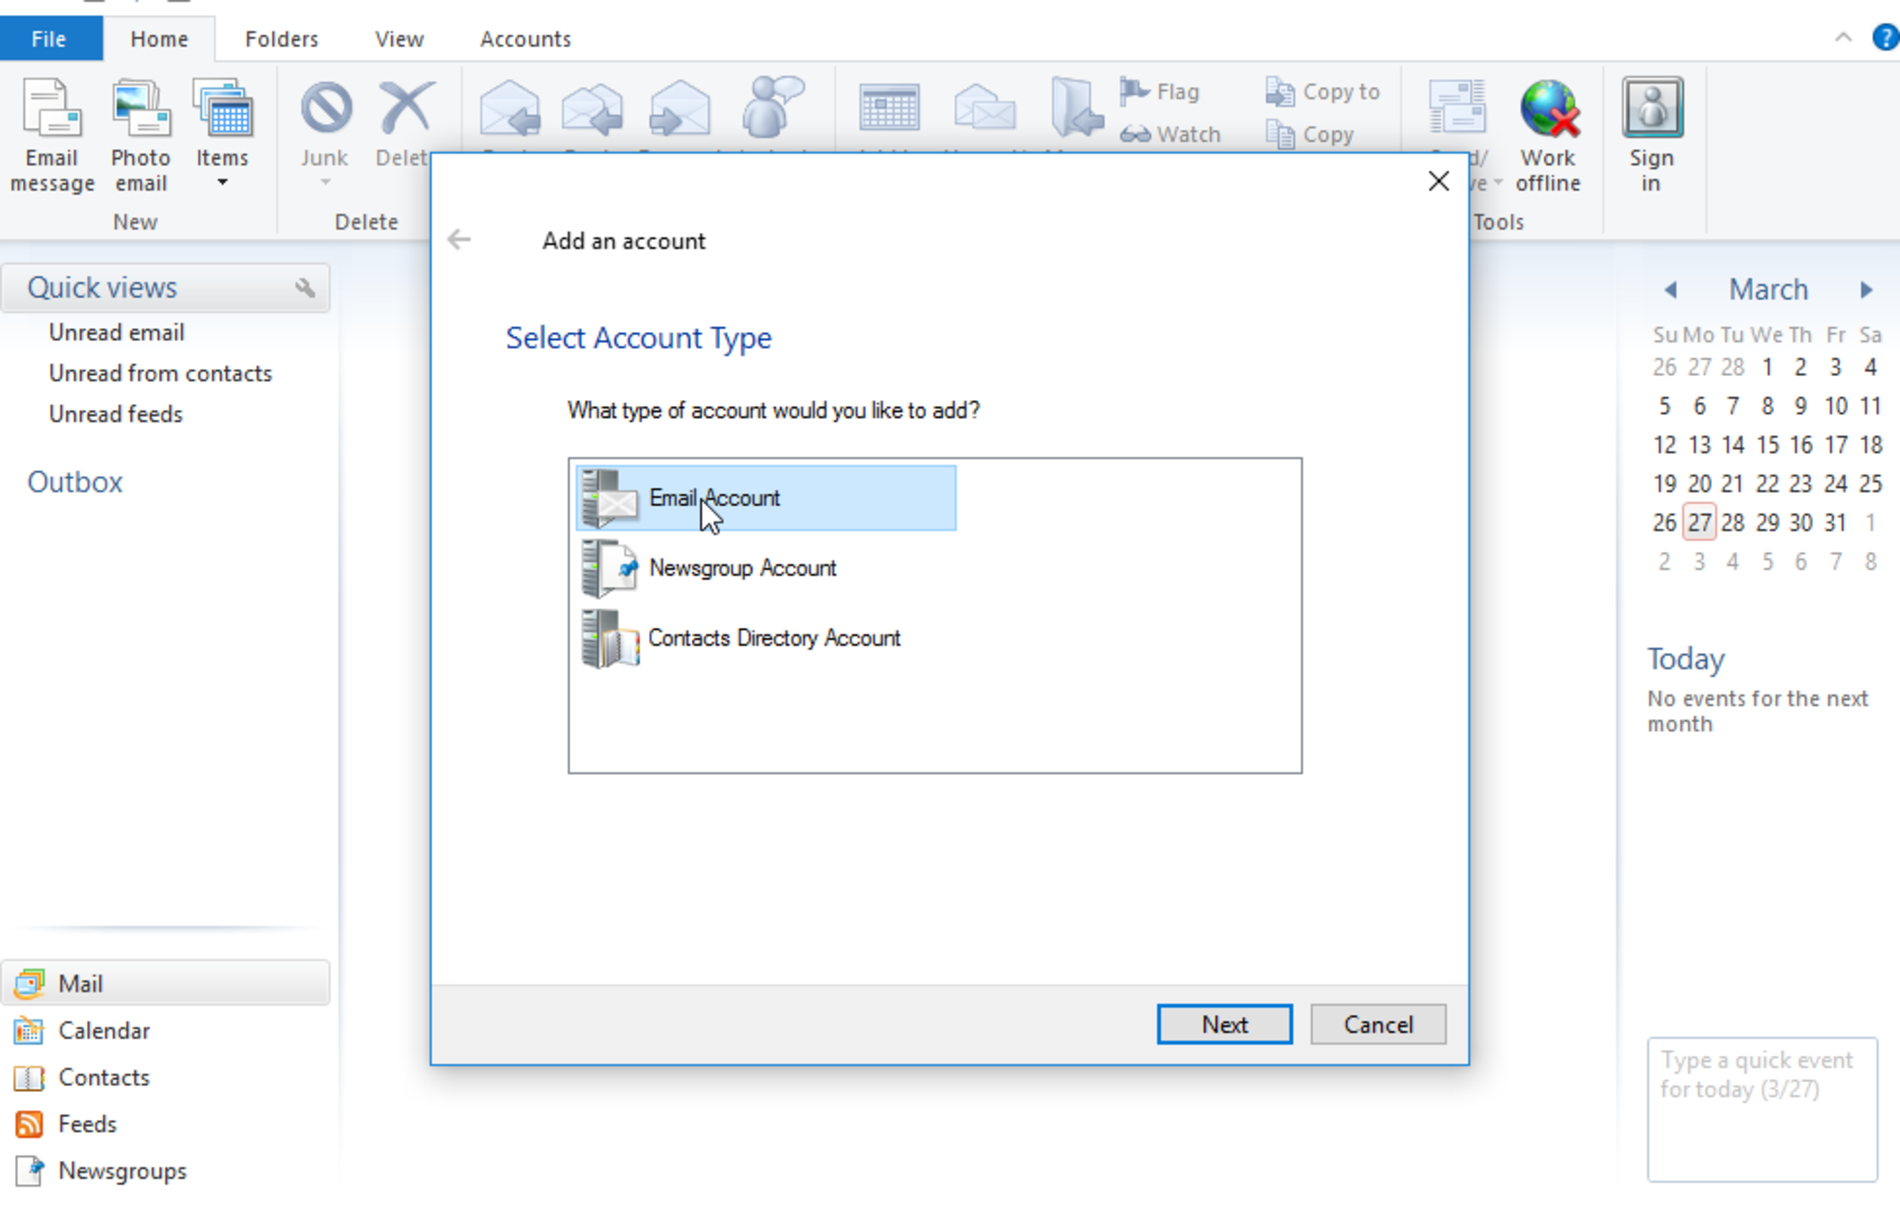
In the window "Accounts" click on "Add…" on the right hand side.

Step 5
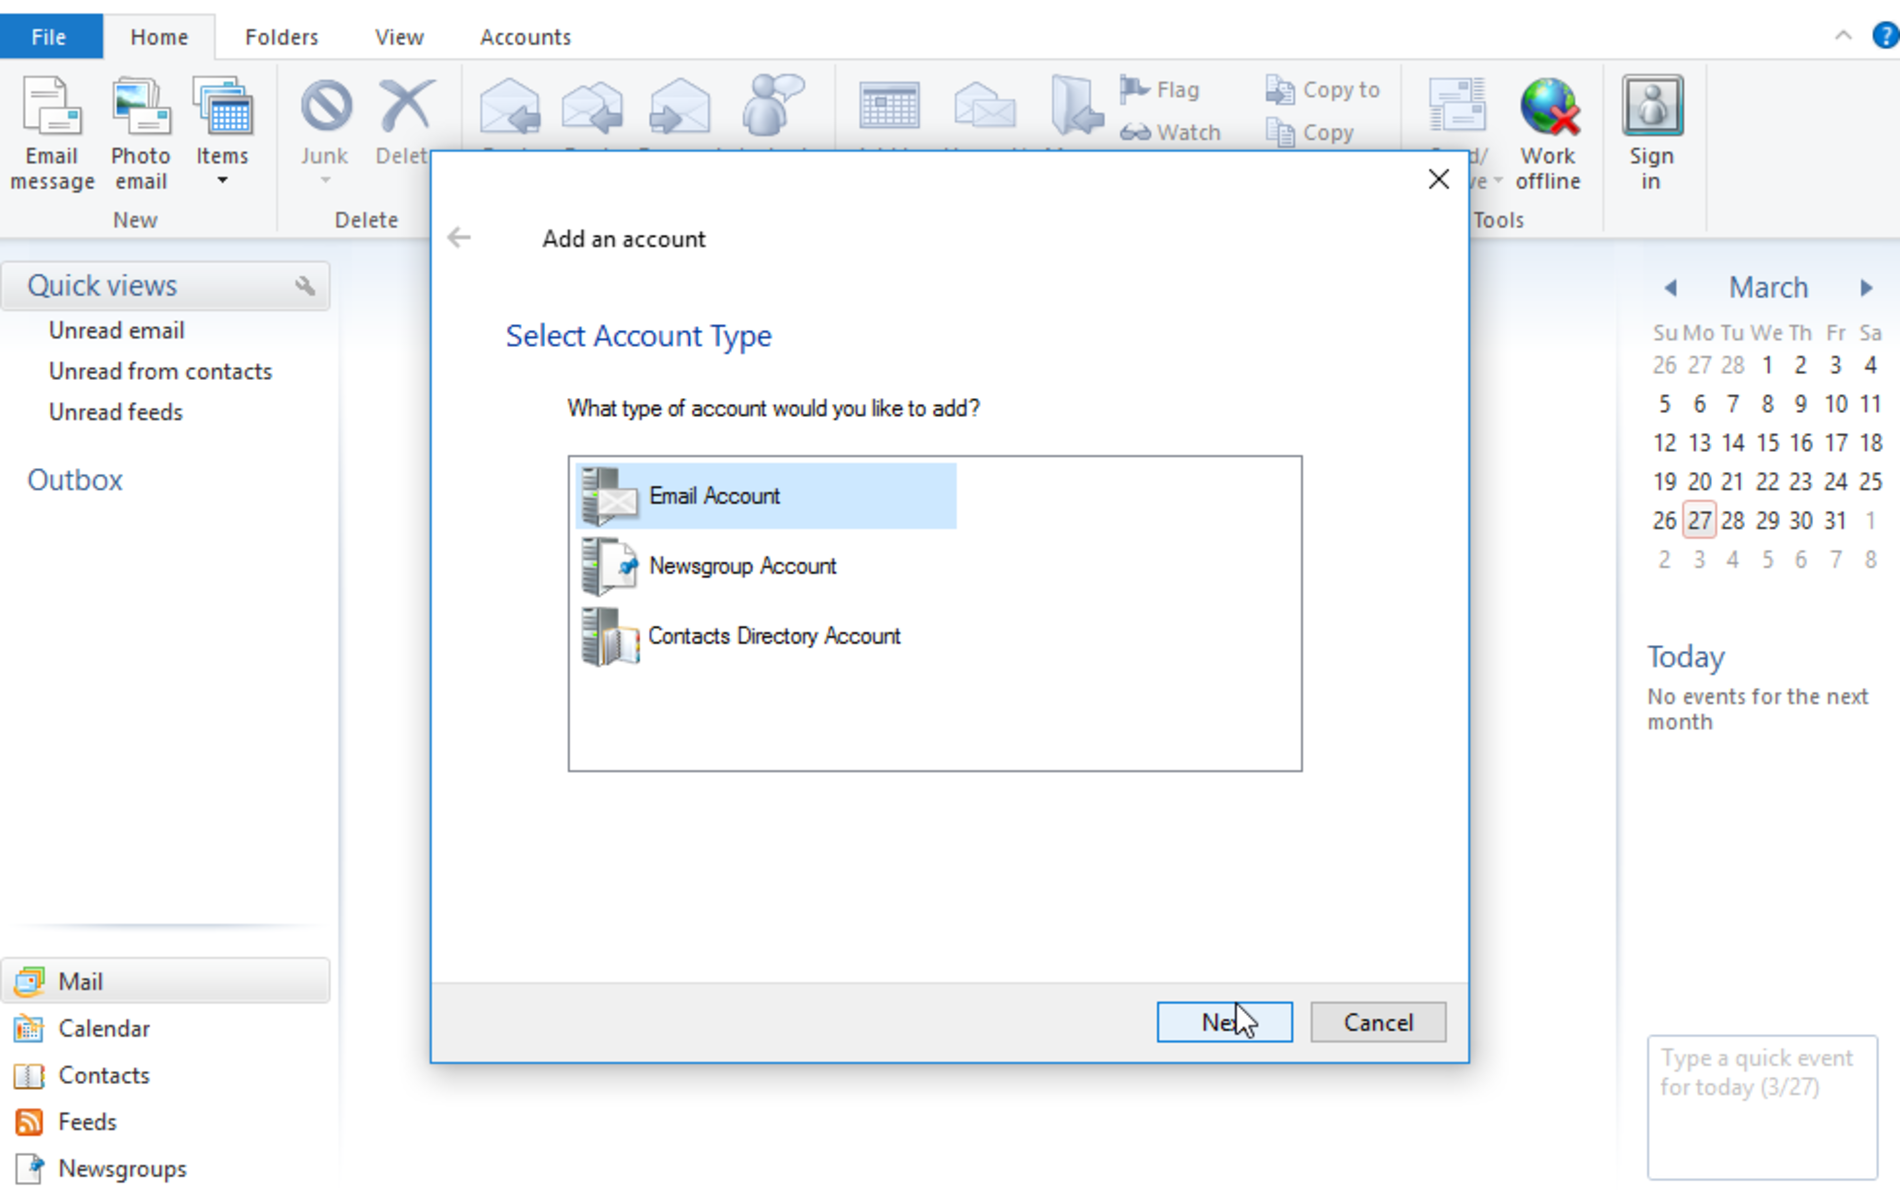
Now select as "Account type" the first entry "Email Account" and continue with a click on the "Next" button.
Step 6
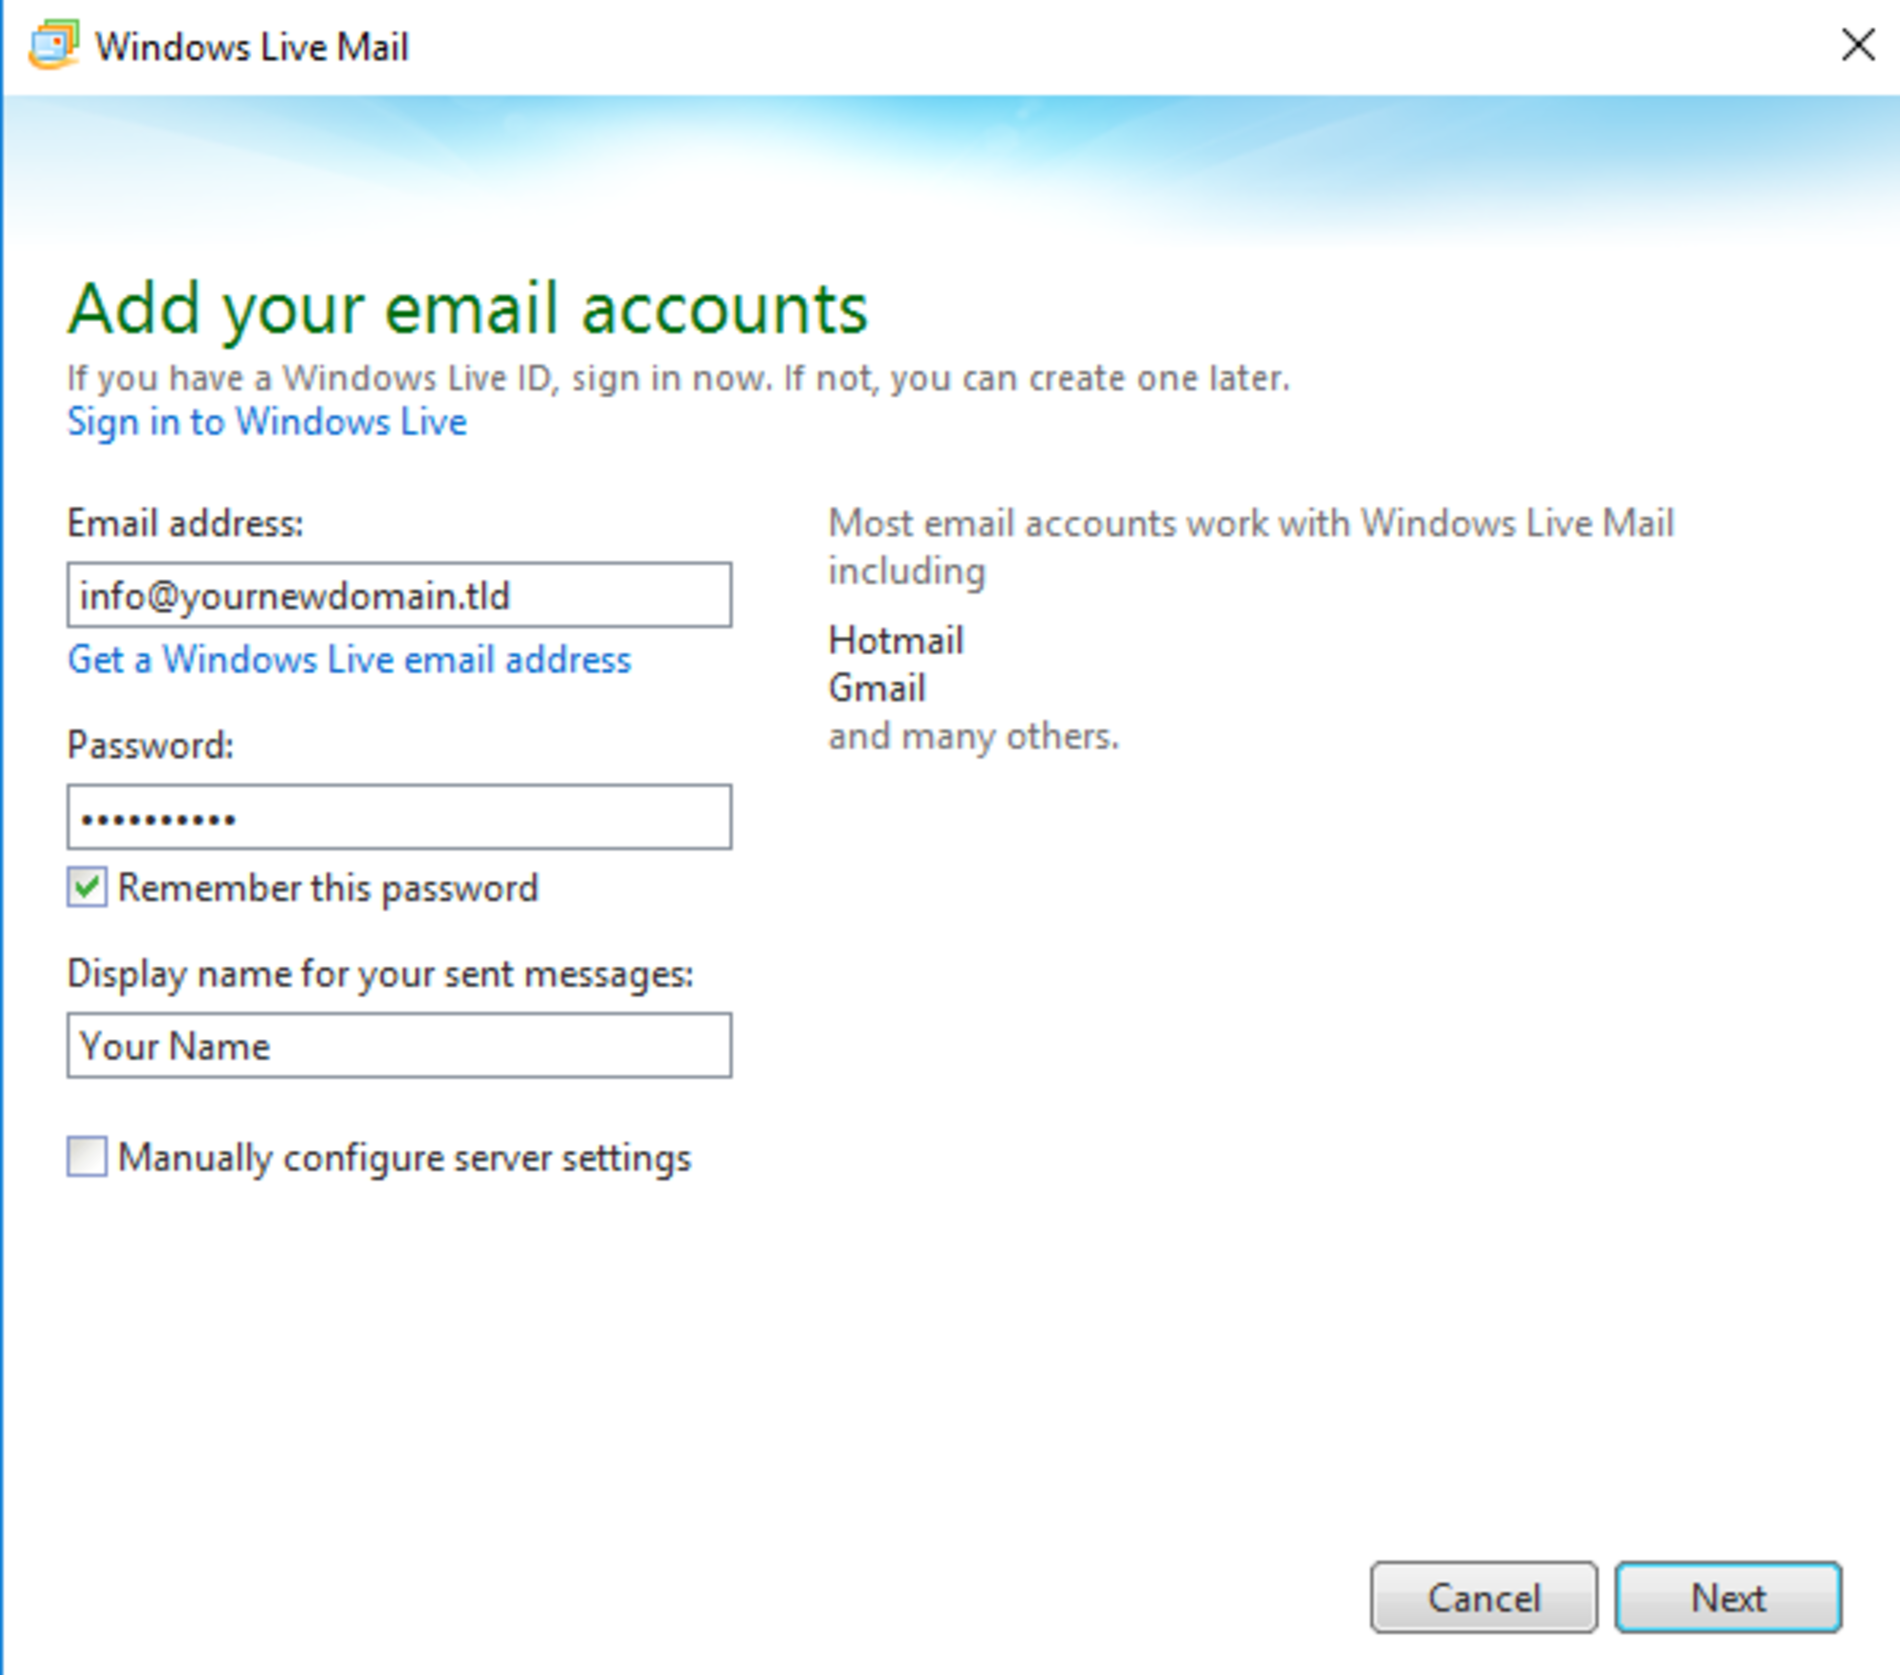
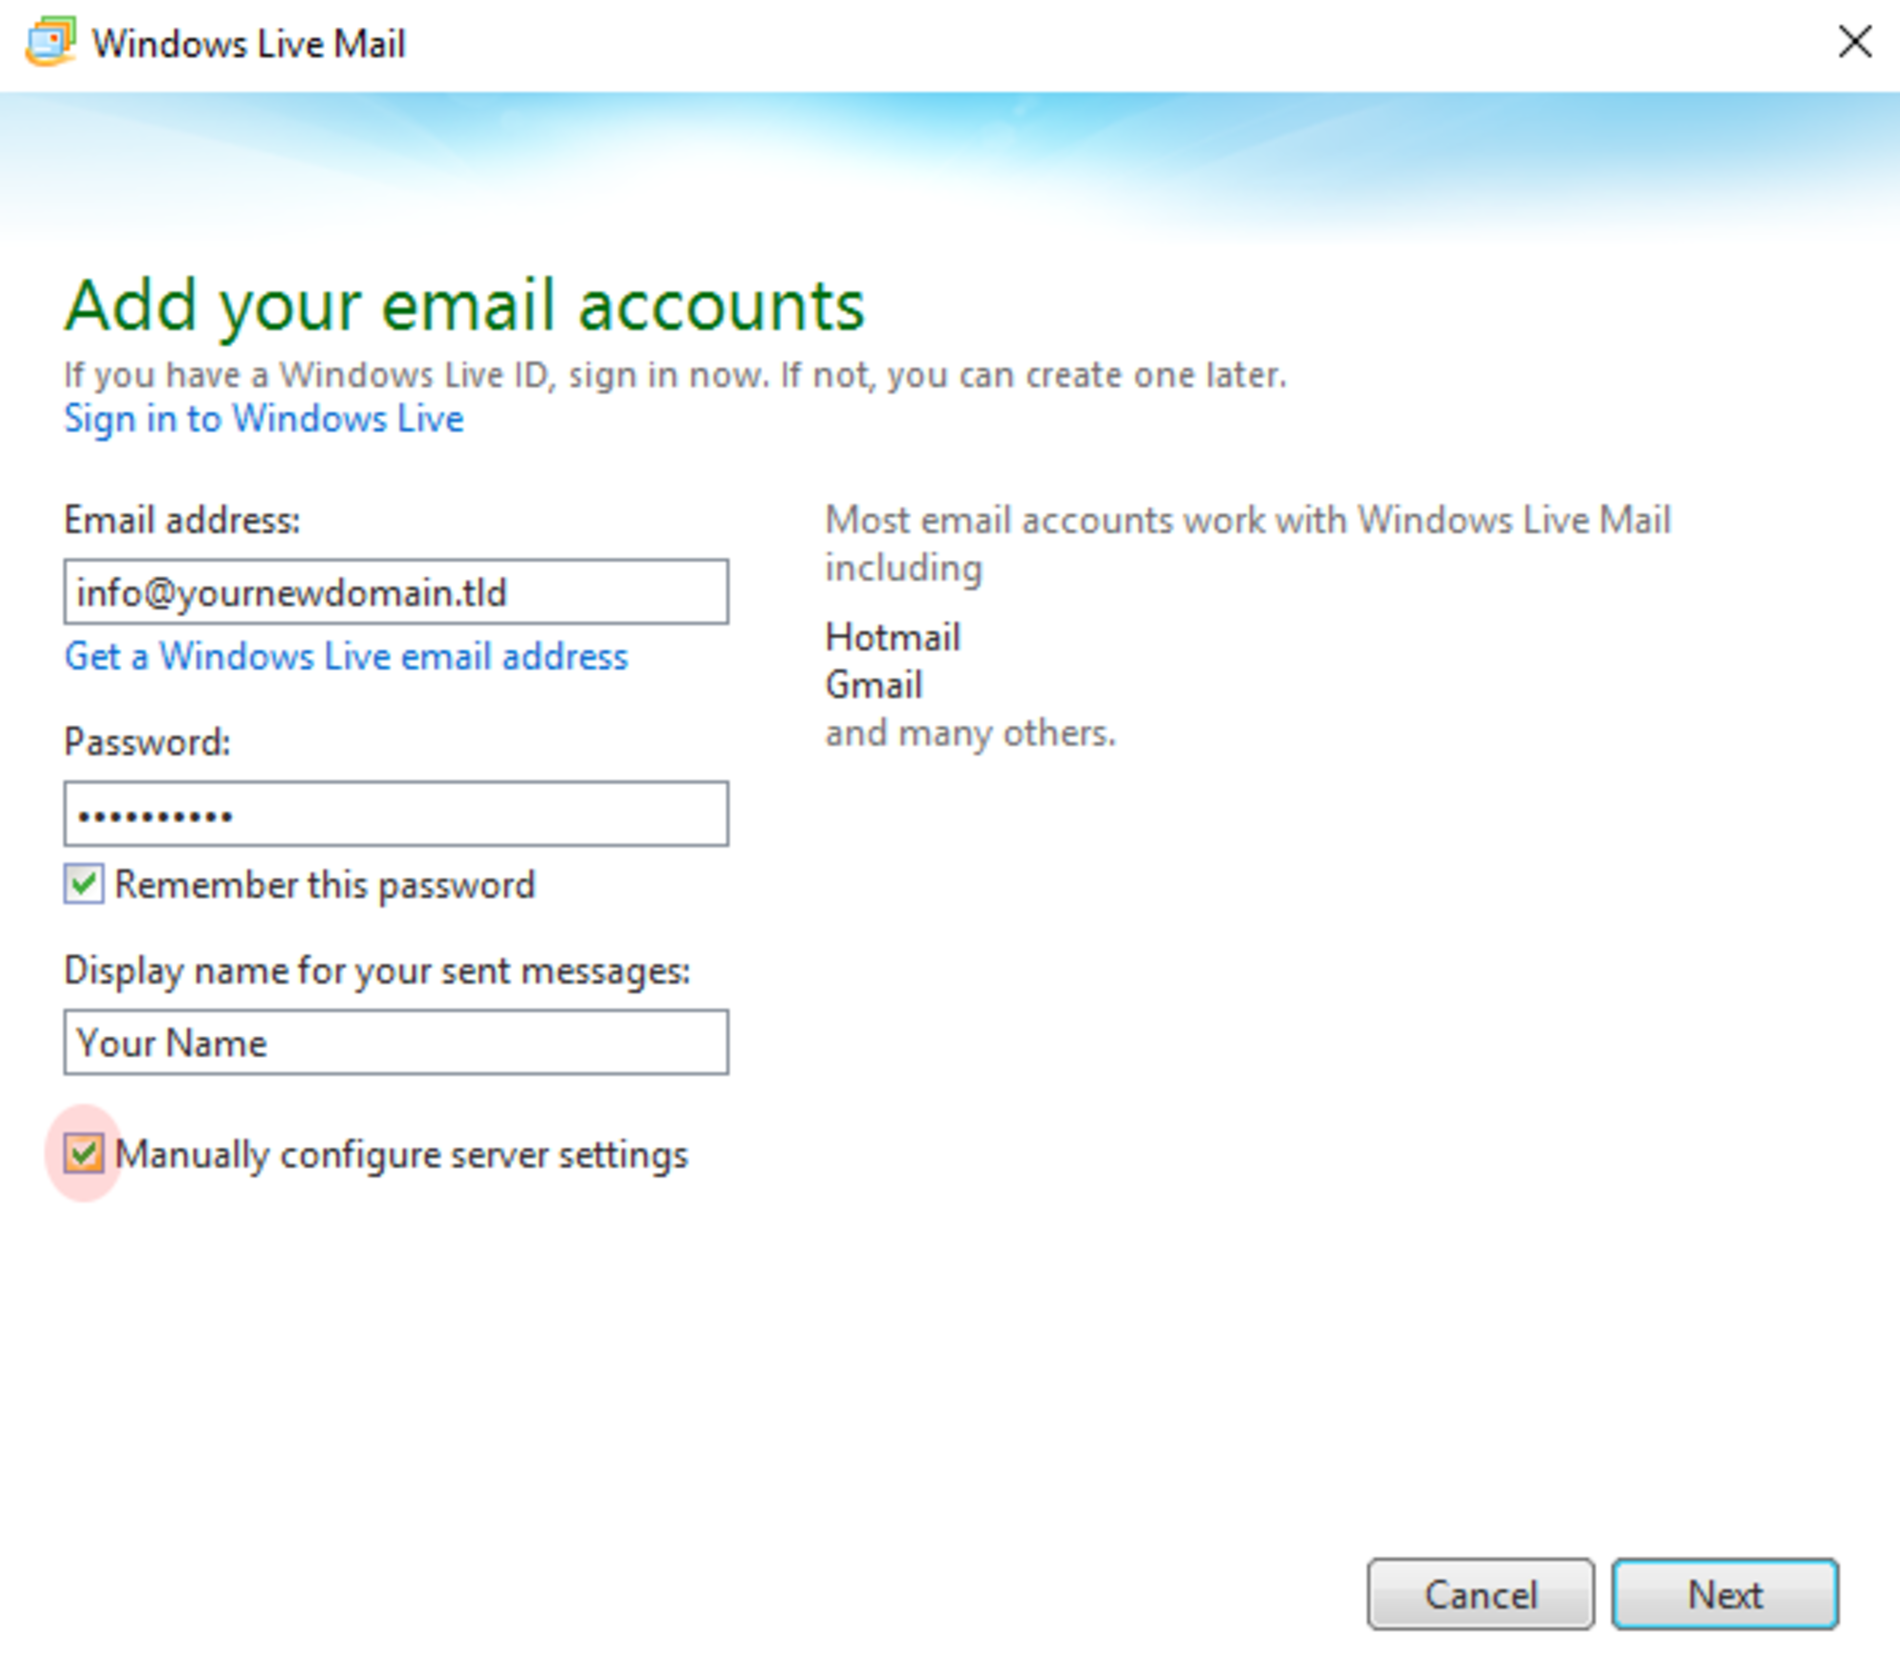
Now enter your "Email address", your "Password" and a "Display name for your sent messages" into the specific fields.
After having done that set a tick at "Manually configure server settings" and click on "Next" to continue with the setup.

Step 7
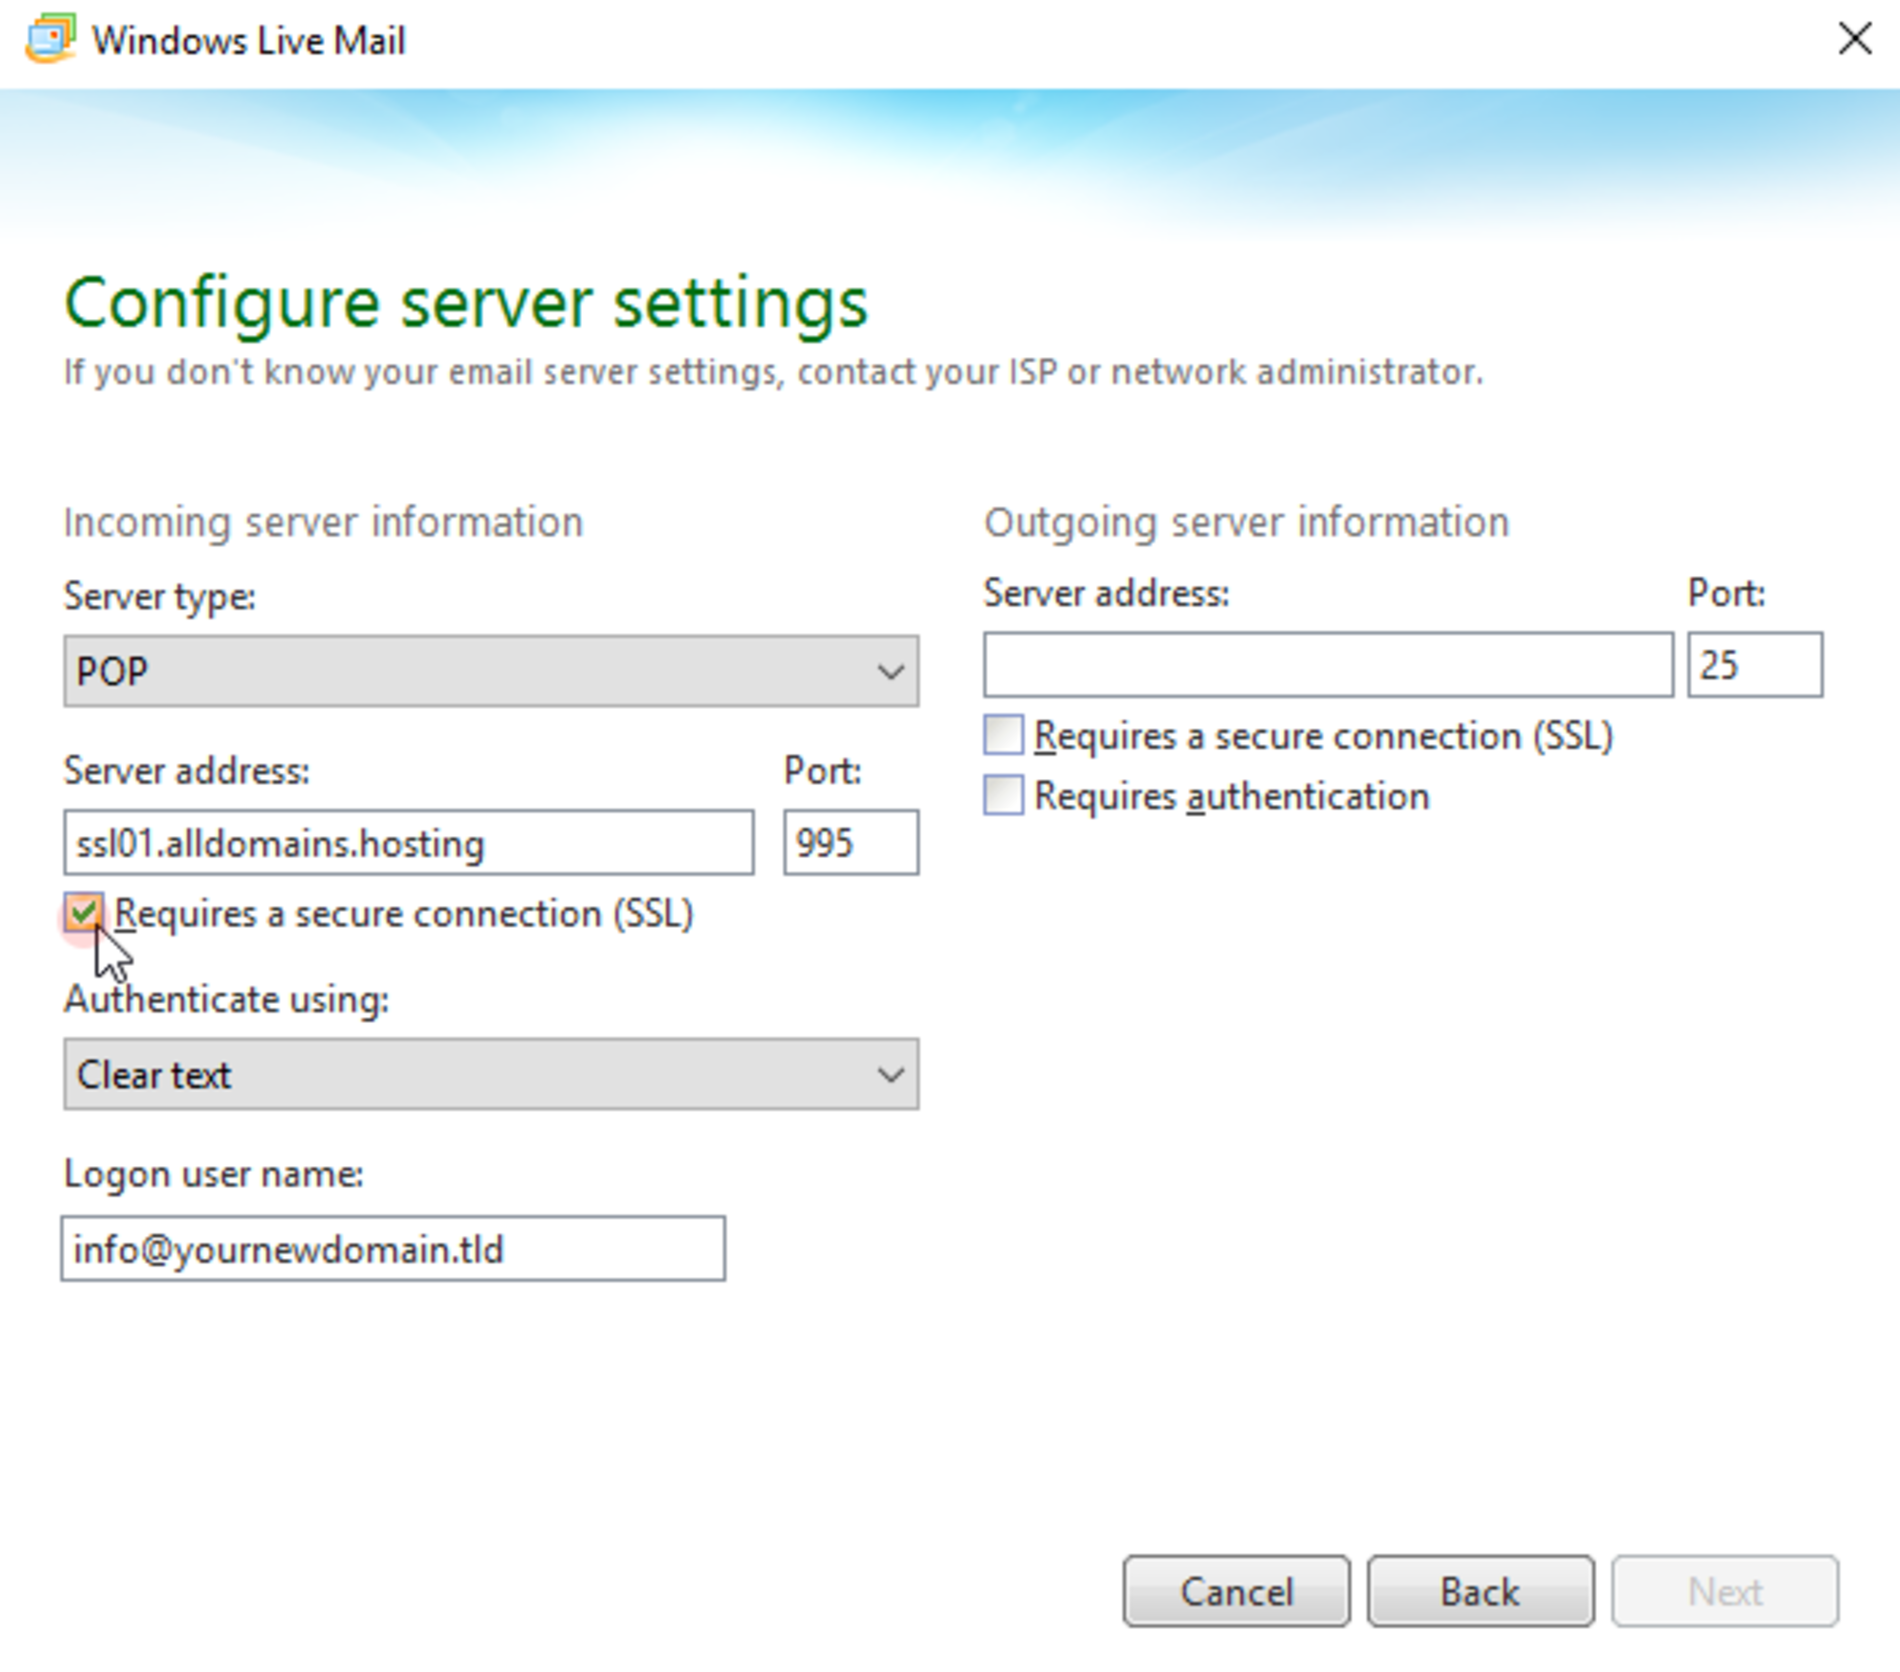
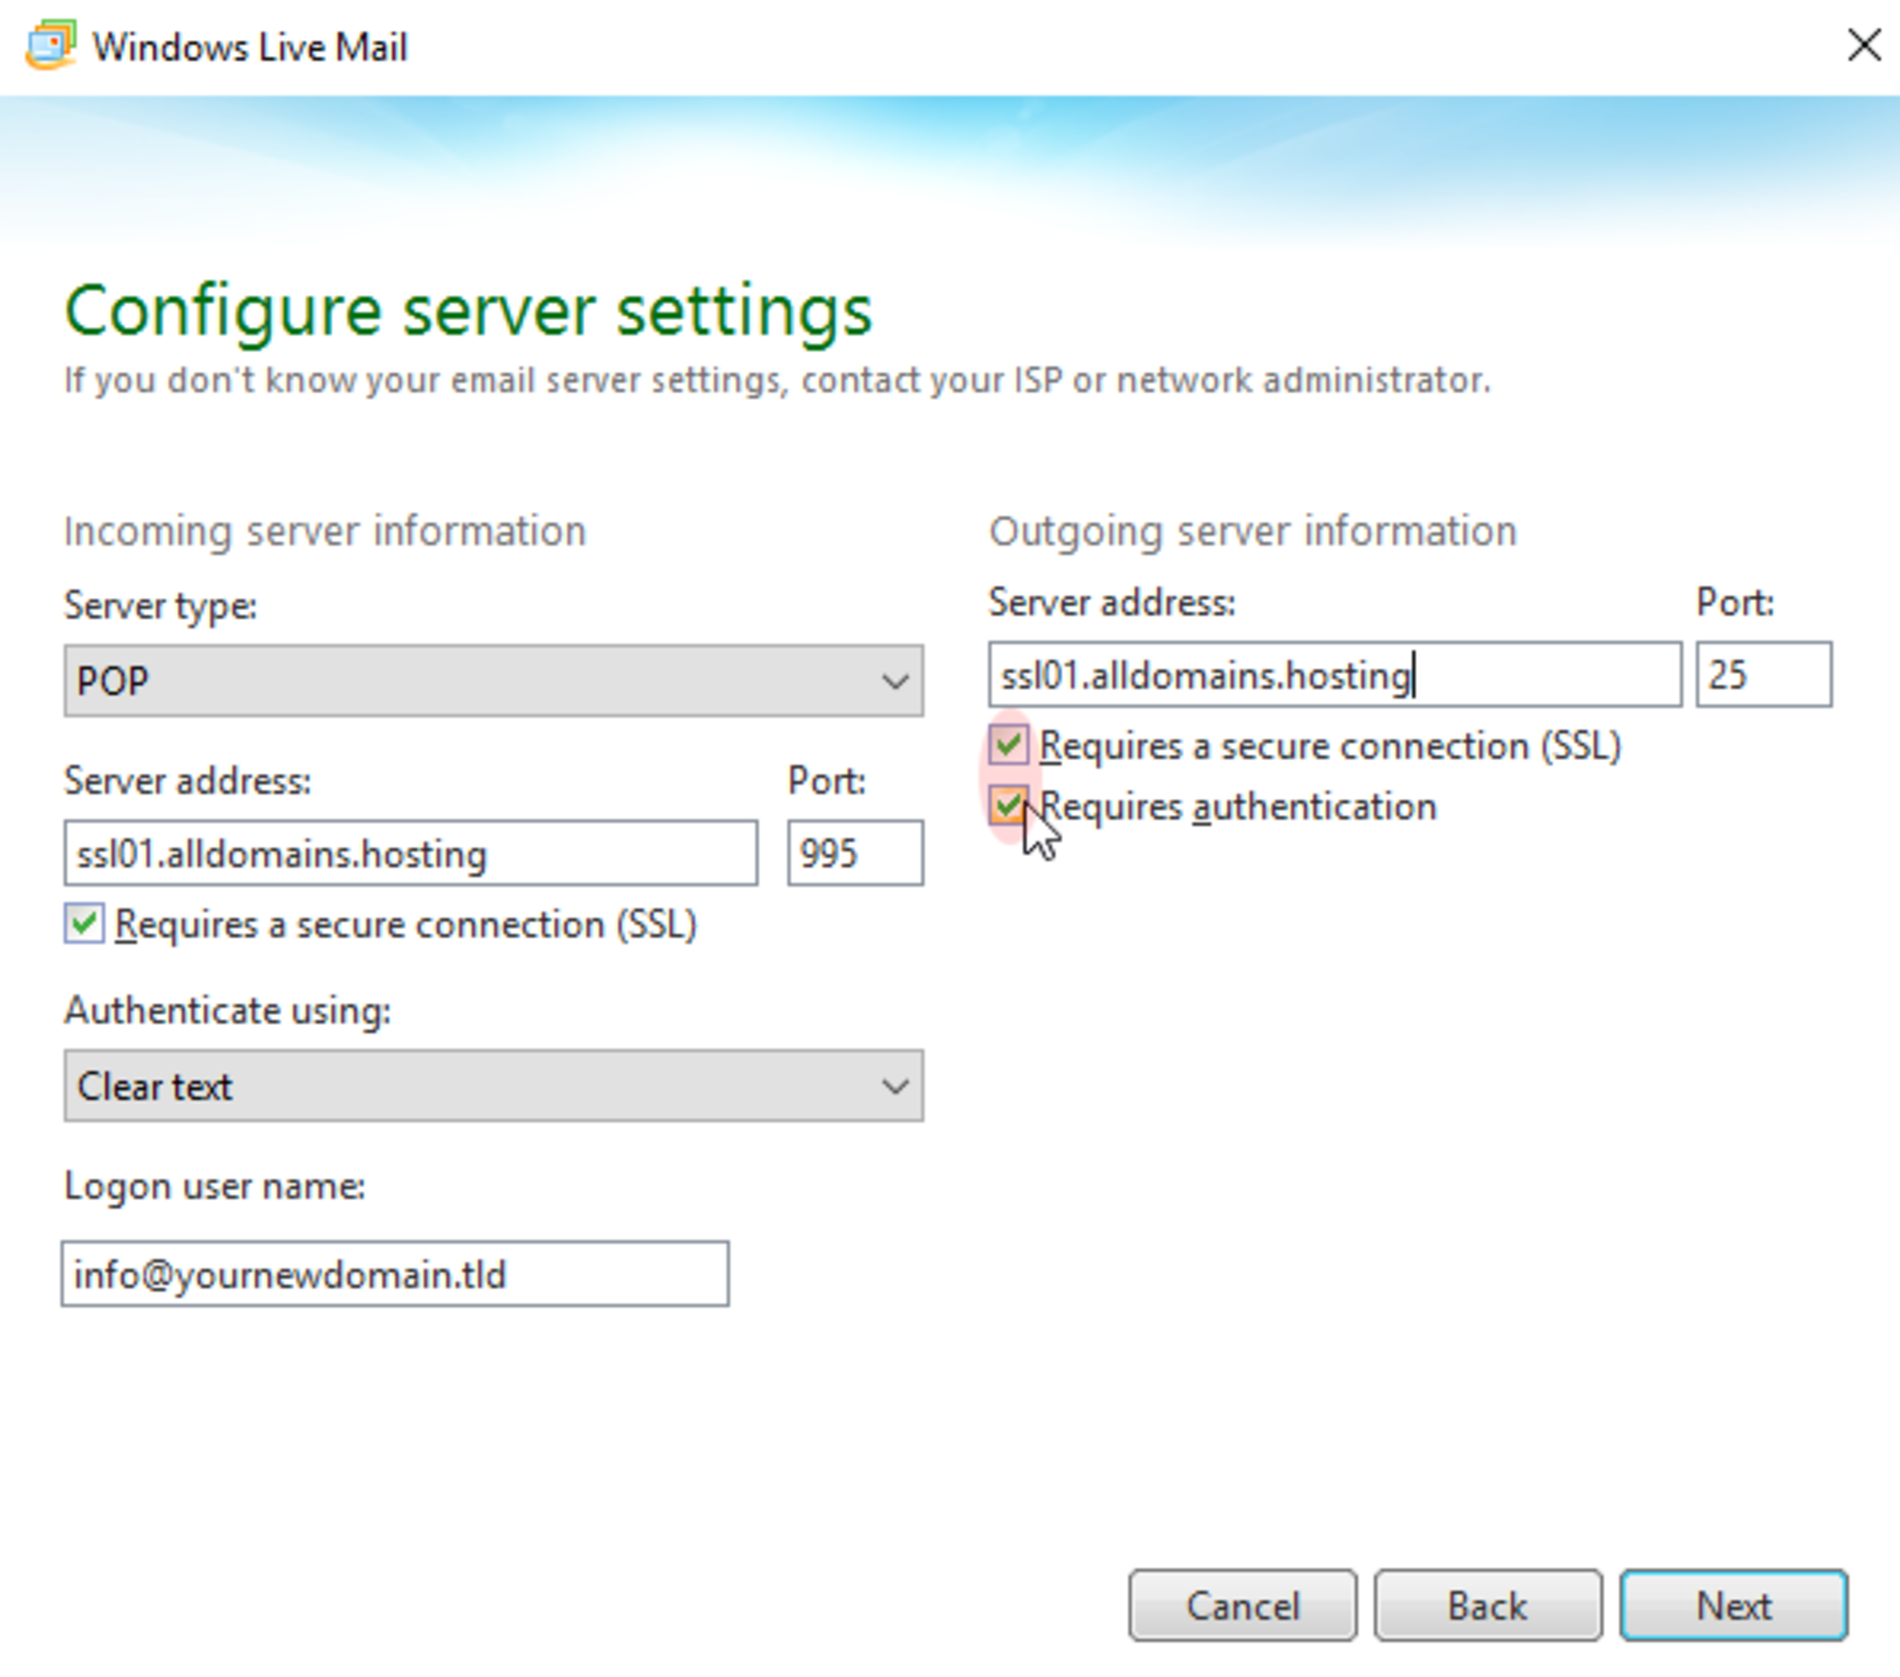
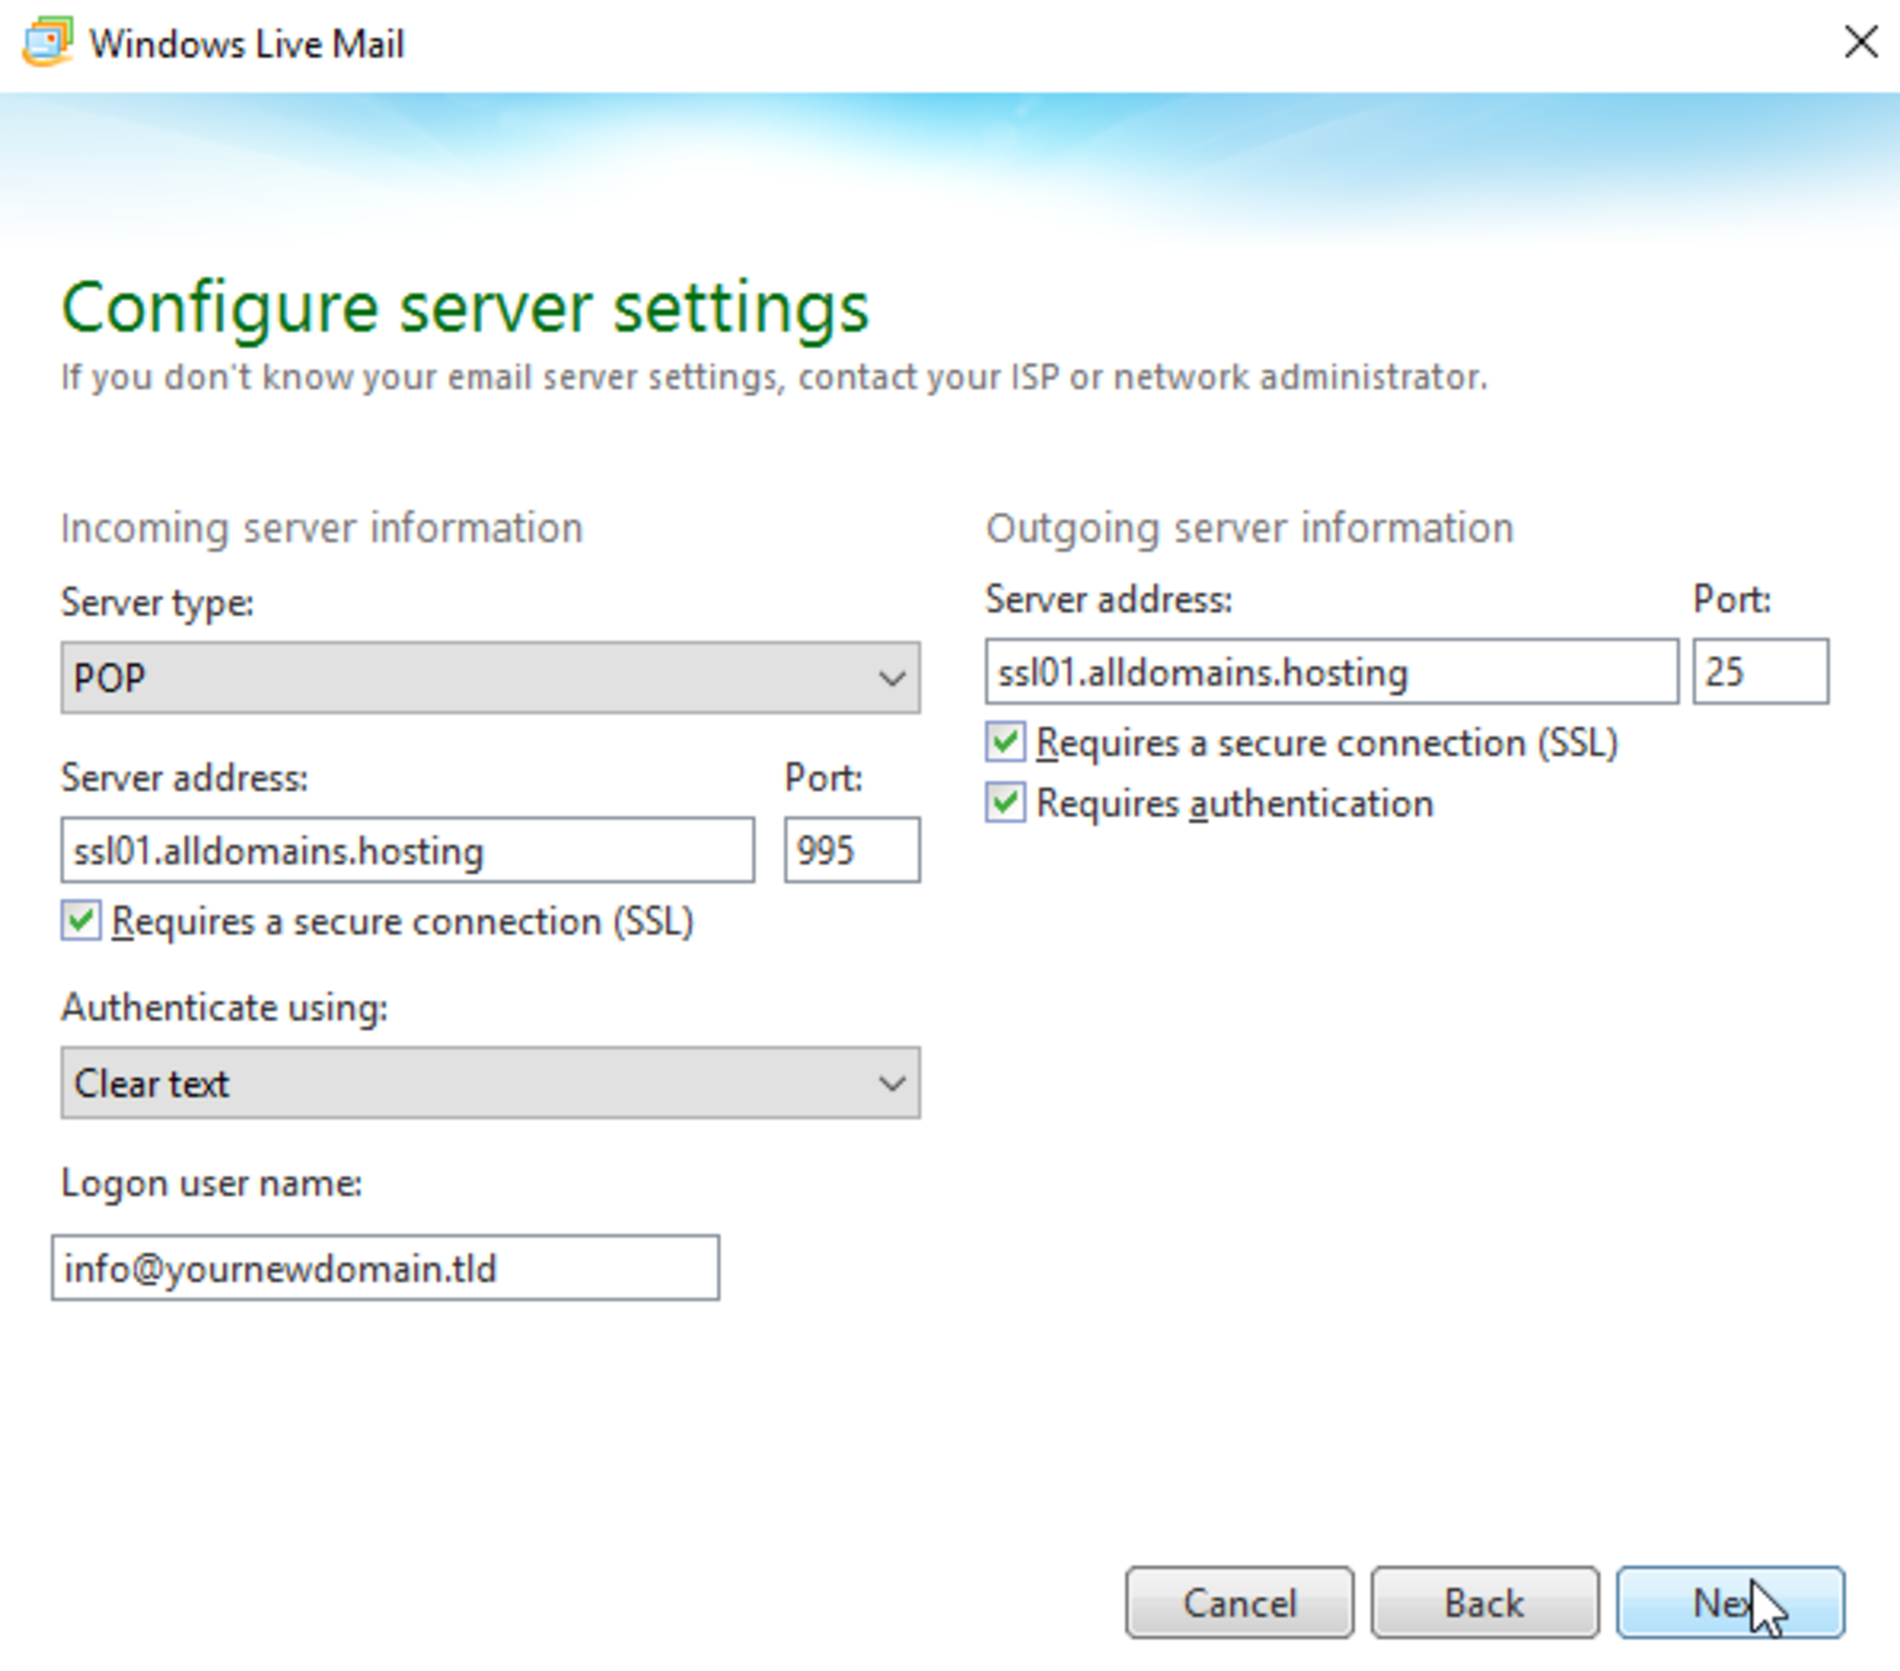
The "server settings" should be entered like it is shown on the screenshots to use a SSL secured connection:
"Incoming server information"
As "Server type" you can select POP (local storage) or IMAP (server storage).
The "Server address" should be ssl01.alldomains.hosting and the "Port" 995 (POP) or 993 (IMAP).
Set a tick at "Requires a secure connection (SSL)".
"Outgoing server information"
At "Server address" enter again ssl01.alldomains.hosting and select the "Port" 25.
Set a tick at "Requires a secure connection (SSL)" and at "Requires authentication".
The "Logon user name" is your e-mail address.
Check the entered information and click on "Next" to continue.
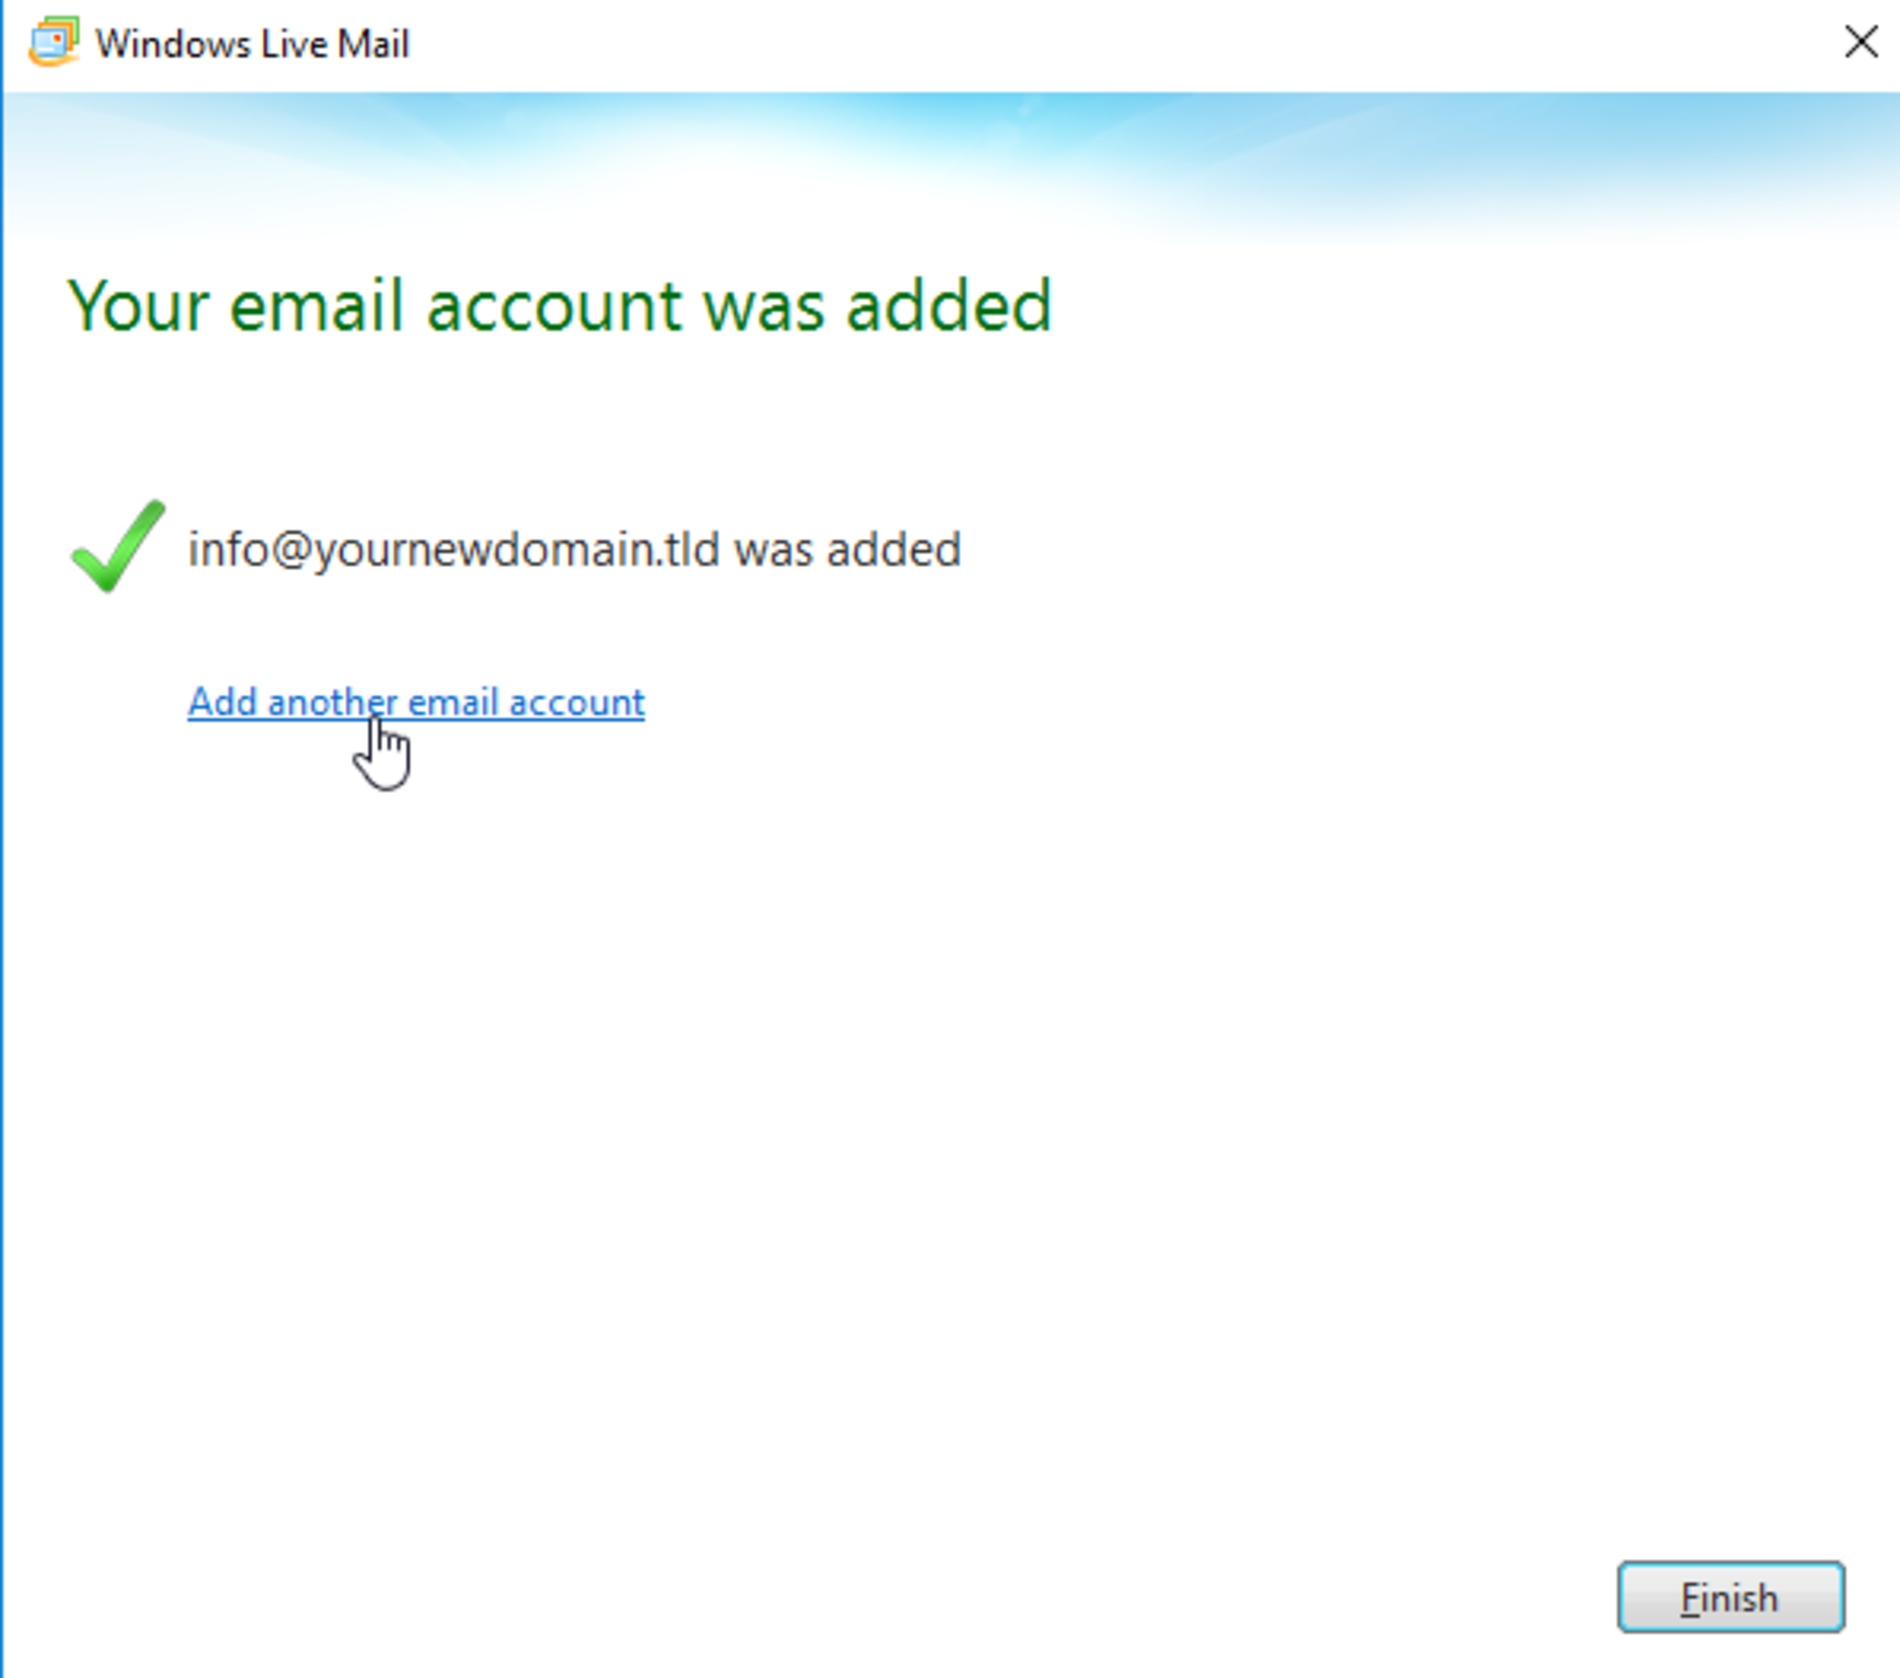
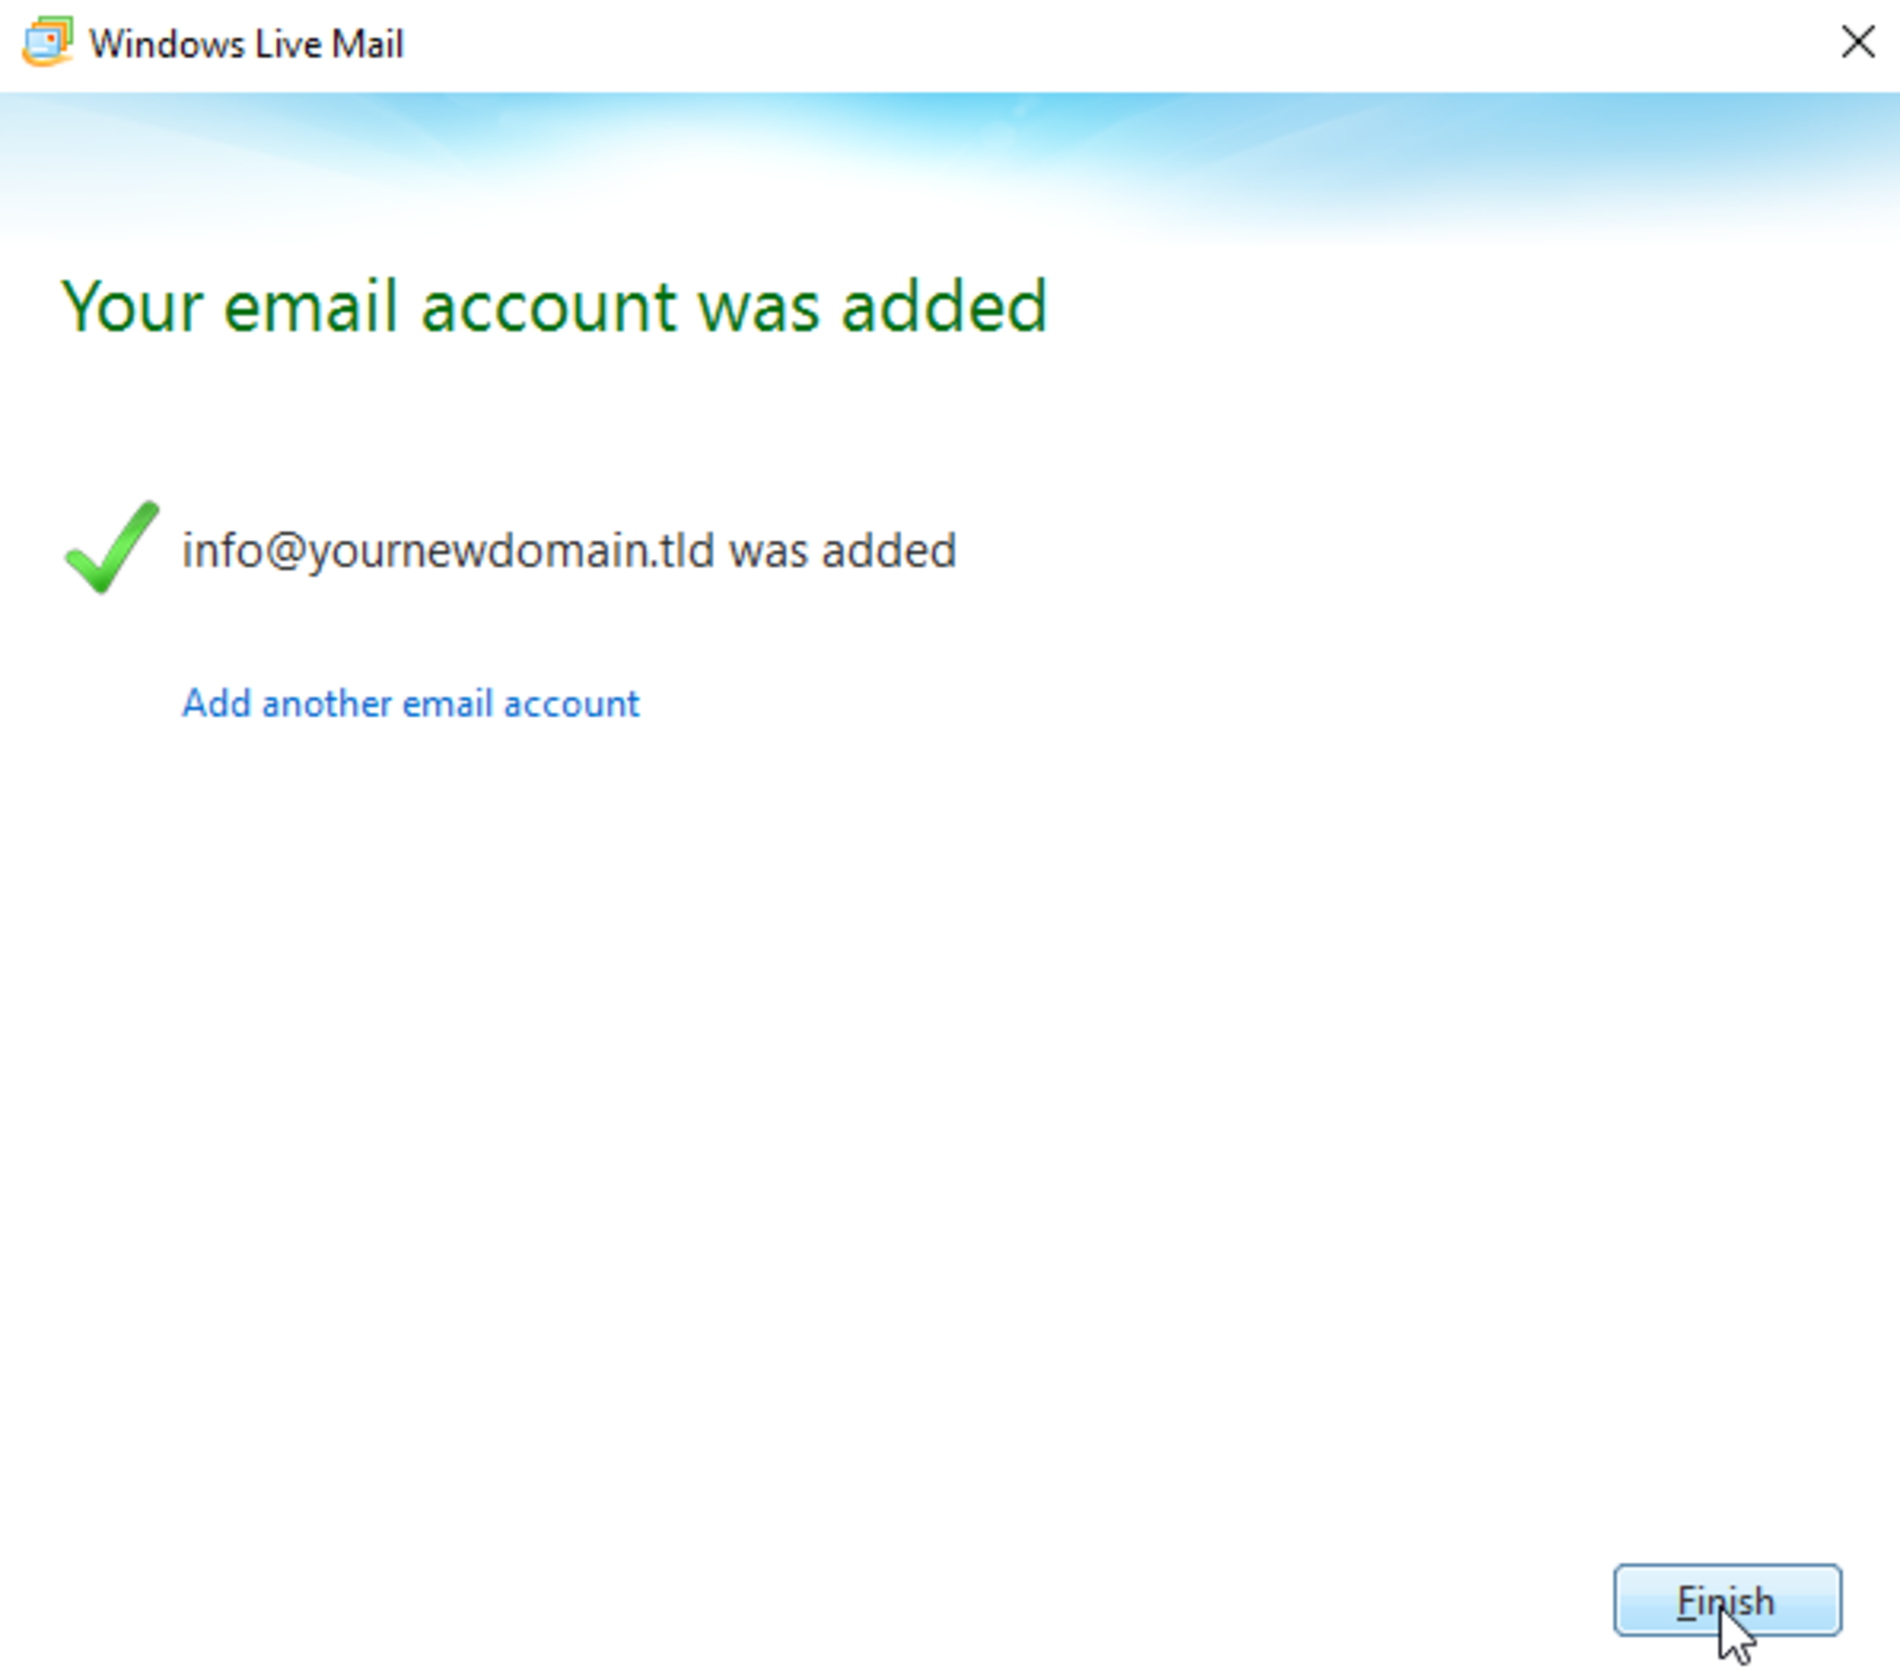
Step 8
The setup is completed.
You can add another e-mail account with a click on "Add another email account" and repeating the steps above
or
you click on "Finish" to finish the setup assistant.