Set up new e-mail account in Windows 10 Mail
Bellow you find a detailed description of how you set up a new e-mail account in Windows 10 Mail.
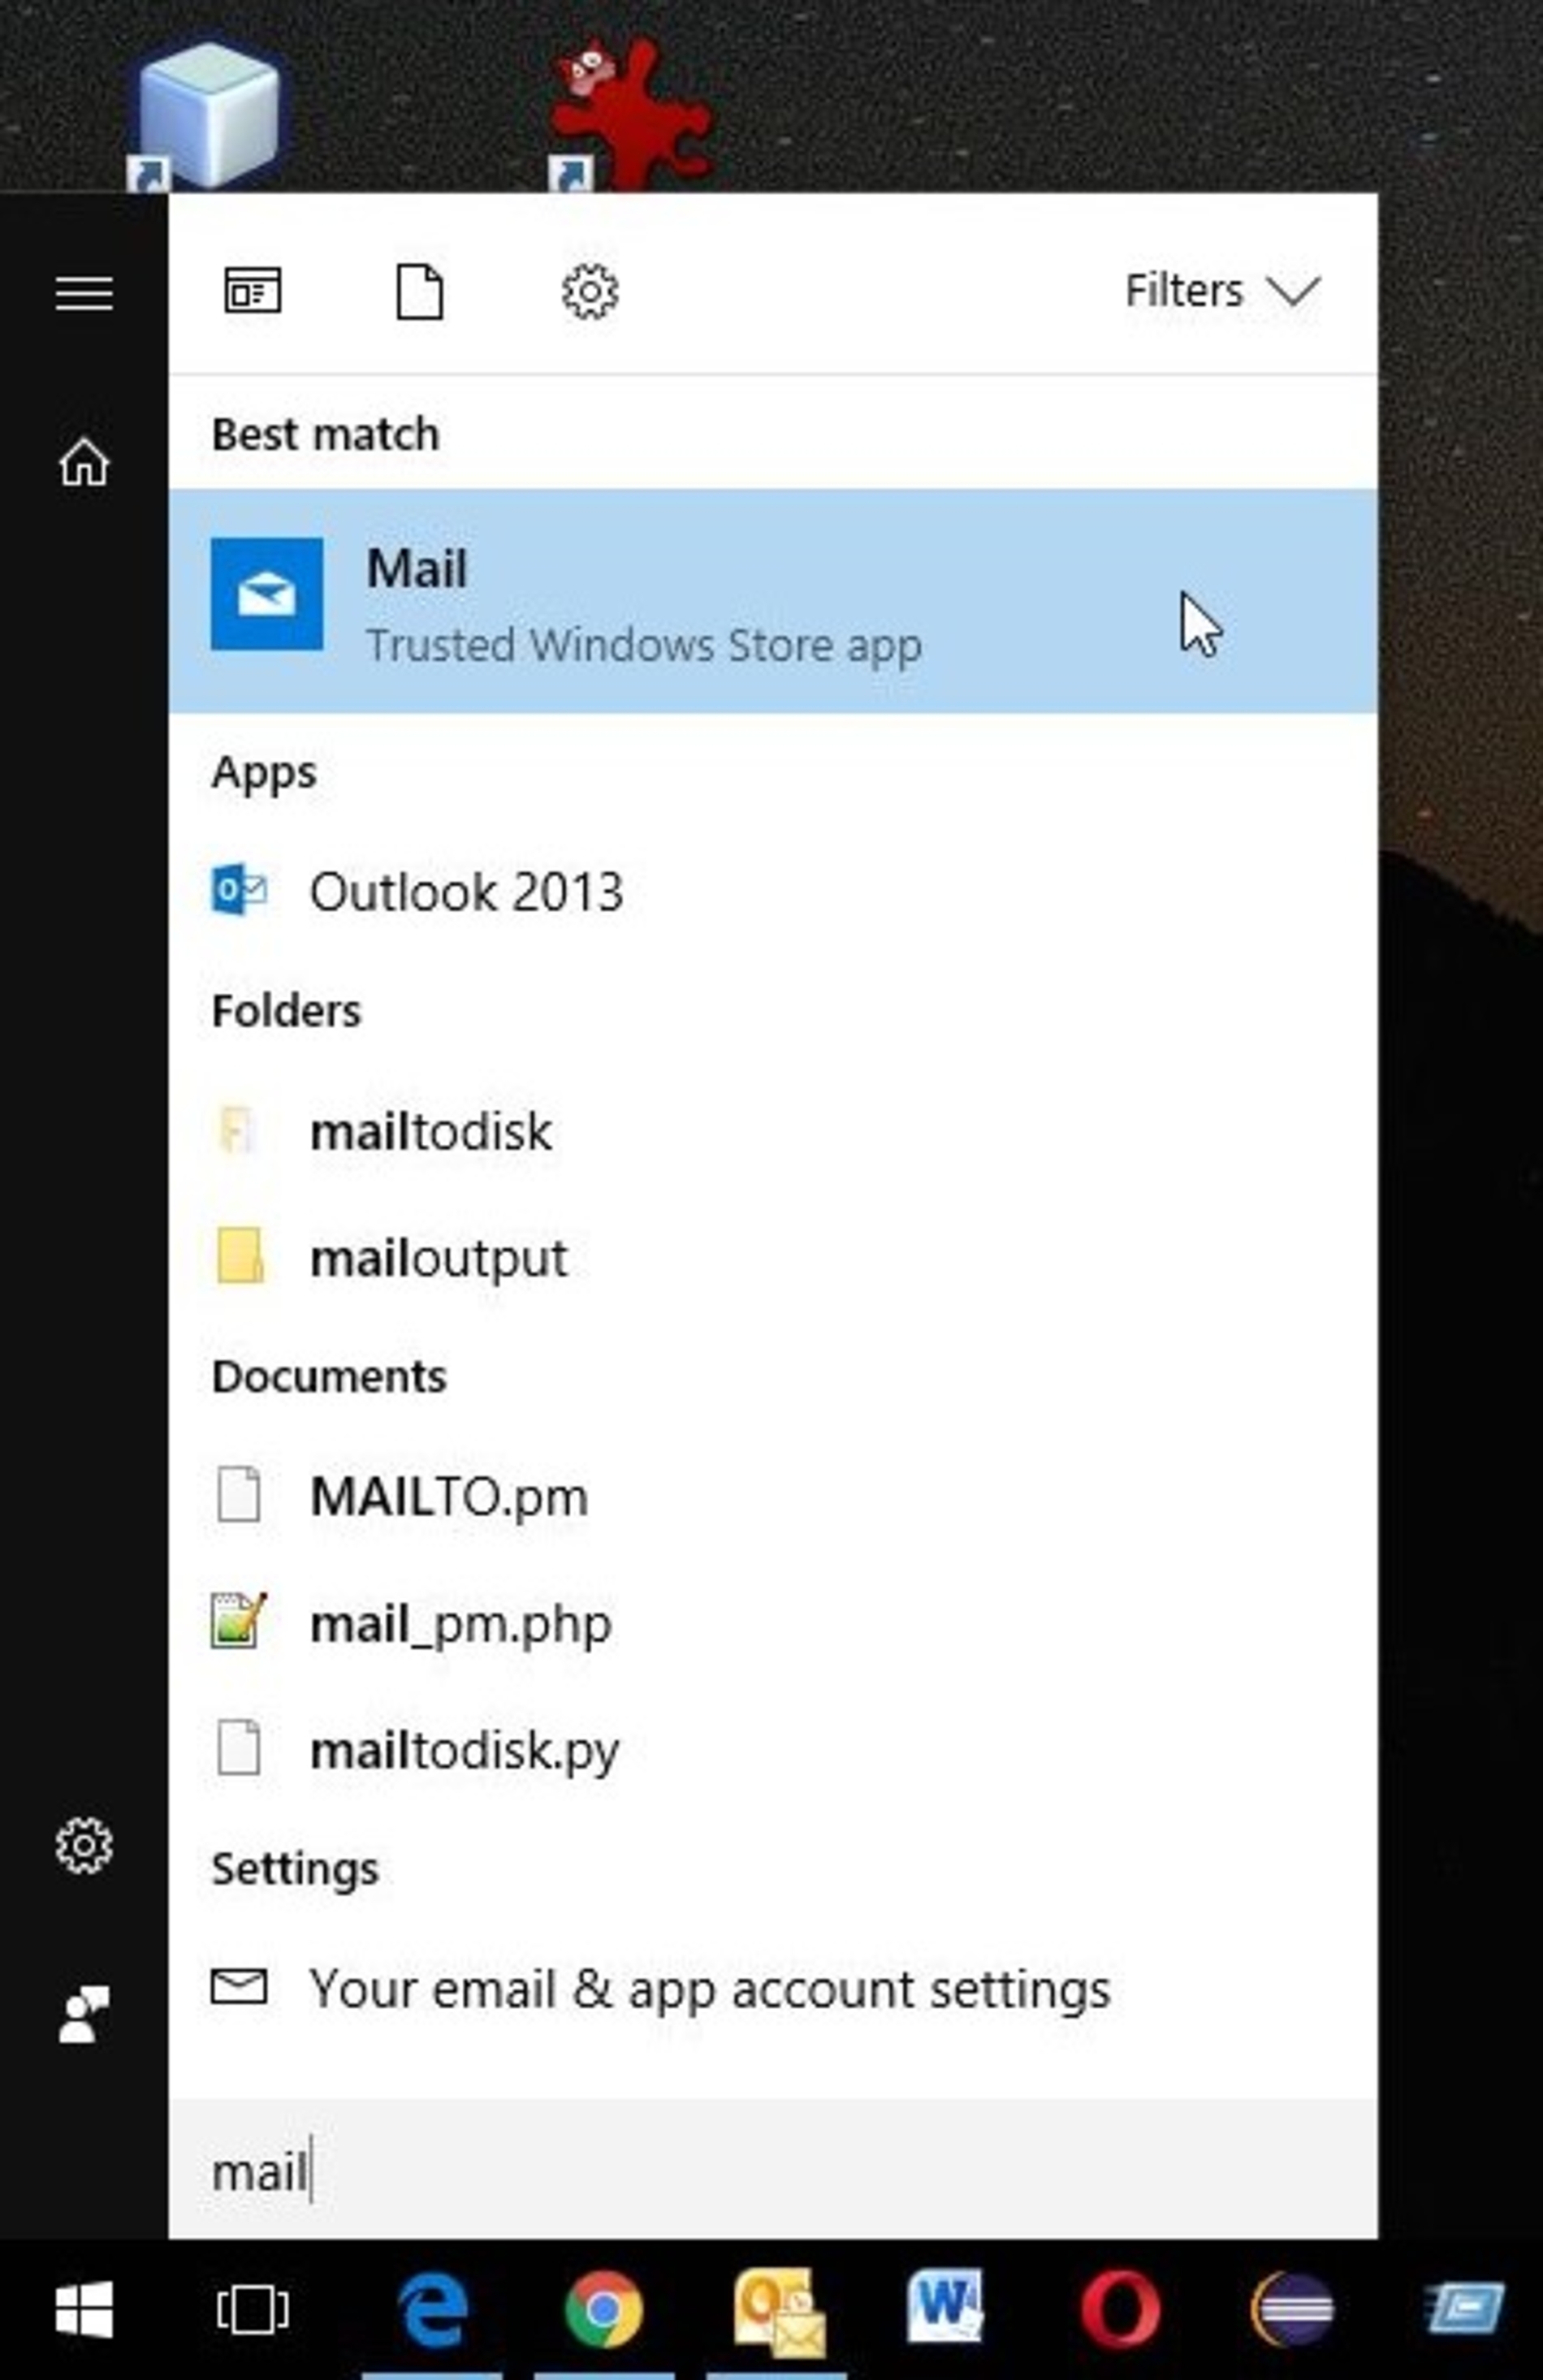
Step 1
First of all open the default mail client of Windows 10.
Either you use a desktop or taskbar icon or you type "Mail" into the search bar of Windows.
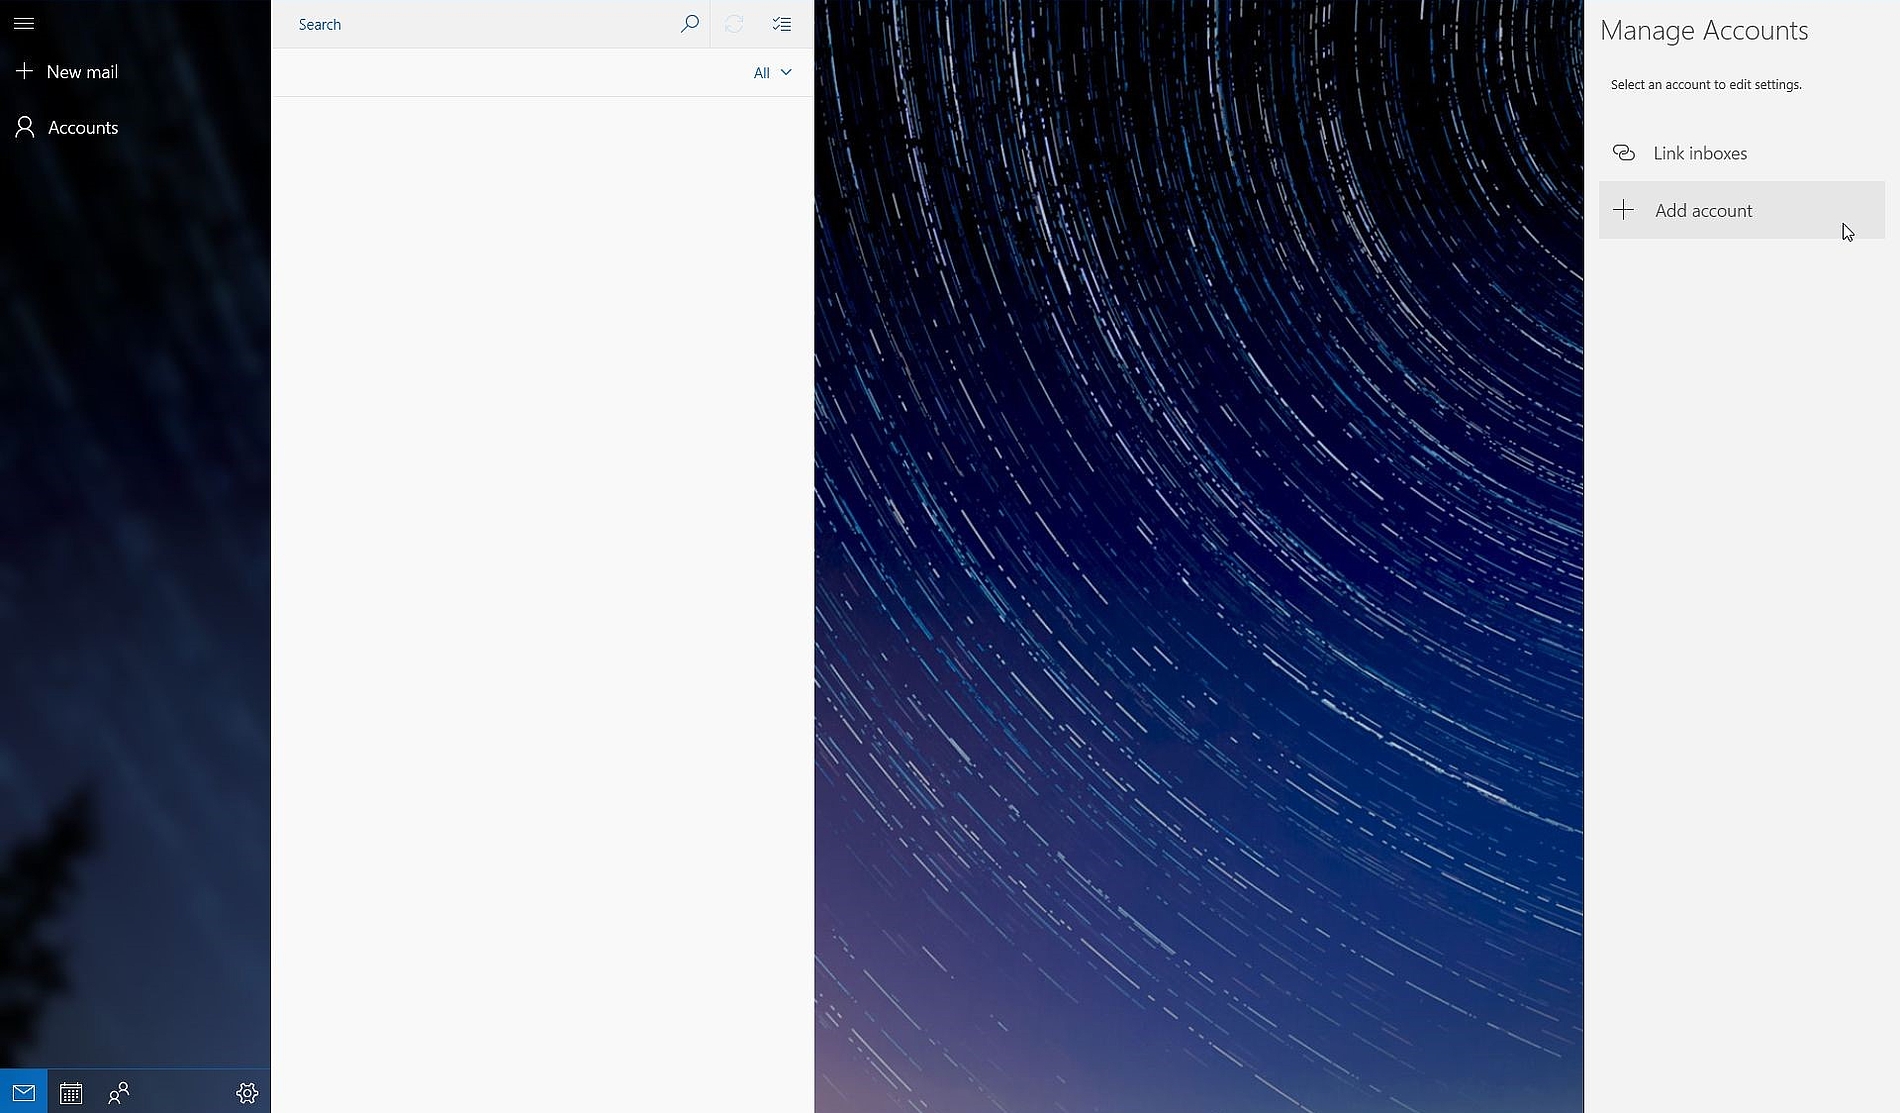
Step 2
If you once have already set up an e-mail account in Windows 10 Mail before you have to click on "Accounts" on the left hand side and afterwards on the right hand side click at "+ Add account".

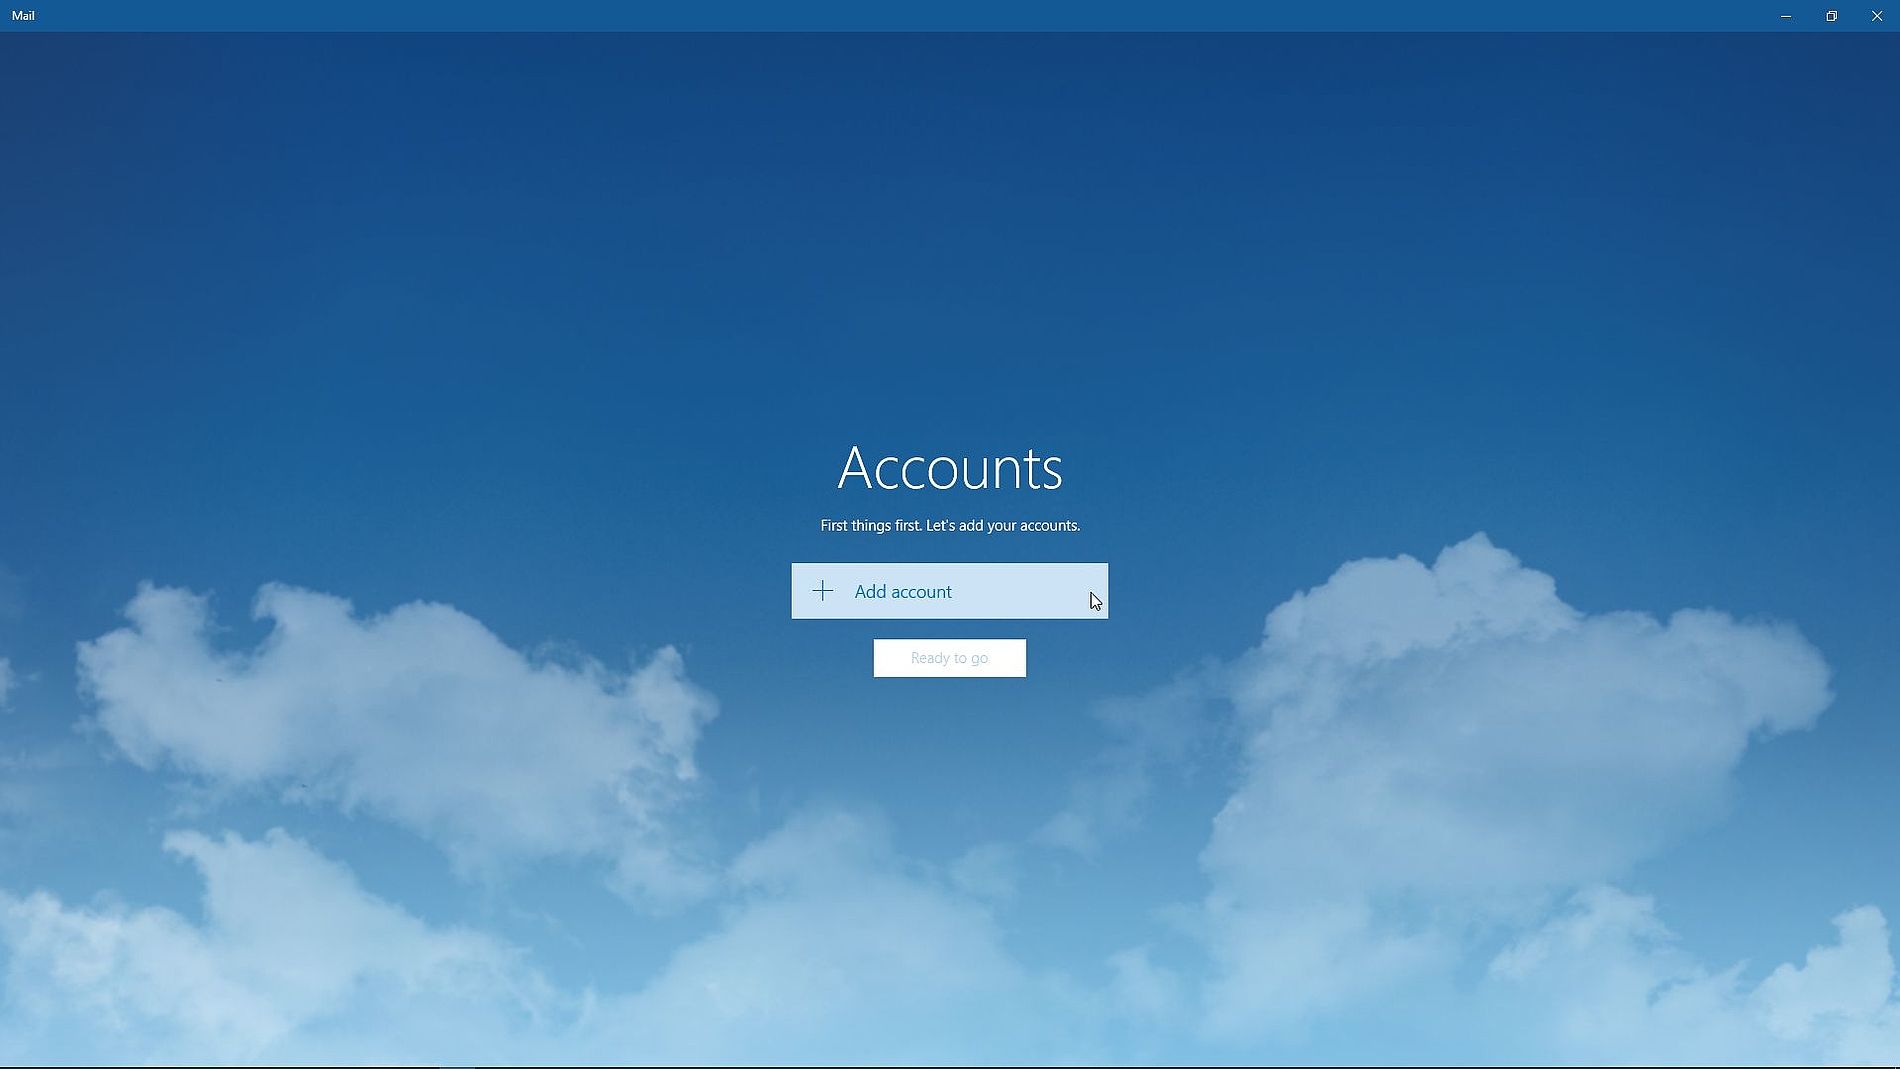
Step 3
The start page looks like this if this is your first e-mail account you are setting up at Windows 10 Mail.
Click on "+ Add account" to start the setup assistant.
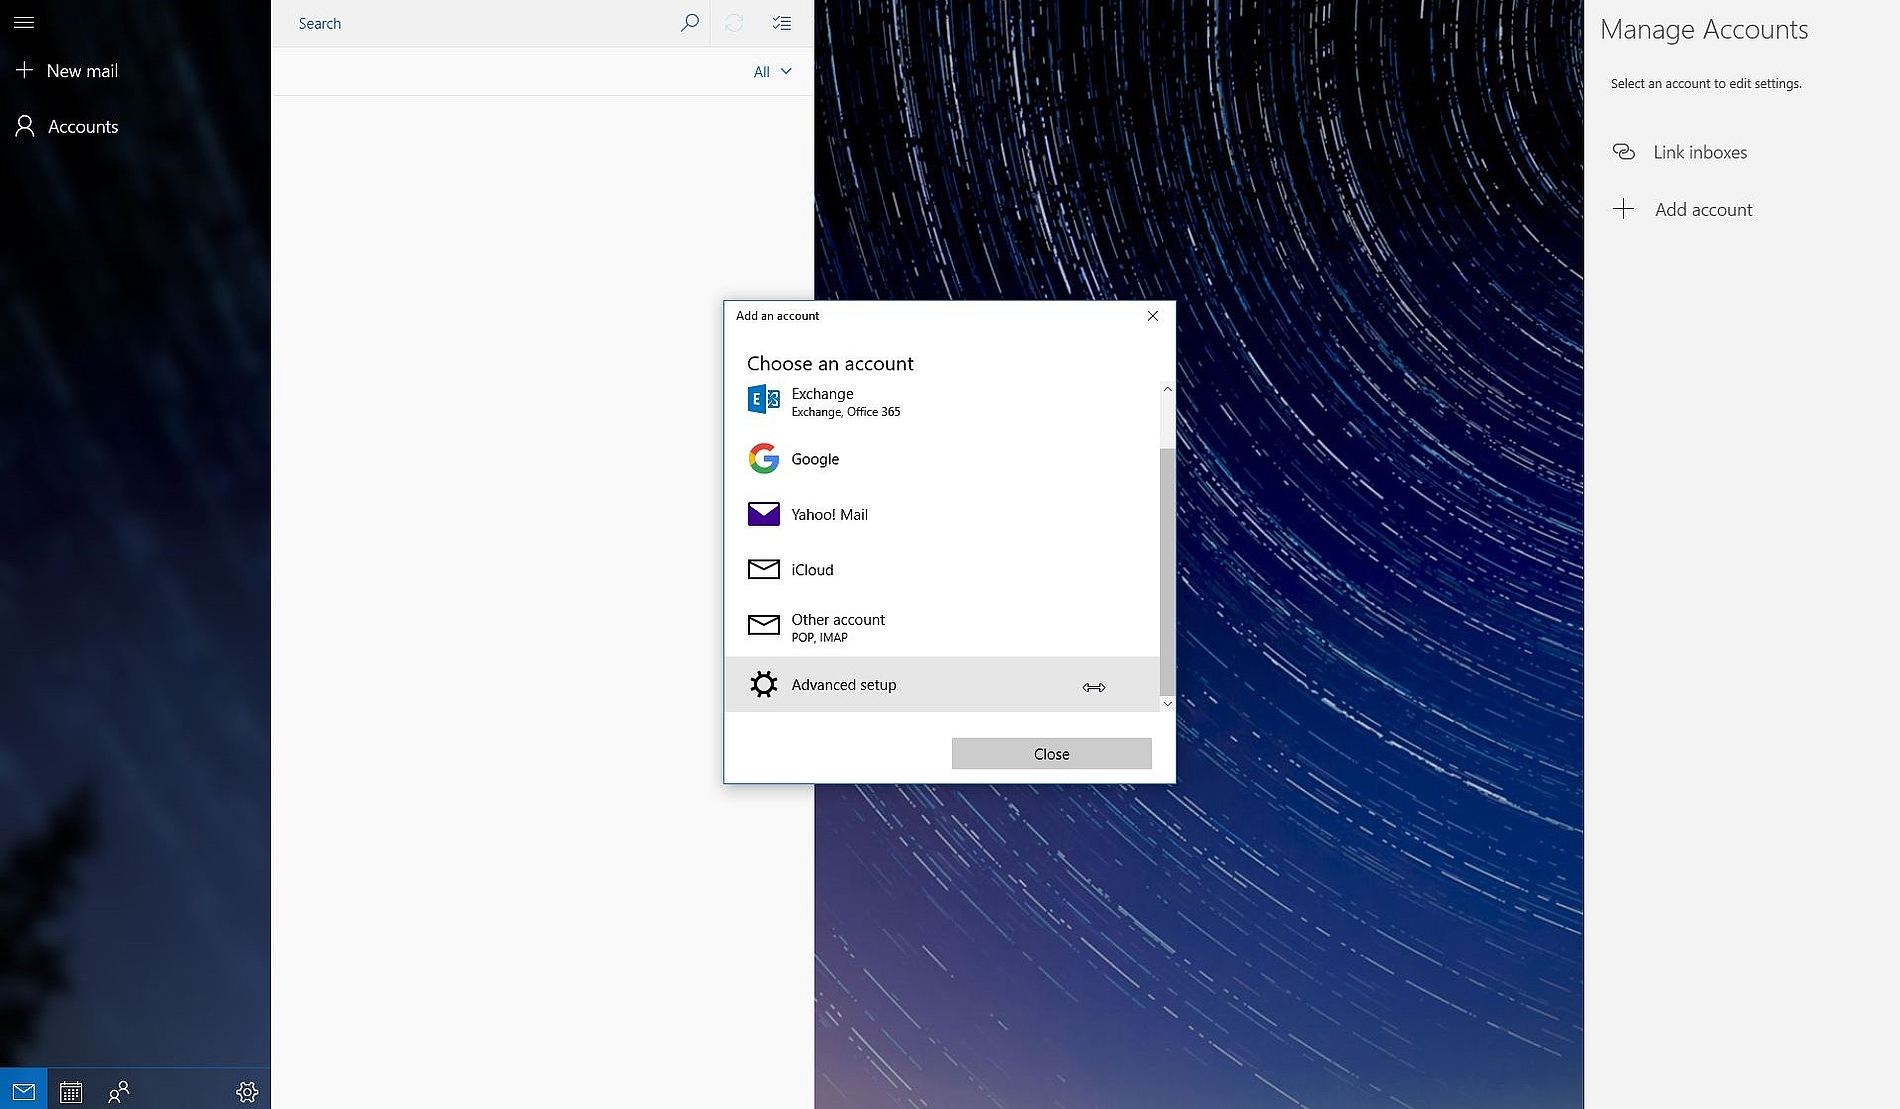
Step 4
Please scroll down a bit and choose the last option in this list "Advanced Setup".
Step 5
At the next window please choose "Internet email".

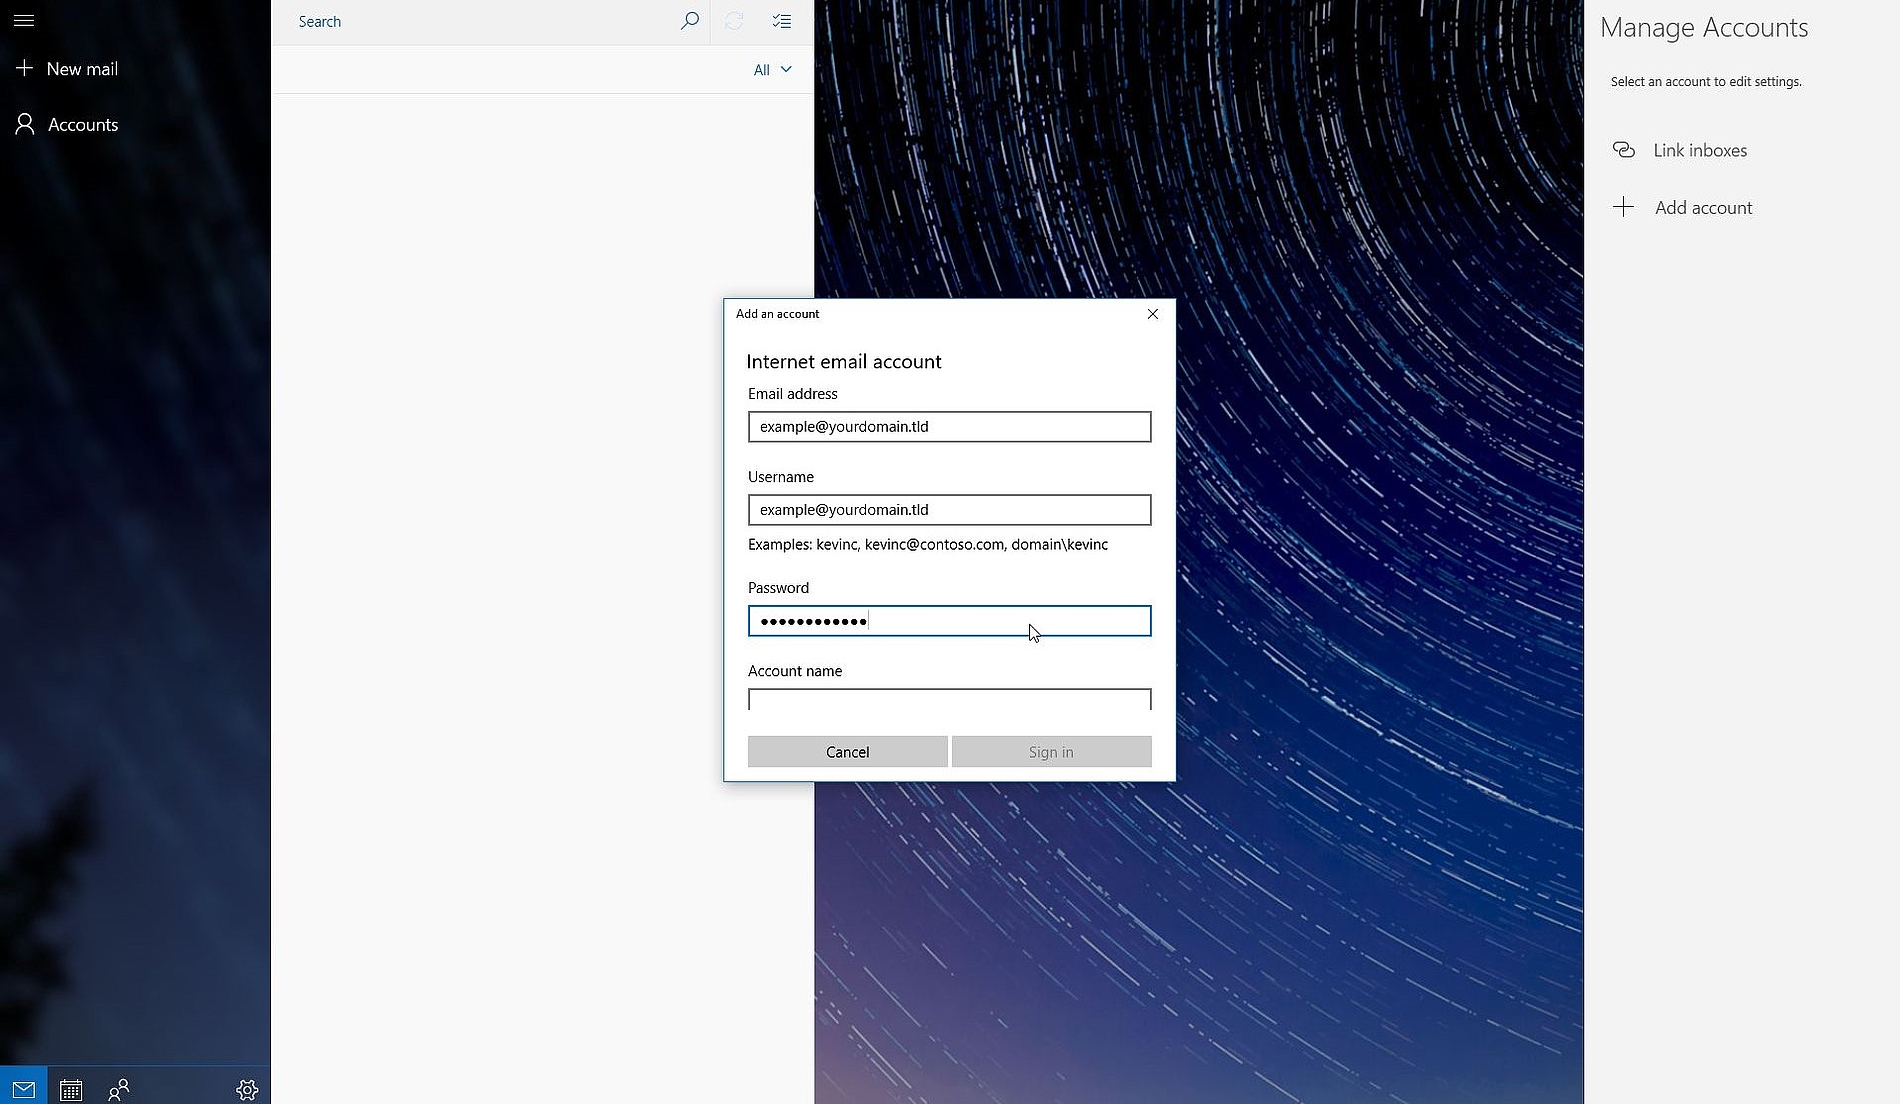
Step 6
Note:
You should set up your e-mail account like it is shown in the screenshots to ensure you are using a SSL secured connection. For both "Email address" and "Username" type in your e-mail address which you want to set up. At the field "Password" you enter the password of your e-mail-address which you had set at the Email Manager module in your Control Panel.
You should set up your e-mail account like it is shown in the screenshots to ensure you are using a SSL secured connection. For both "Email address" and "Username" type in your e-mail address which you want to set up. At the field "Password" you enter the password of your e-mail-address which you had set at the Email Manager module in your Control Panel.
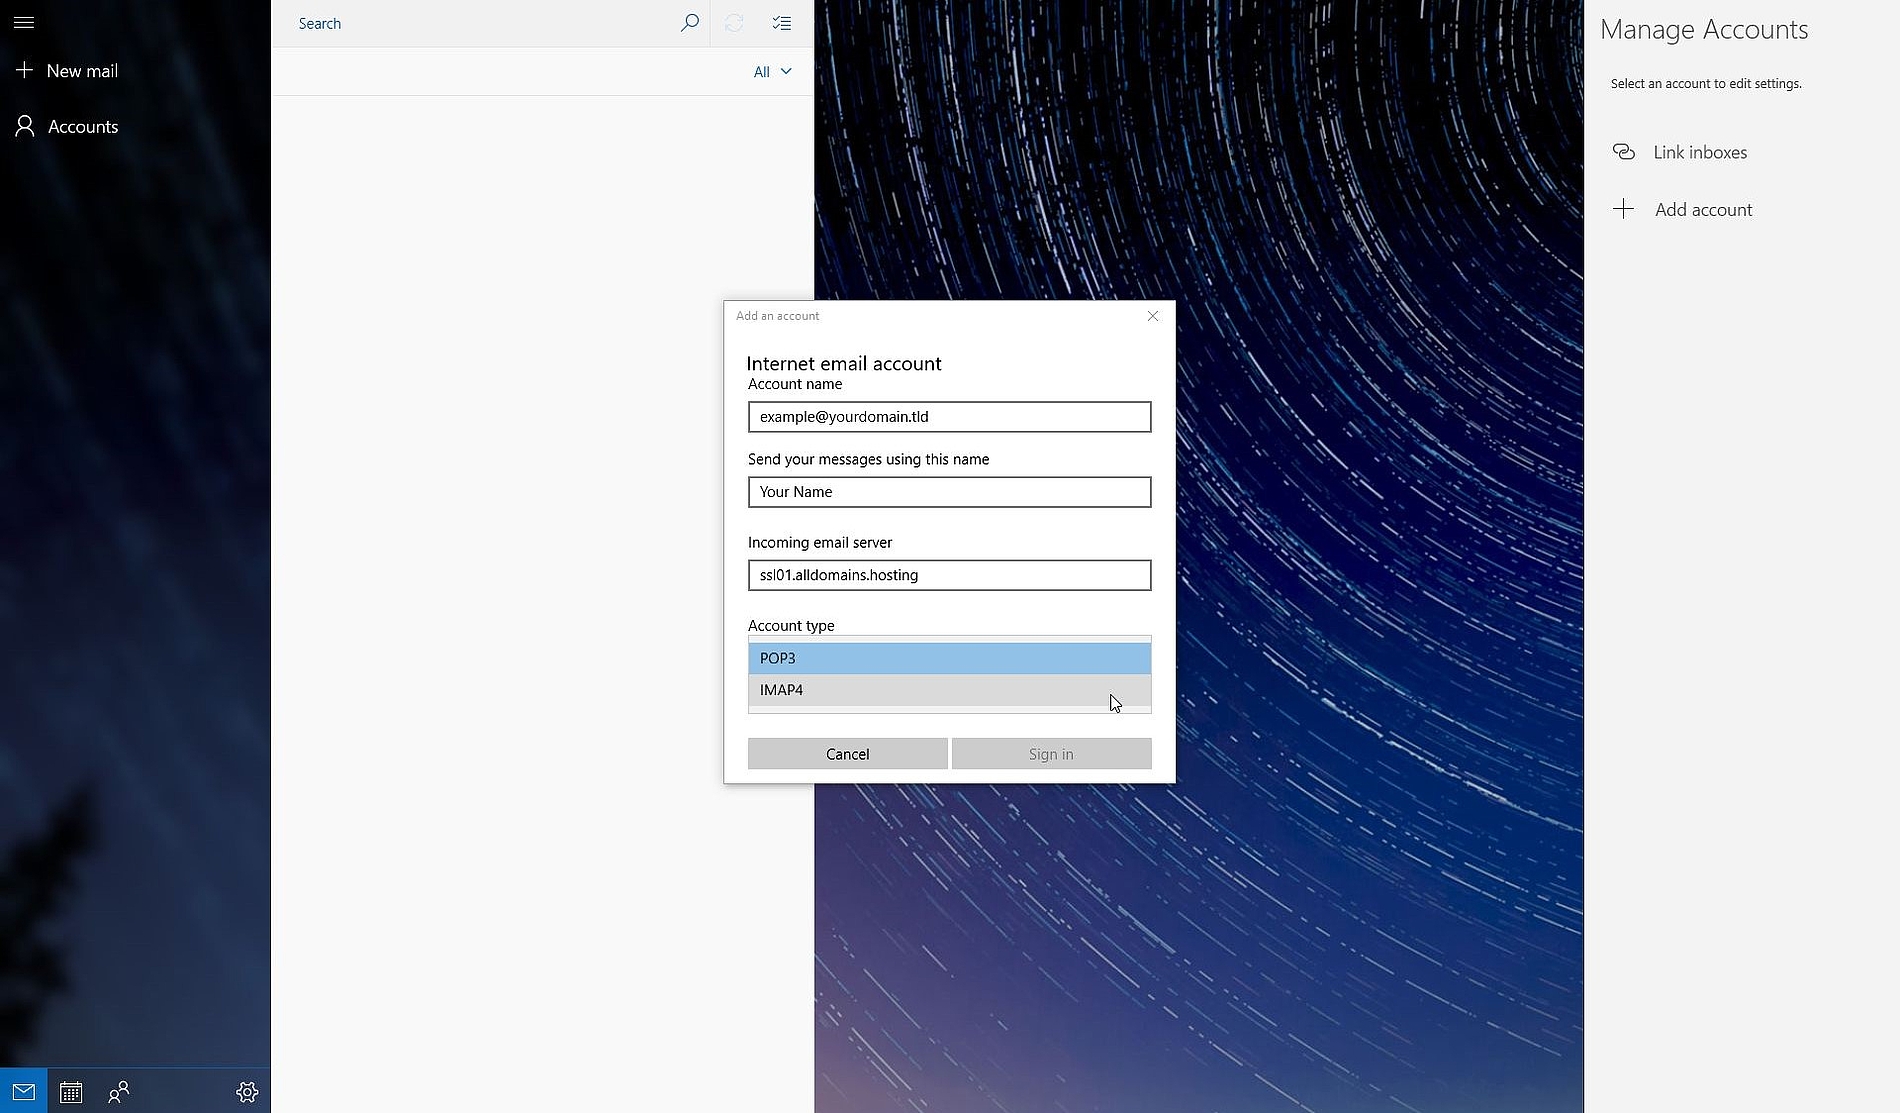
Step 7
Use your e-mail address as "Account name" and type in your name which is displayed at sent messages.
The "Incoming email server" is ssl01.alldomains.hosting.
For the "Account type" you can choose between "POP3" (local storage) and "IMAP" (server storage). If you are using this e-mail-address on several devices you should use "IMAP" as "Account type".
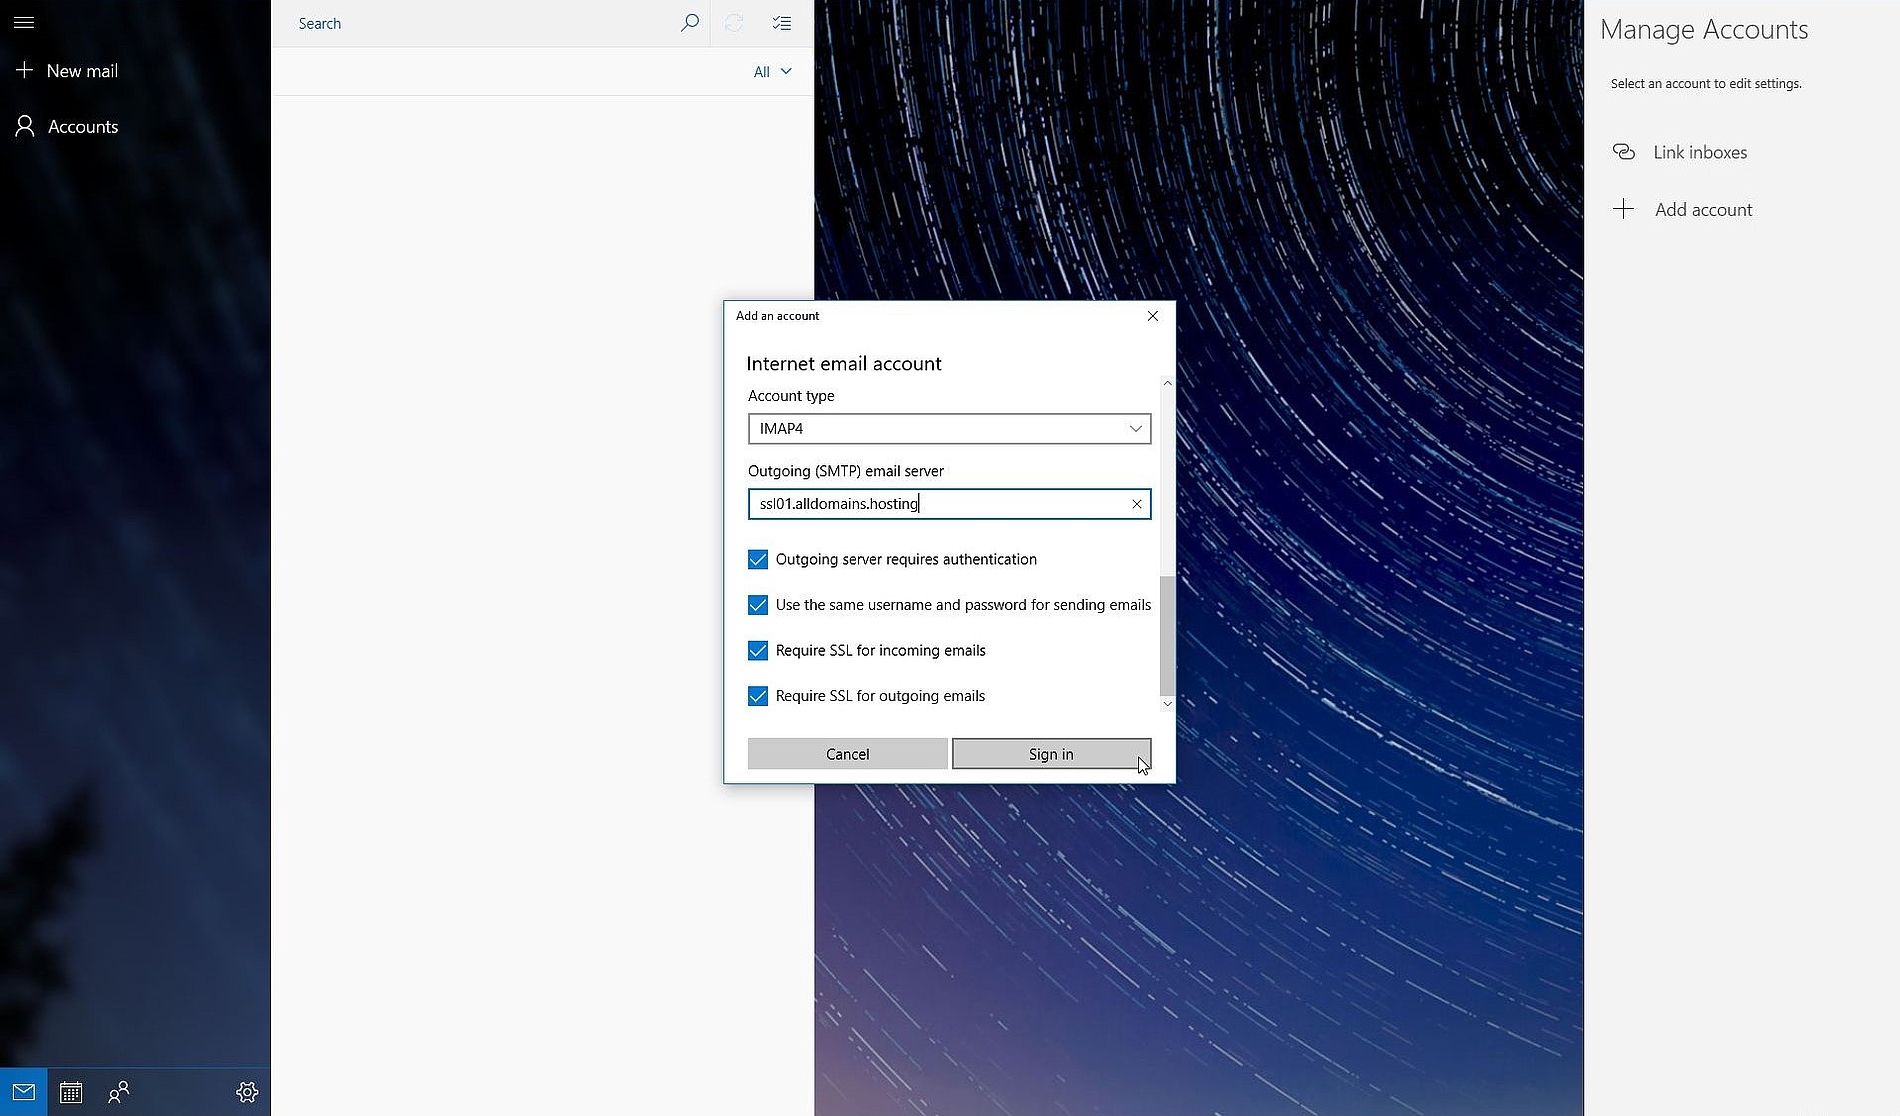
Step 8
The "Outgoing (SMTP) email server" is also ssl01.alldomains.hosting.
The four options "Outgoing server requires authentication", "Use the same username and password for sending emails", "Require SSL for incoming mails" and "Require SSL for outgoing mails" should be selected.
Double check your settings and confirm them by clicking on "Sign in".
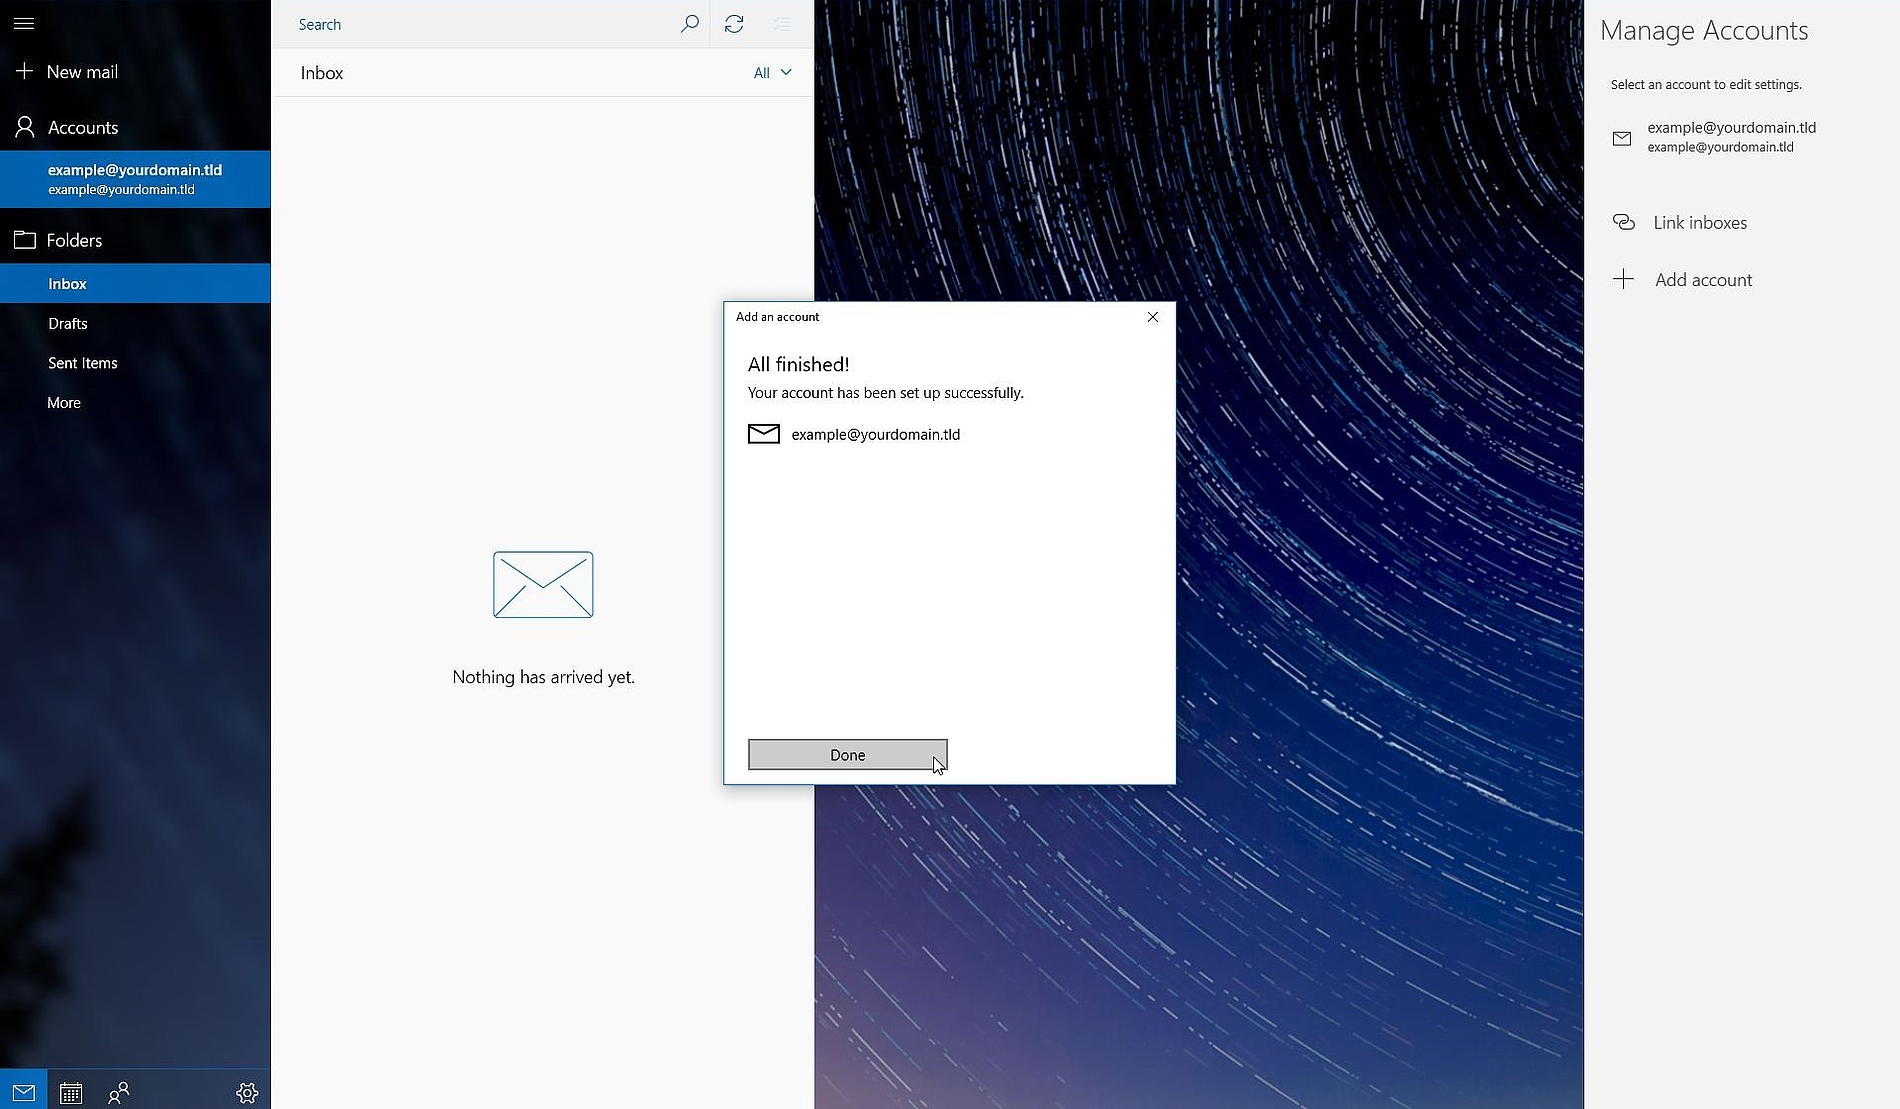
Step 9
If you have entered everything correctly your e-mail account has been set up.
You can close the assistant with "Done".
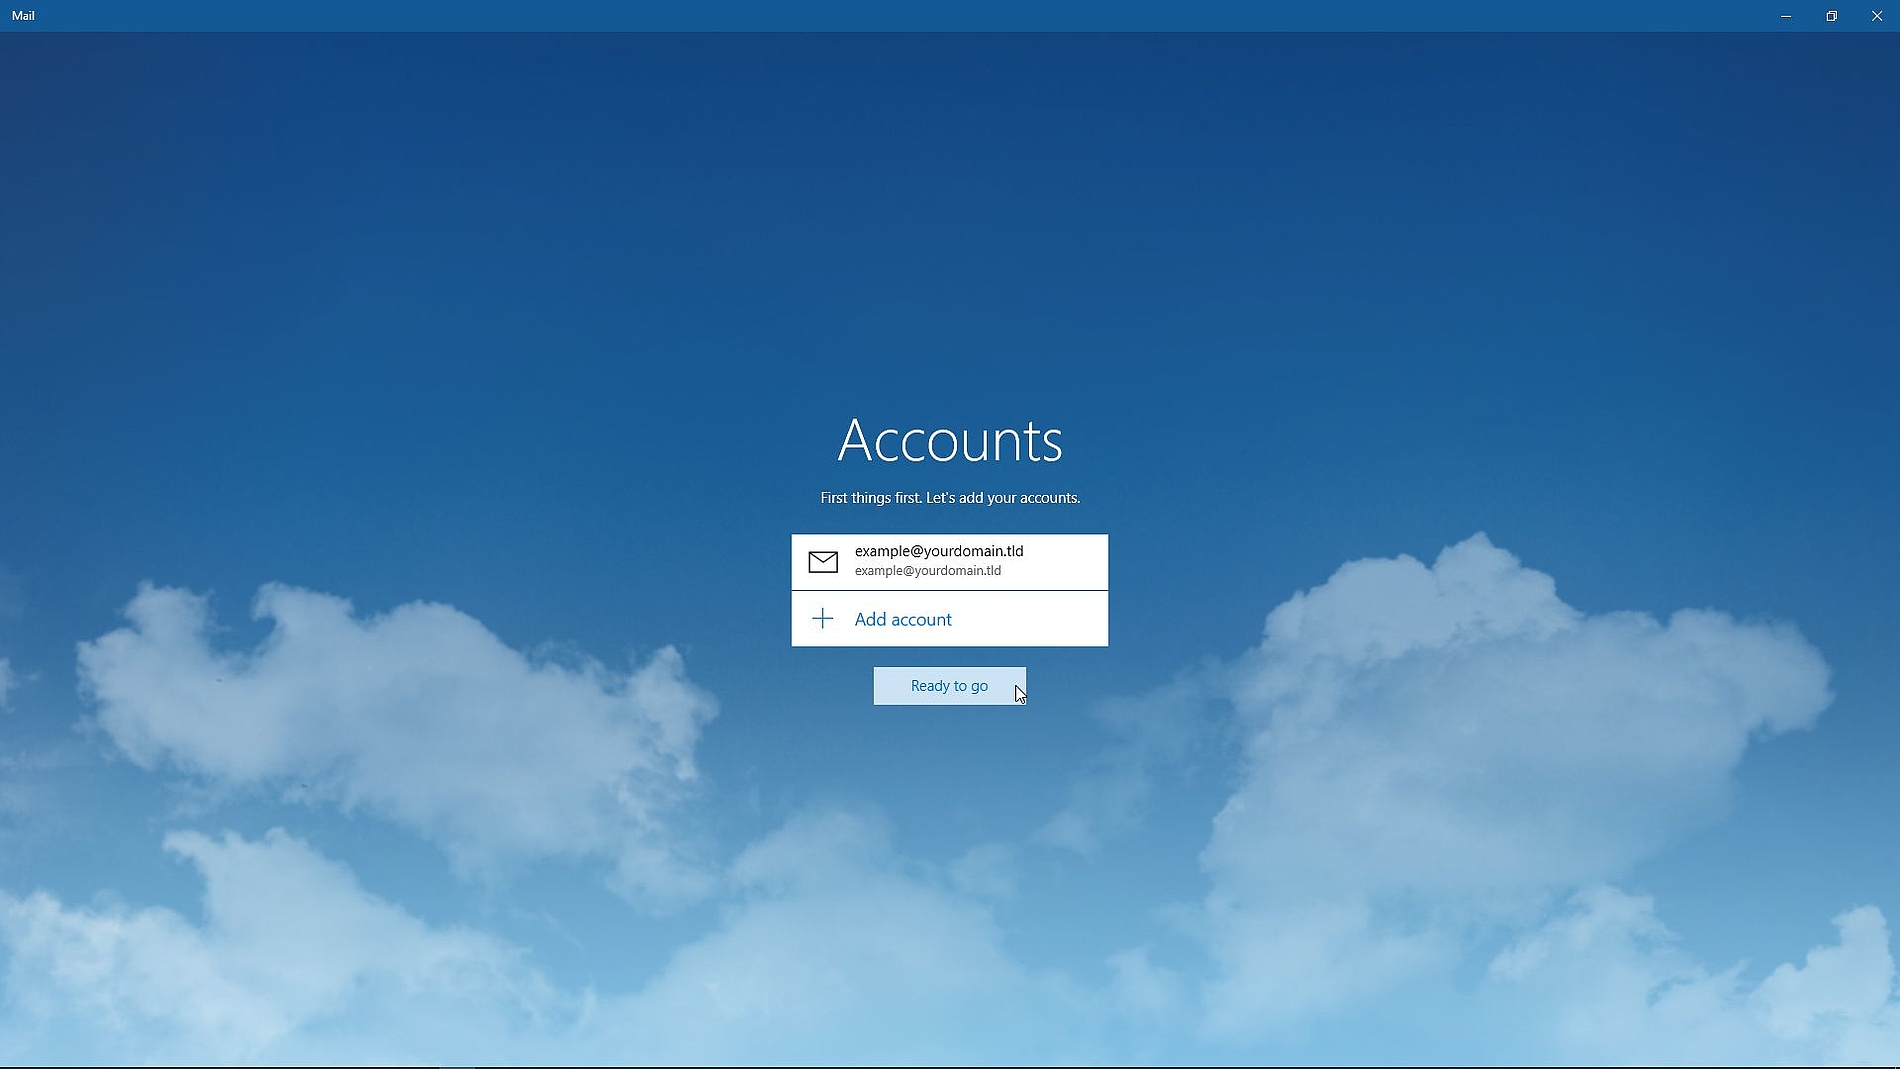
Step 10
The new e-mail account is now set up.
You have now the possibility to add another account by clicking on "Add Account"
or
you close the setup assistant with "Finish".