Domain Redirect
With the Hosting Control Panel module Domain Redirect you can redirect you domain to any website you want.
Quick access:
Open module Domain Redirect
First of all you need to login to your Hosting Control Panel.
There are 3 different ways to start your Control Panel:
- either you enter "www.yourdomain.tld" (www.yourdomain.tld have to be replaced by your own domain) into the address bar of your browser
- or you use the Control Panel Login at our website
- or you start it directly inside your Customer Center
In your Customer Center switch to the tab "Purchases" and move your mouse over the hosting package and click on the link "Control Panel" at the side menu that popped up.

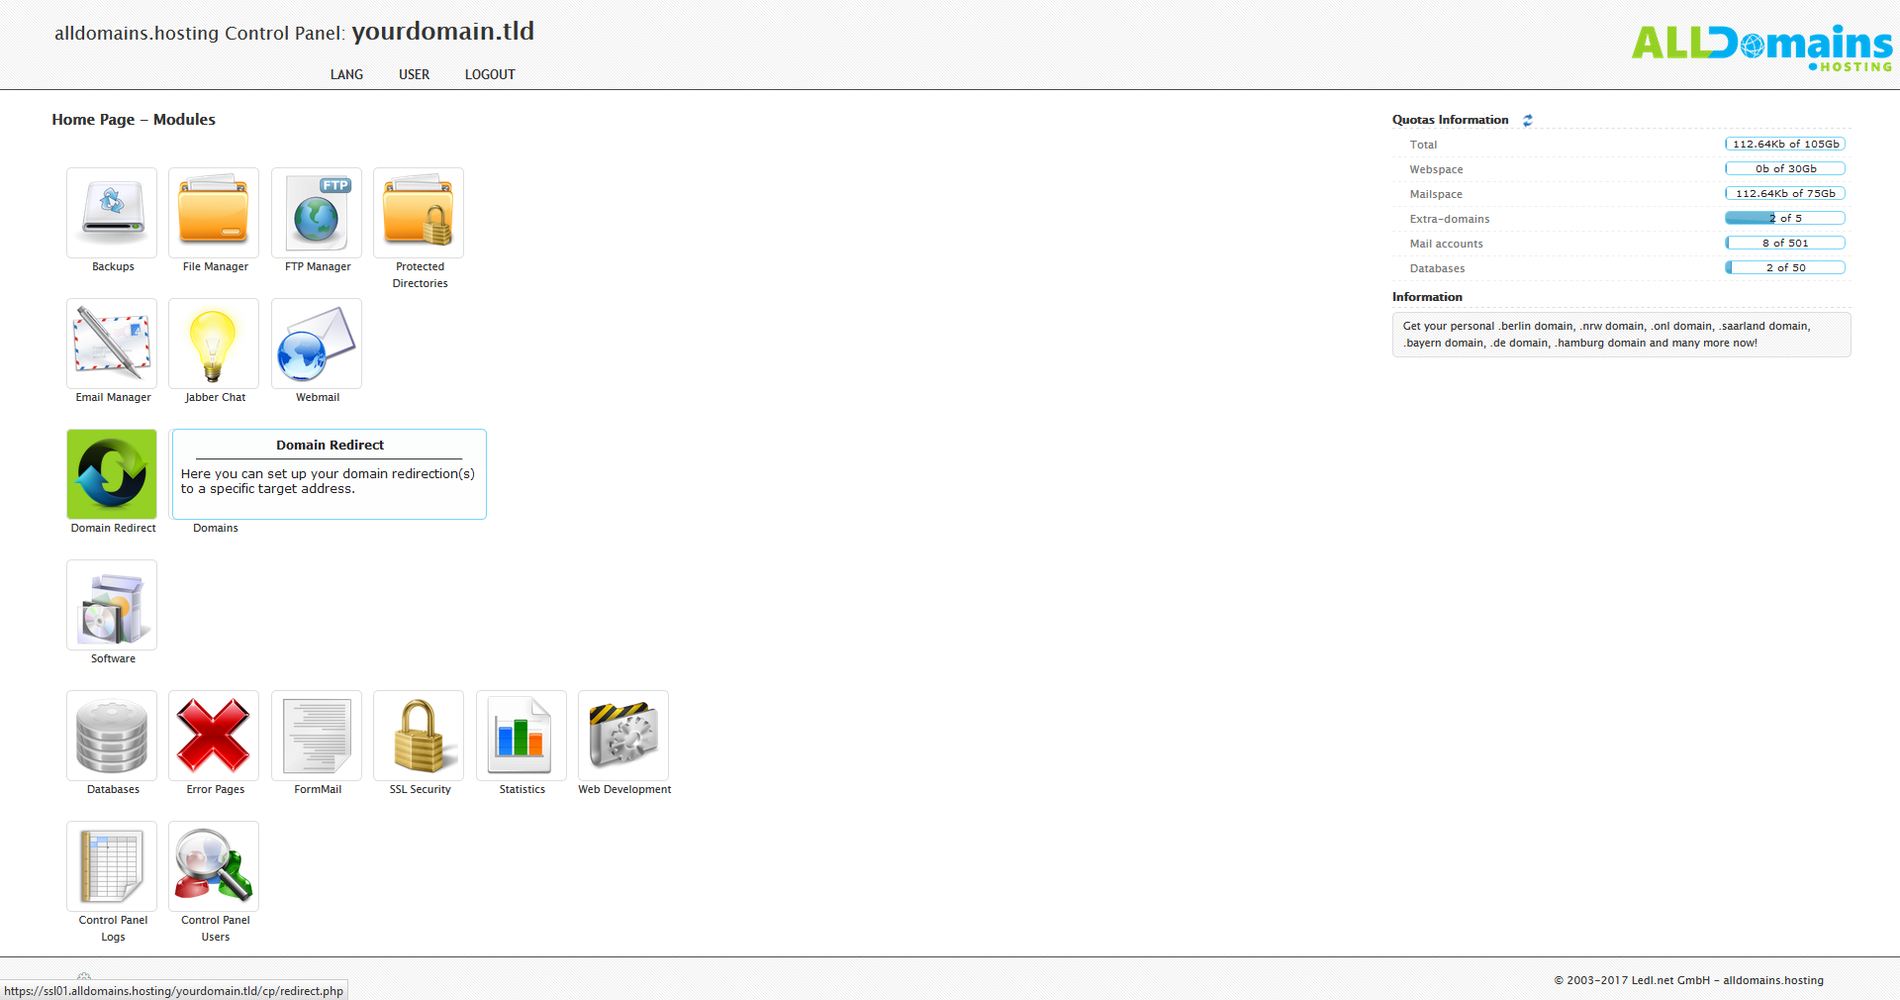
#Create forwarding
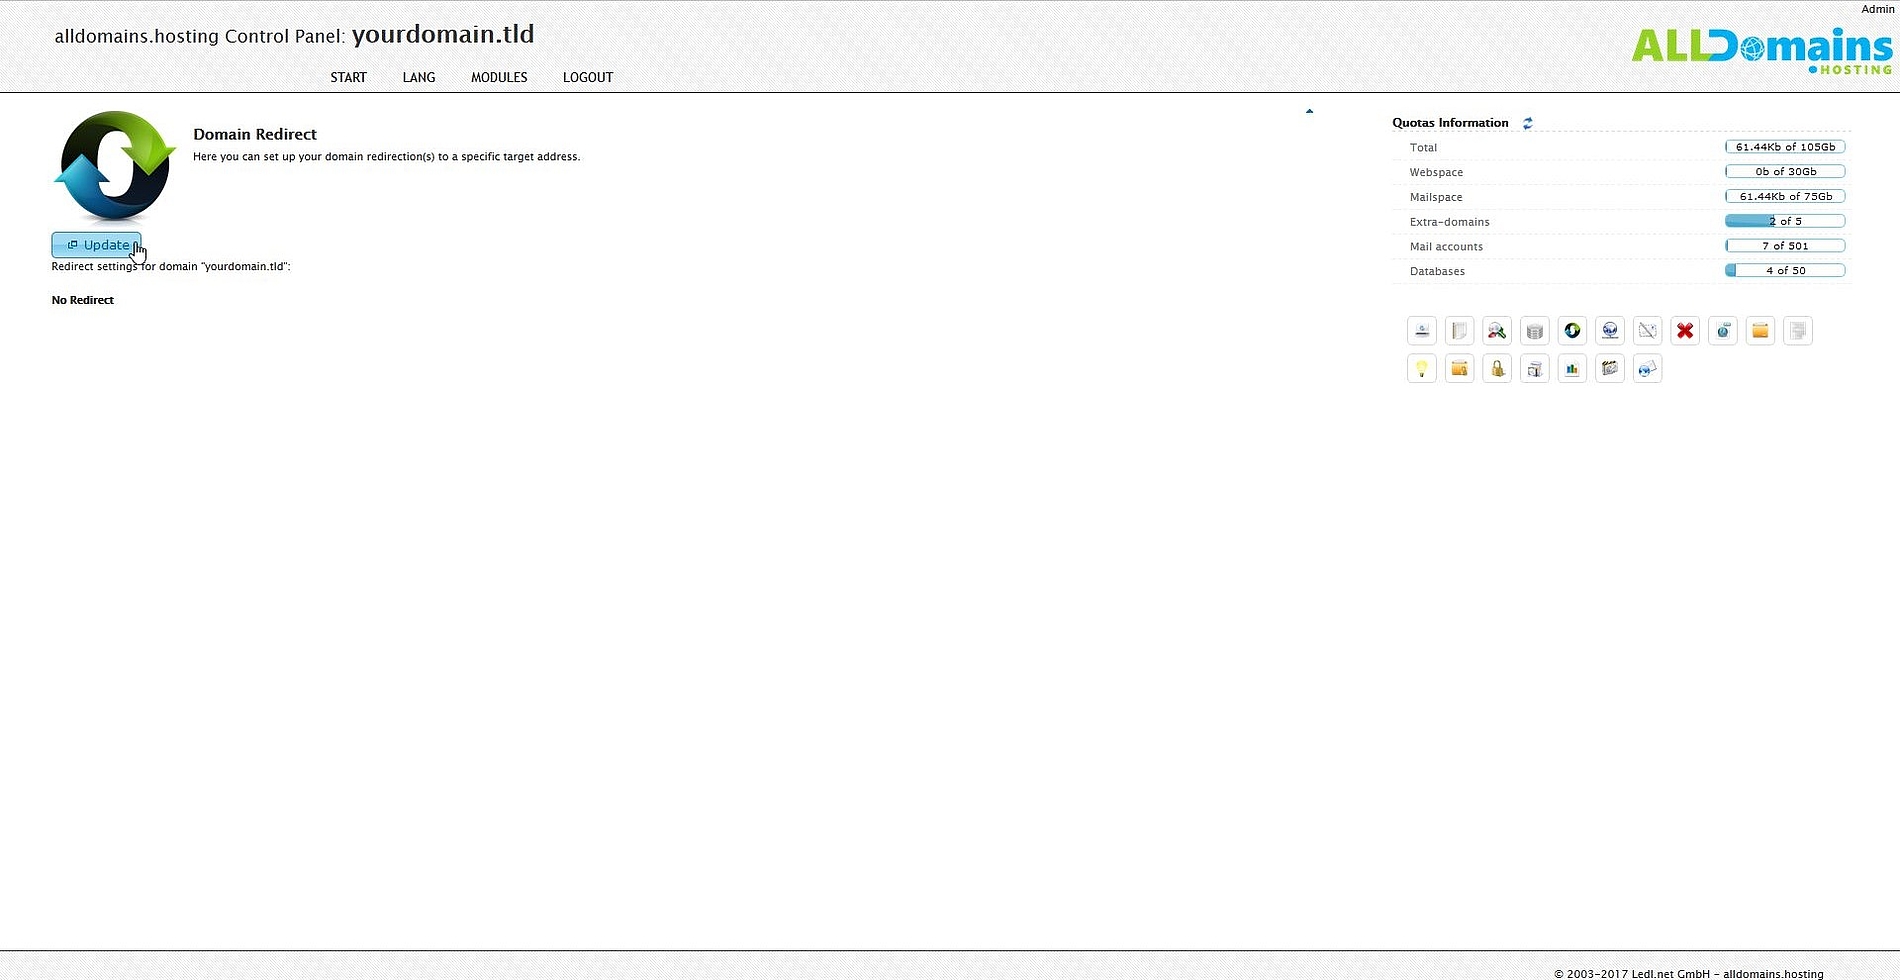
If you want to create a forwarding for your domain, you need to click on "Update" in the Domain Redirect module.
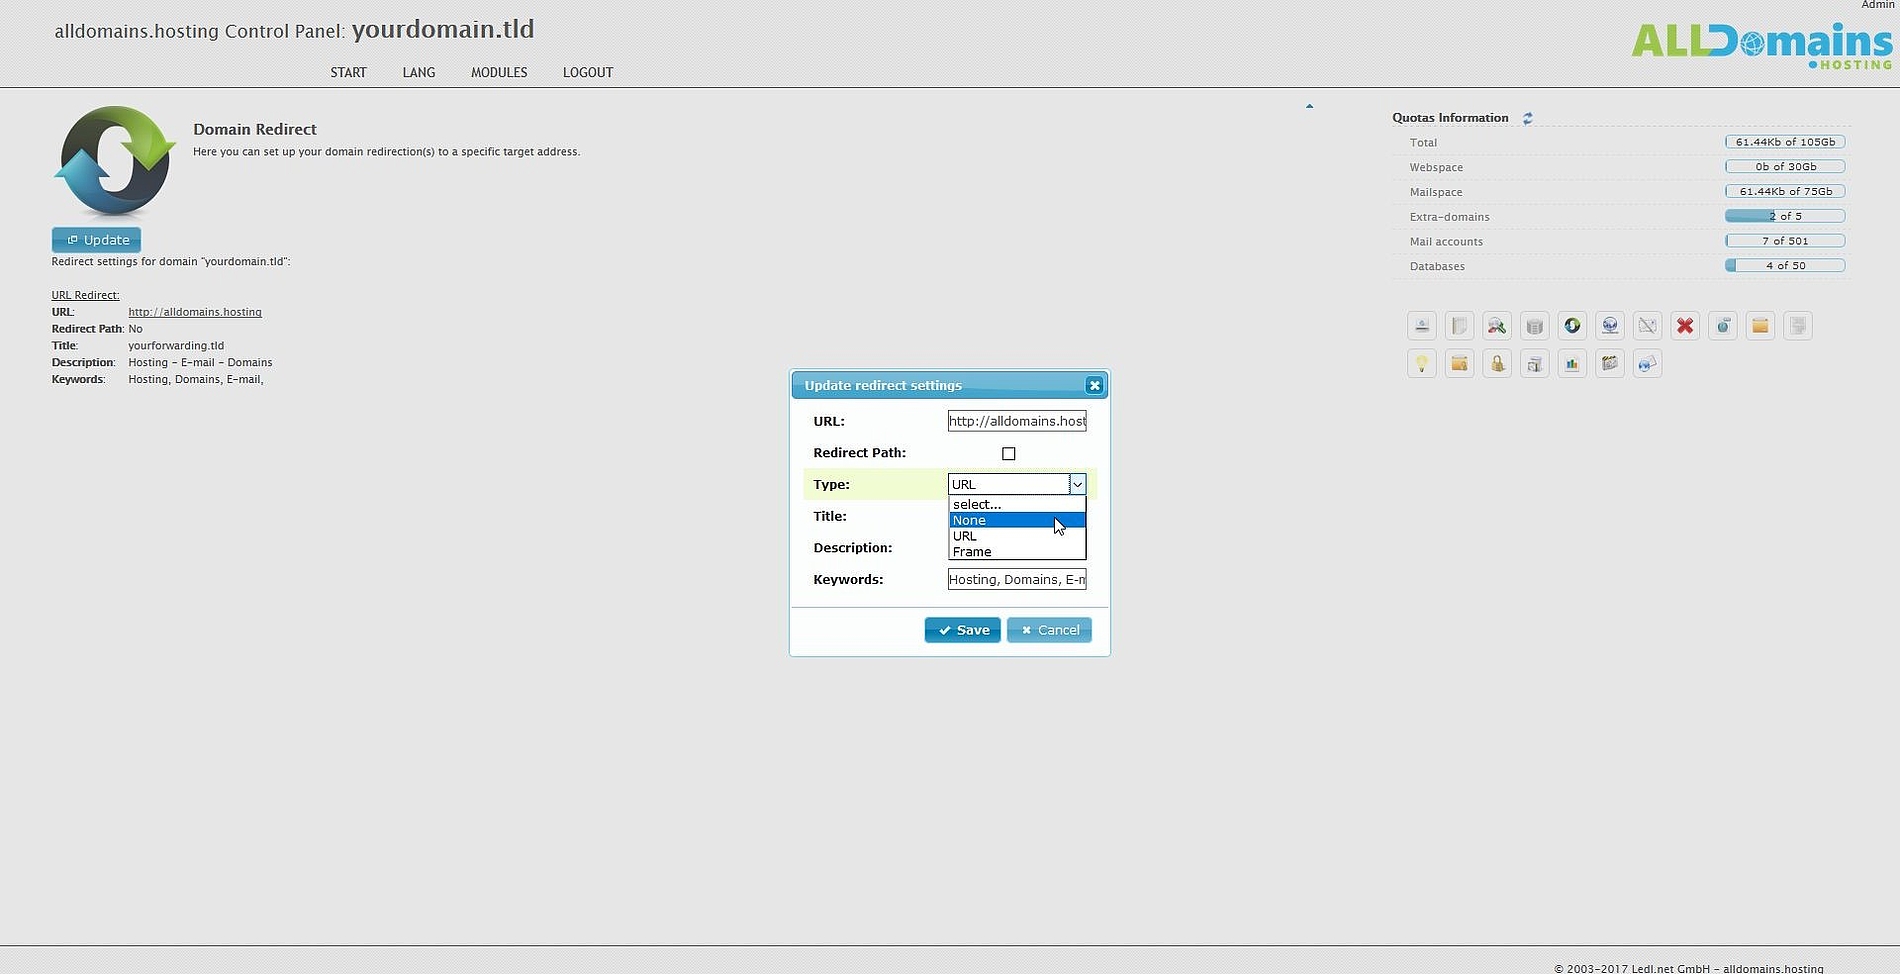
#Forwarding settings
At URL please insert the full forwarding destination. That can be any website you want.
As next select the "Type" of your redirection. You can choose between two ways:
- URL: With that forwarding type your website will be refreshed with the forwarding destination as URL in the address bar after visiting.
- Frame: The destination is loaded in a Frame, which means that the address bar remains unchanged, but the content of the destination-url is getting loaded.

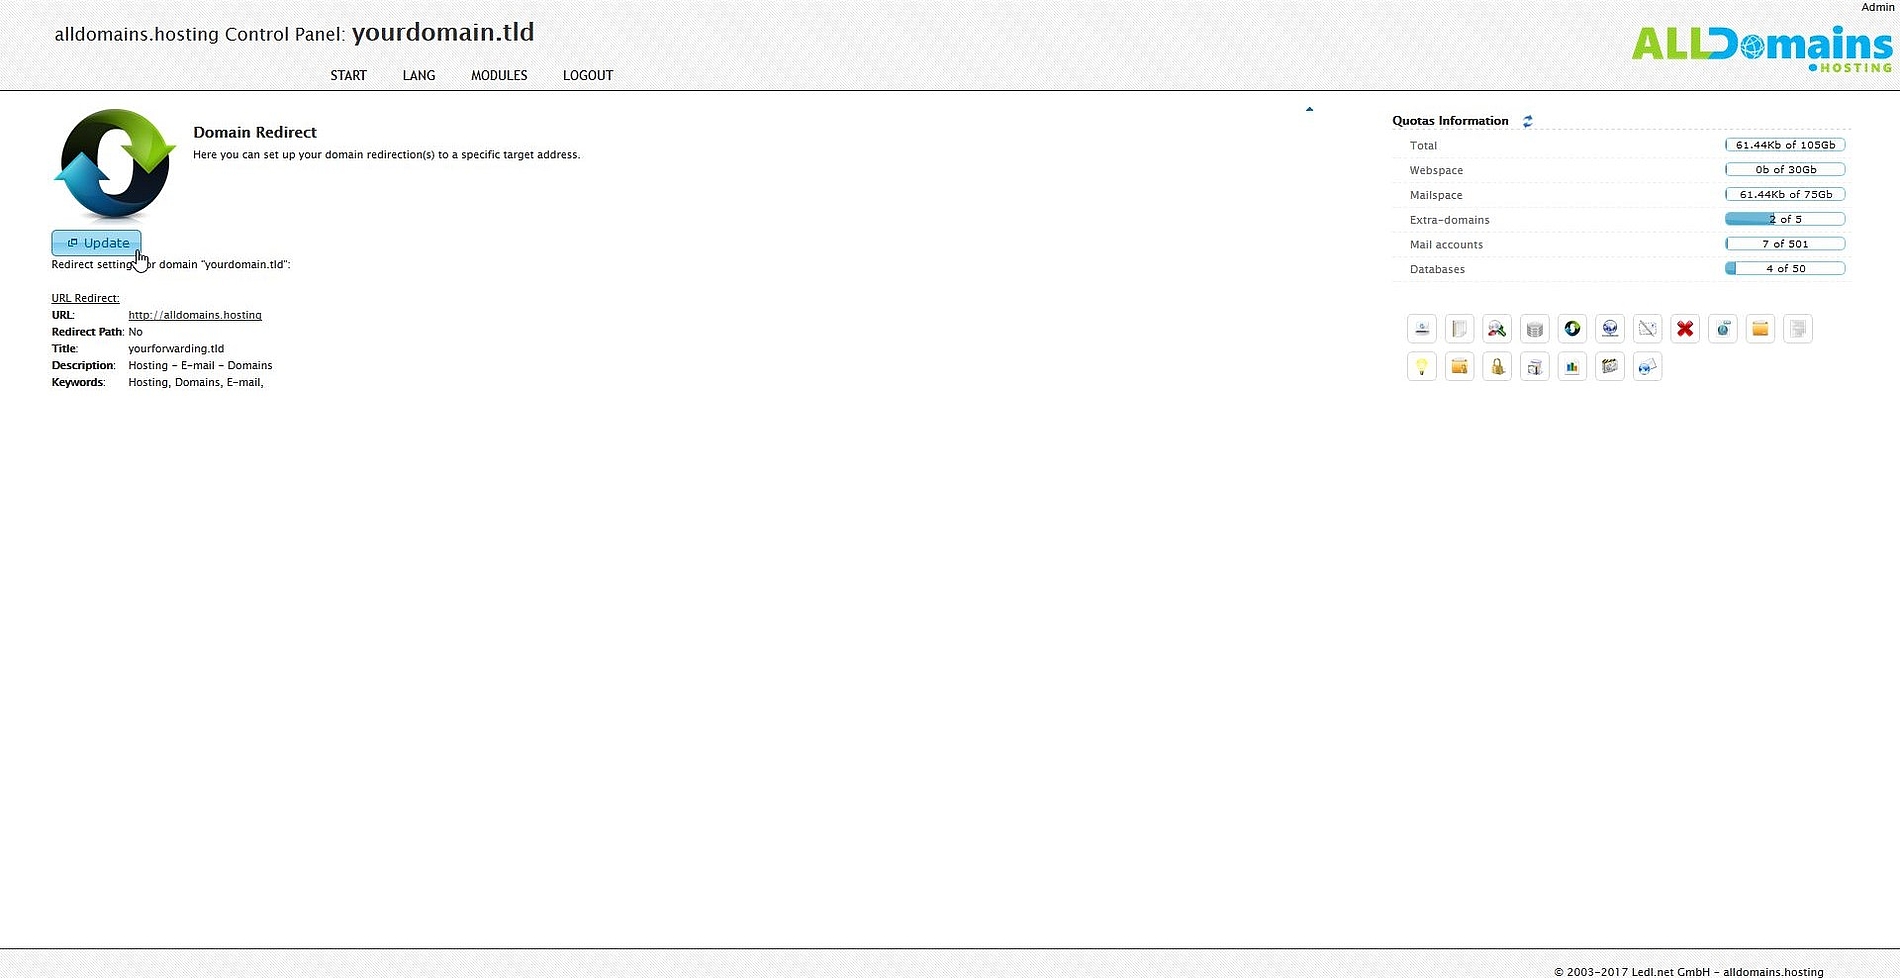
#Change forwarding
Your domain redirection is now created.
If you want to change some settings after creating the forwarding simply click on button "Update" and you can edit all your settings.

#Remove forwarding
If you want to remove your domain forwarding click on button "Update" and select the Type "None" finally click on "Save".